Recent Wood Work
February 5, 2012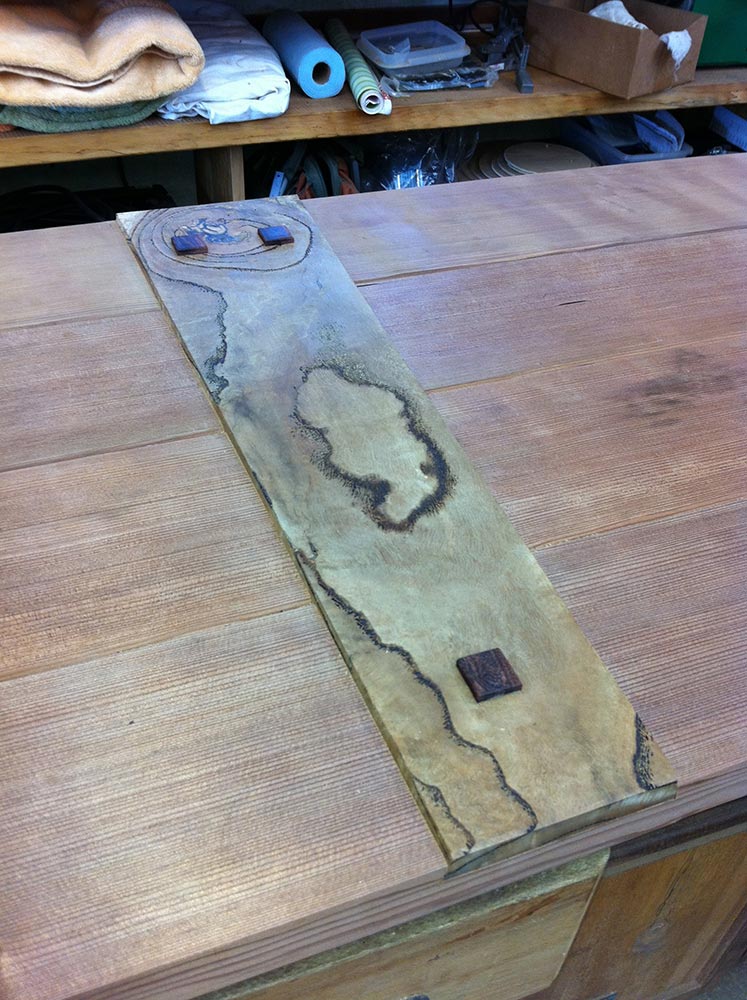
big: '/taka-archive-all-assets/wp-content/uploads/2012/February/February_04_2012/slideshow-bowls-door-drawbore/large/01IMG_0485.jpg',
A preview of the finished product. The crosspieces are blue gum.
big: '/taka-archive-all-assets/wp-content/uploads/2012/February/February_04_2012/slideshow-bowls-door-drawbore/large/02IMG_0297.jpg',
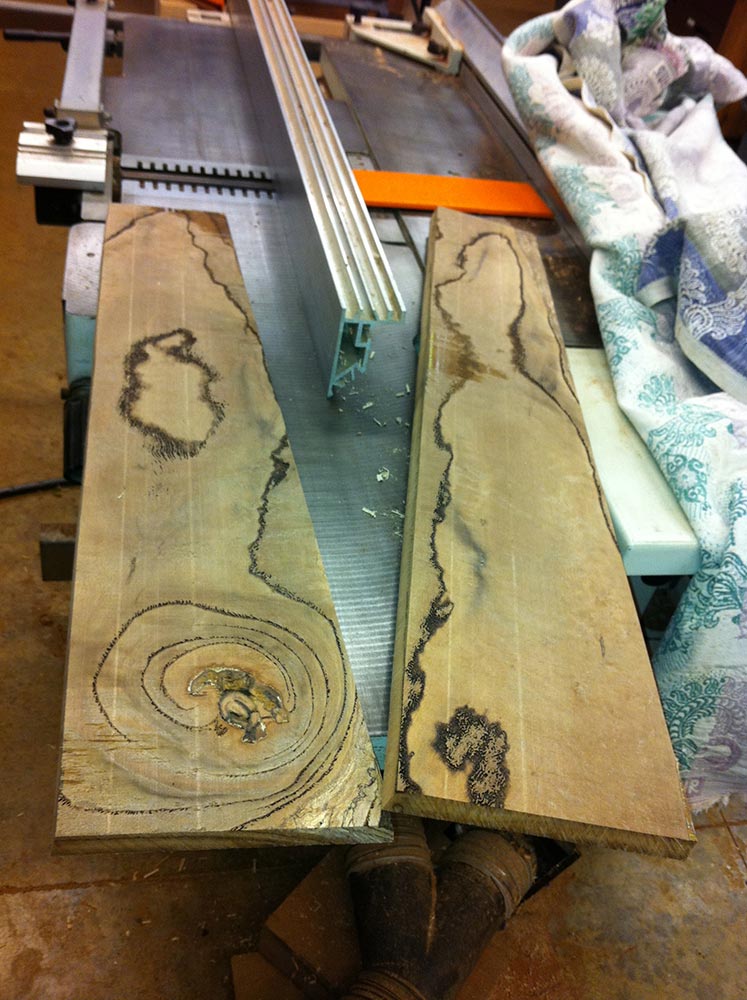
Selecting woods.
big: '/taka-archive-all-assets/wp-content/uploads/2012/February/February_04_2012/slideshow-bowls-door-drawbore/large/03IMG_0301.jpg',
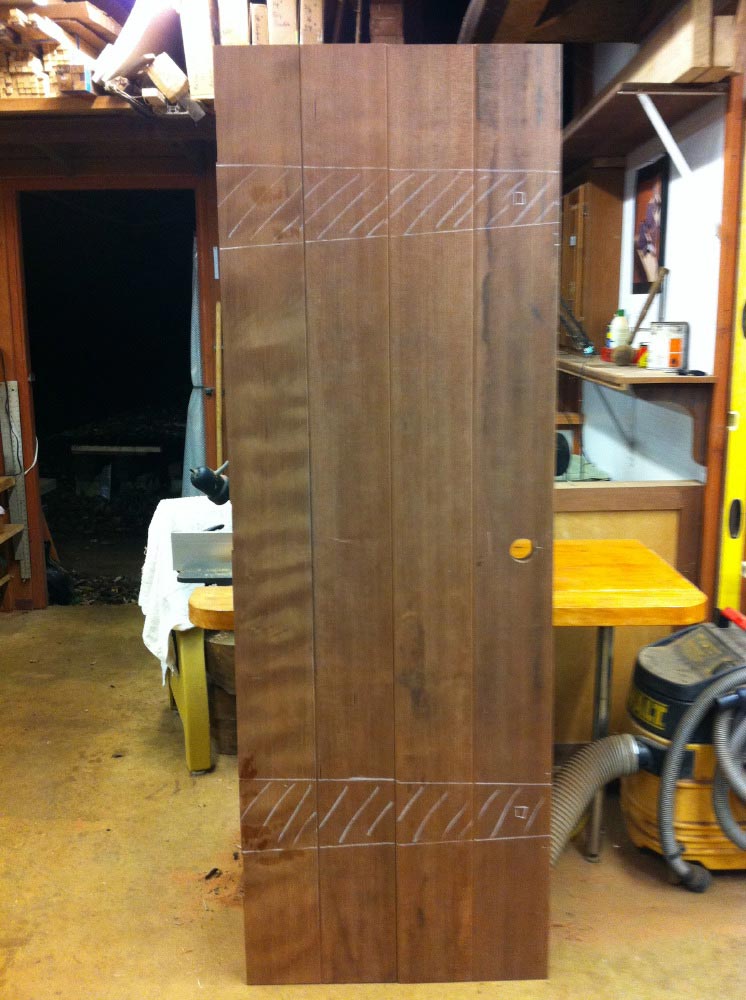
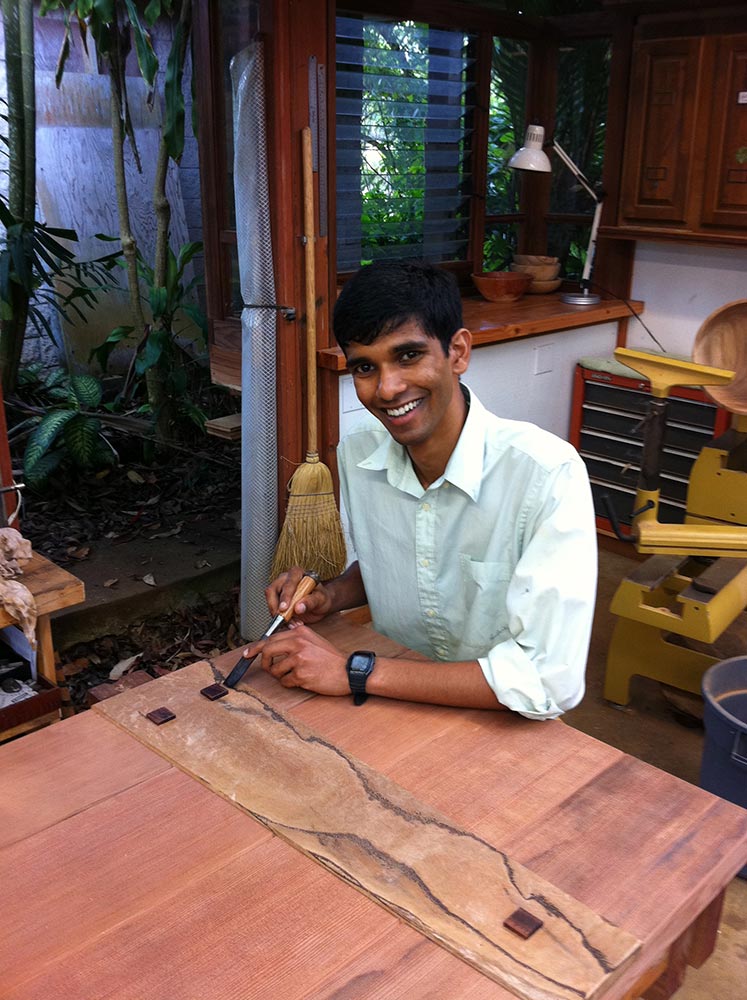
Marking out the batton placement.
big: '/taka-archive-all-assets/wp-content/uploads/2012/February/February_04_2012/slideshow-bowls-door-drawbore/large/04IMG_0311.jpg',
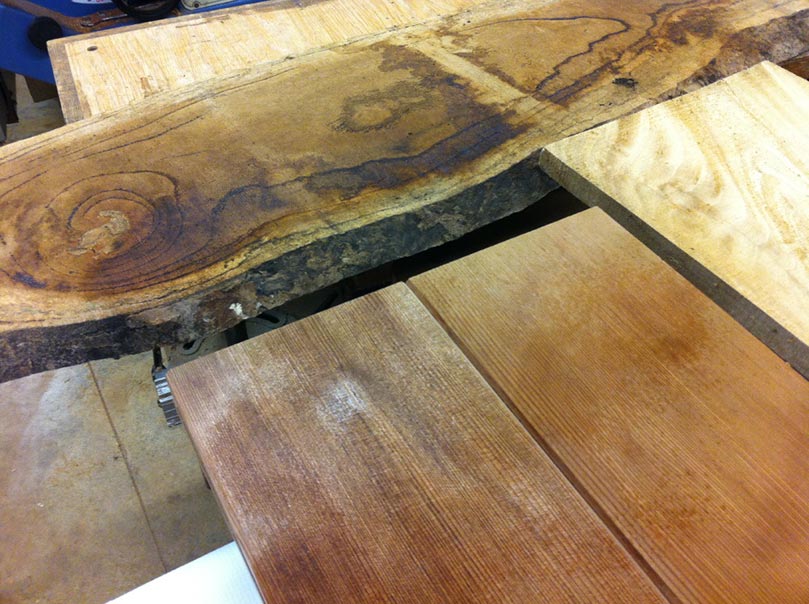
The jointer makes short work of flattening, then we hand plane to remove the machine marks.
big: '/taka-archive-all-assets/wp-content/uploads/2012/February/February_04_2012/slideshow-bowls-door-drawbore/large/05IMG_0312.jpg',
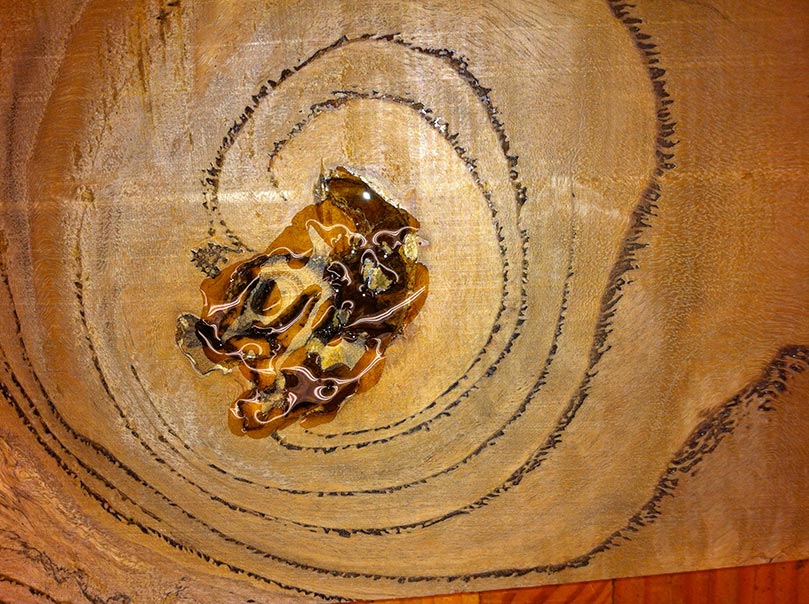
Filling some voids with superglue.
big: '/taka-archive-all-assets/wp-content/uploads/2012/February/February_04_2012/slideshow-bowls-door-drawbore/large/06IMG_0313.jpg',
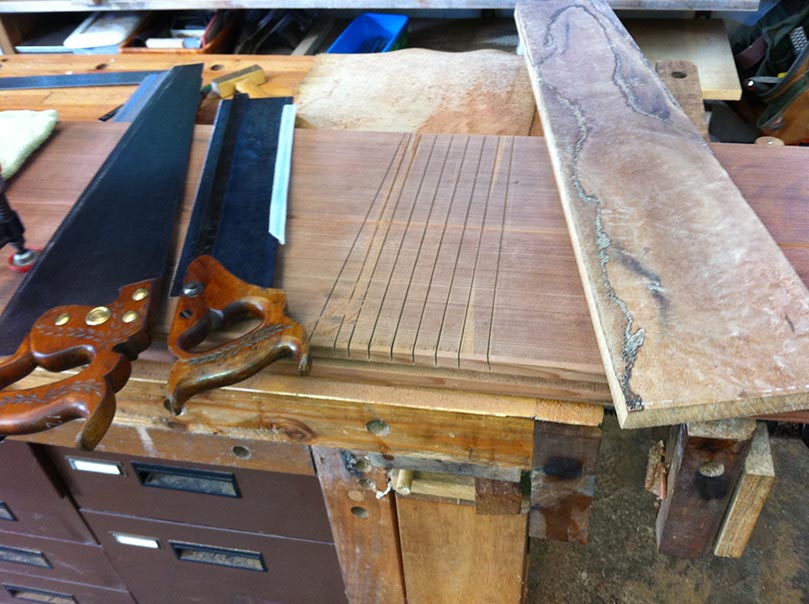
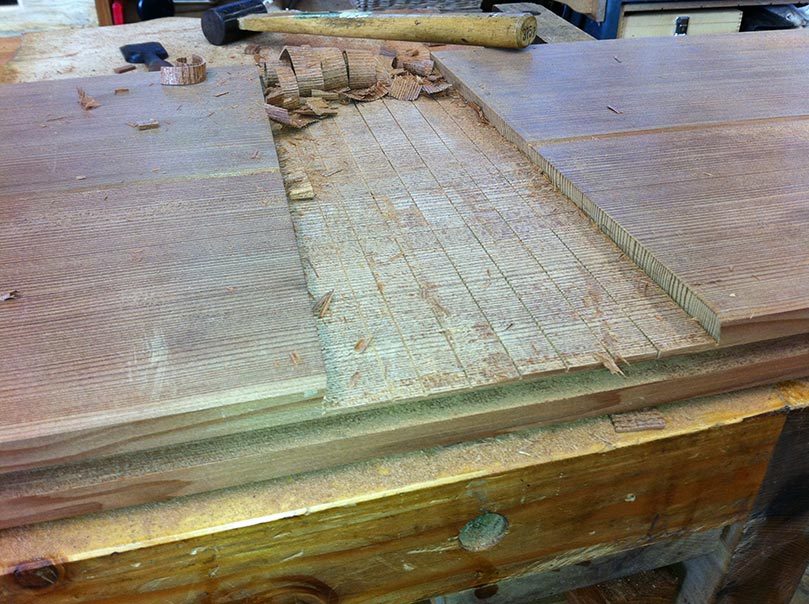
Old style, cutting kerfs before chiseling out the channels.
big: '/taka-archive-all-assets/wp-content/uploads/2012/February/February_04_2012/slideshow-bowls-door-drawbore/large/07IMG_0314.jpg',
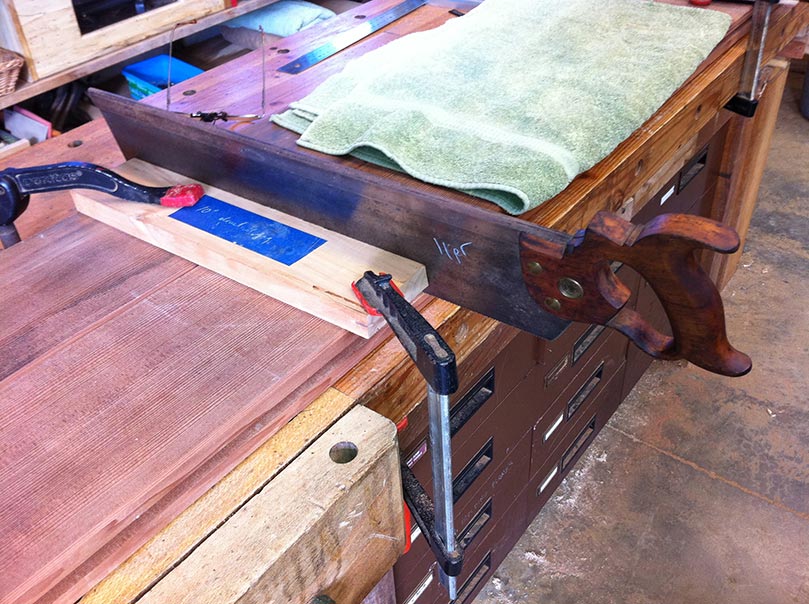
This big backsaw does most of the work.
big: '/taka-archive-all-assets/wp-content/uploads/2012/February/February_04_2012/slideshow-bowls-door-drawbore/large/08IMG_0315.jpg',
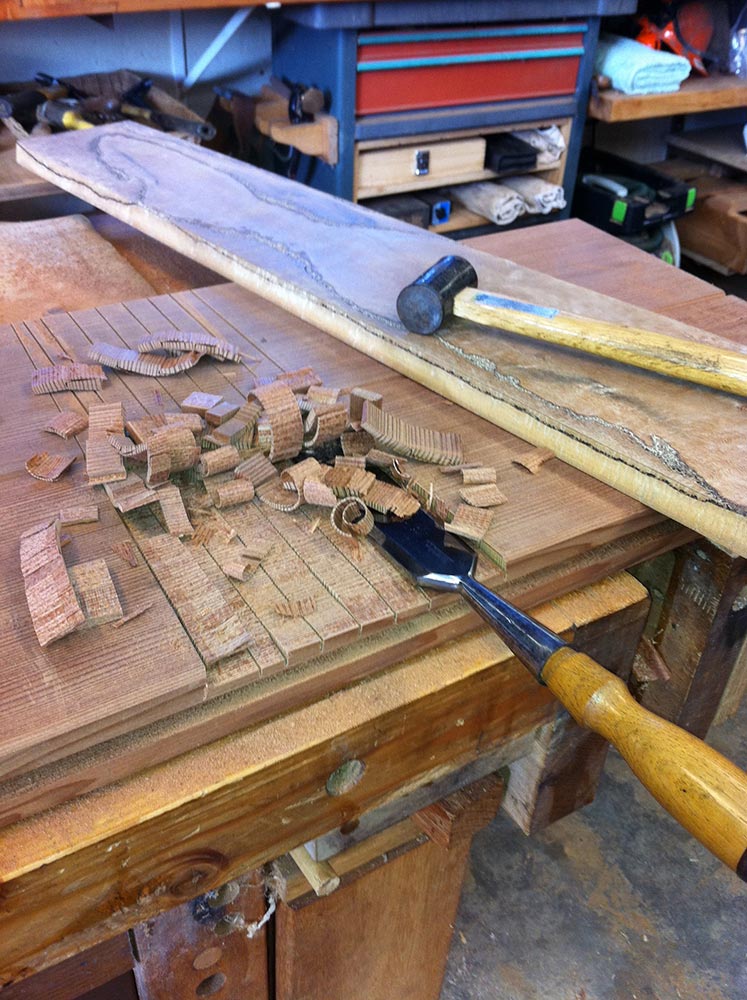
As the cuts are regulated by the gauge saw, we chisel to the bottom of the kerfs.
big: '/taka-archive-all-assets/wp-content/uploads/2012/February/February_04_2012/slideshow-bowls-door-drawbore/large/09IMG_0316.jpg',
Cleaning up. Next more cleanup and fitting with planes.
big: '/taka-archive-all-assets/wp-content/uploads/2012/February/February_04_2012/slideshow-bowls-door-drawbore/large/10IMG_0320.jpg',
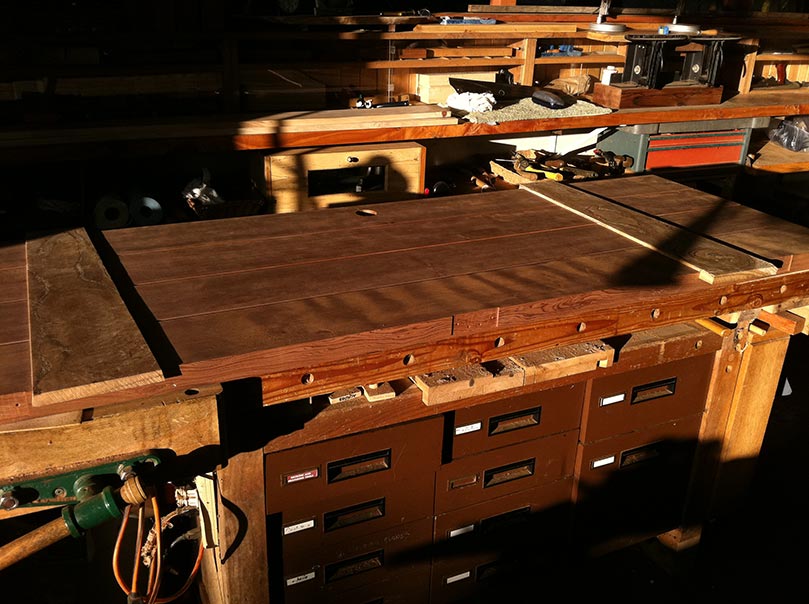
After installation.
big: '/taka-archive-all-assets/wp-content/uploads/2012/February/February_04_2012/slideshow-bowls-door-drawbore/large/11IMG_0484.jpg',
Some enthusiastic help on the plug placement.
big: '/taka-archive-all-assets/wp-content/uploads/2012/February/February_04_2012/slideshow-bowls-door-drawbore/large/12IMG_0051.jpg',
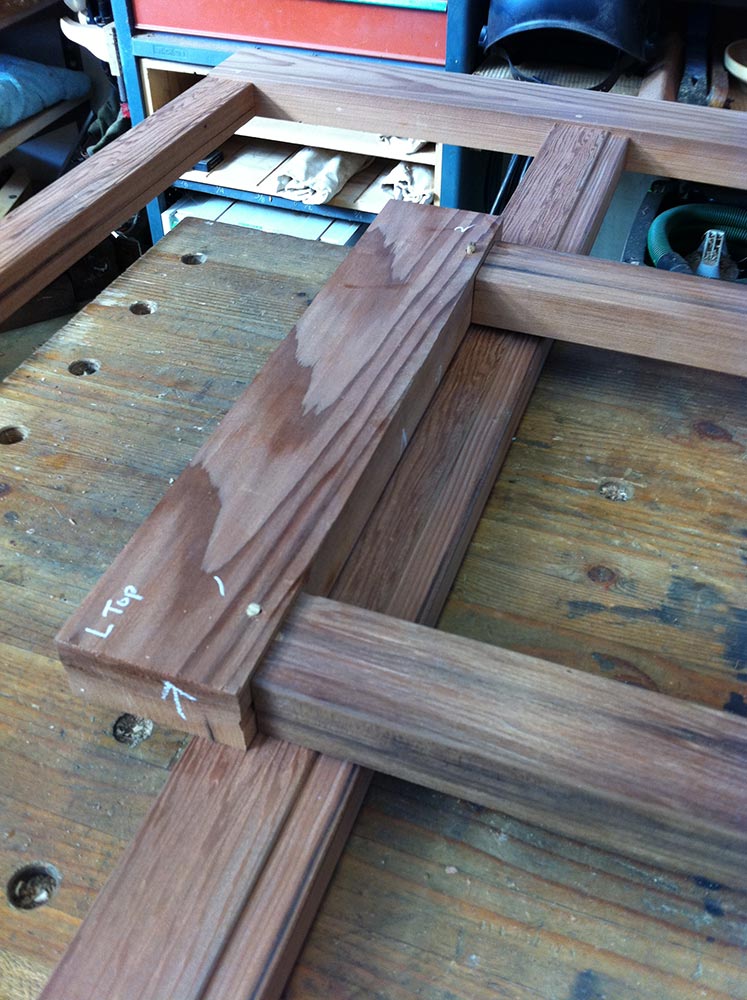
Window frames for the lathe corner.
big: '/taka-archive-all-assets/wp-content/uploads/2012/February/February_04_2012/slideshow-bowls-door-drawbore/large/13IMG_0053.jpg',
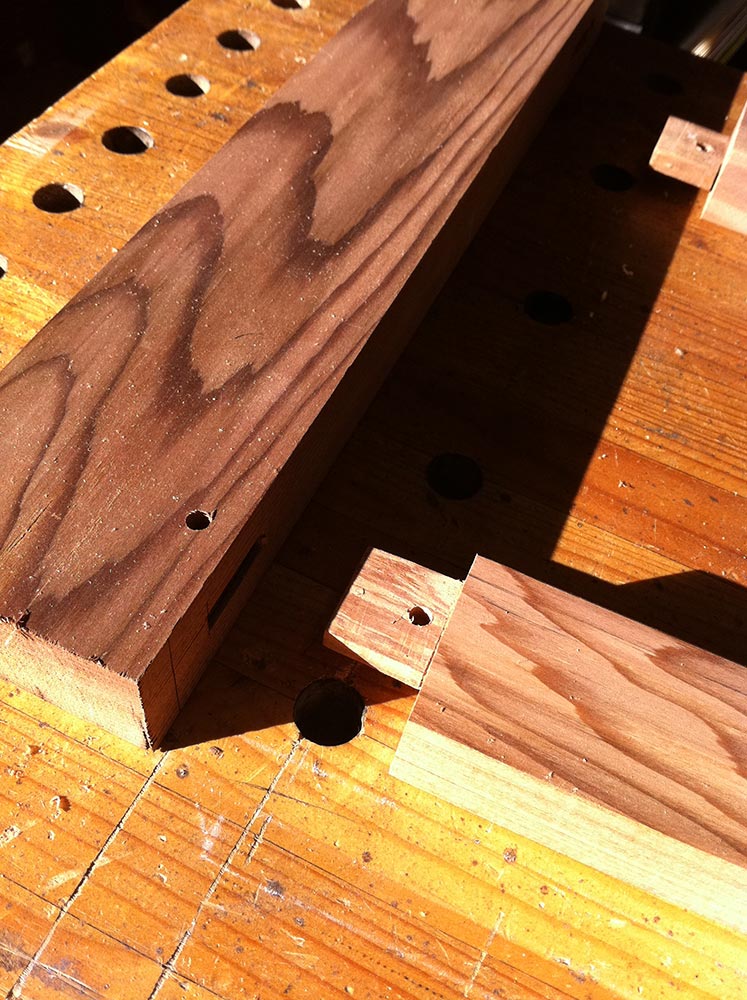
The holes are slightly offset in the mortise and tenon so that the plug pulls the joint together.
big: '/taka-archive-all-assets/wp-content/uploads/2012/February/February_04_2012/slideshow-bowls-door-drawbore/large/14IMG_0055.jpg',
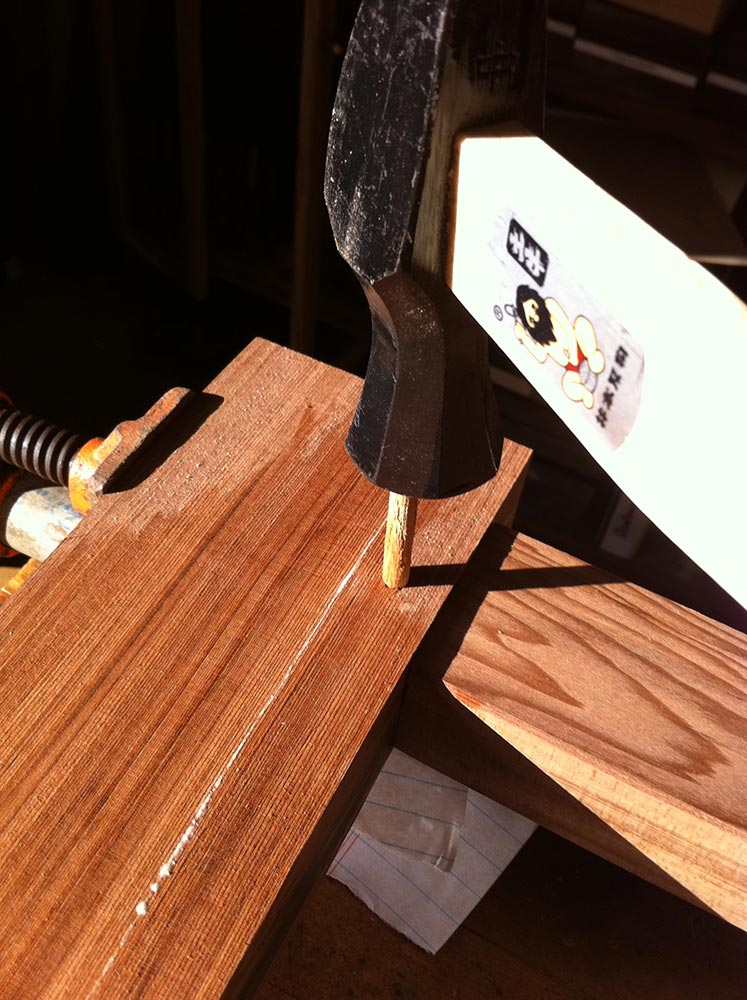
Hammering in the pegs. Joints like are found on furniture hundreds of years old.
big: '/taka-archive-all-assets/wp-content/uploads/2012/February/February_04_2012/slideshow-bowls-door-drawbore/large/15IMG_0001.jpg',
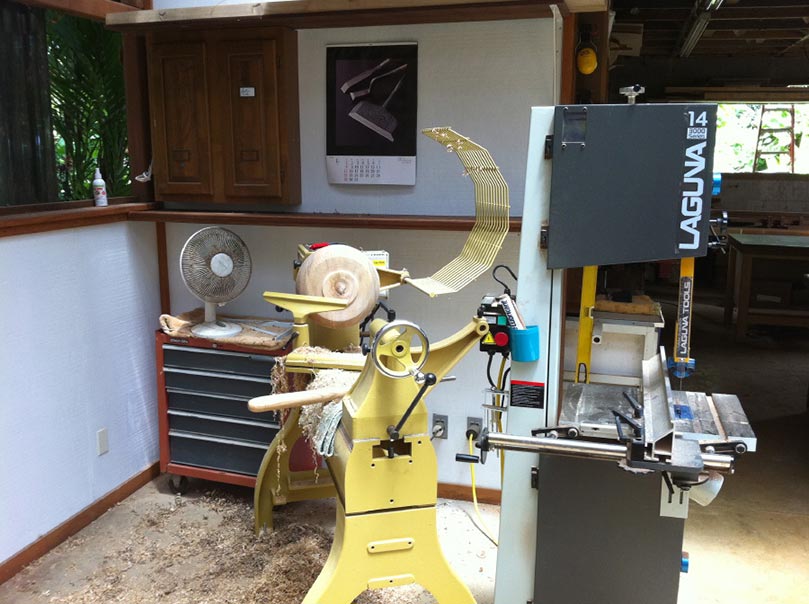
The lathe corner just after the Powermatic 3520 arrived last year.
big: '/taka-archive-all-assets/wp-content/uploads/2012/February/February_04_2012/slideshow-bowls-door-drawbore/large/16IMG_1227.jpg',
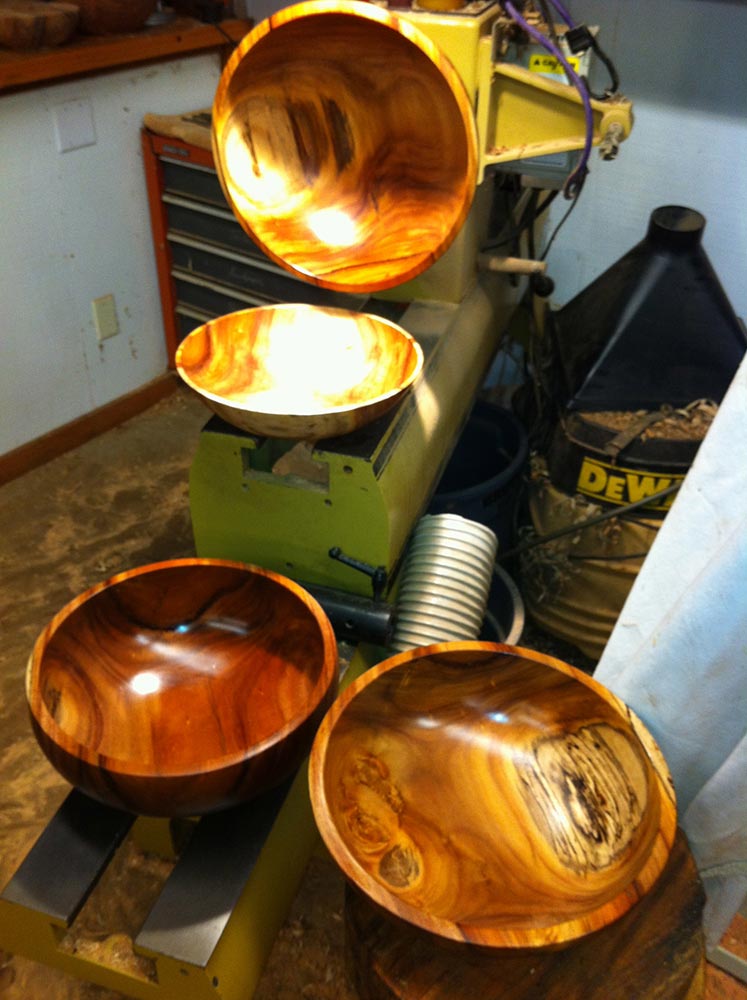
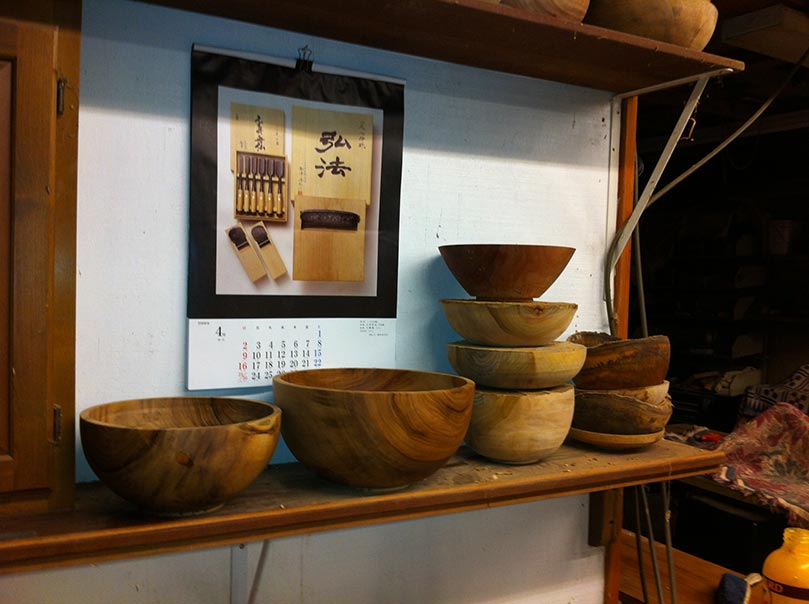
Just a few days ago, a host of formosa koa bowls are emerging. The finish is beeswax and orange oil.
big: '/taka-archive-all-assets/wp-content/uploads/2012/February/February_04_2012/slideshow-bowls-door-drawbore/large/17IMG_1229.jpg',
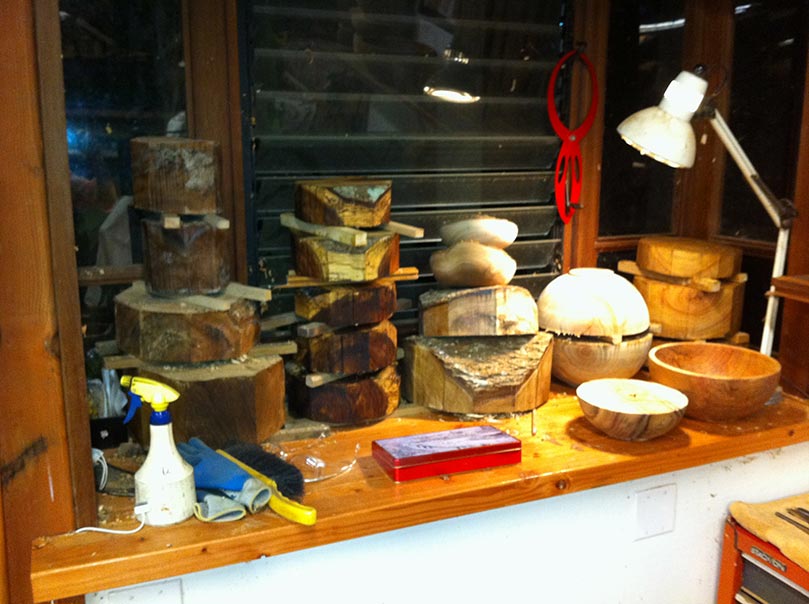
Bowl blanks and bowls in progress in the new alcove. Koa, camphor and catalpa.
big: '/taka-archive-all-assets/wp-content/uploads/2012/February/February_04_2012/slideshow-bowls-door-drawbore/large/18IMG_1230.jpg',
Other bowls in progress, including some mango natural edge pieces.
}
];
height: 525,
width: 700,
imageCrop:true,
transitionSpeed:150});
Large photo alert! Pan and Use the pop-out or full screen option to see some marvelous wood grain.
A few recent projects in from the woodshop. First, a redwood batton door, similar to the style on the original aadheenam building from 1929, but here we used tapered sliding dovetail crossmembers, inspired by work at the Russian Fort in California. Second, three photos of some window frames using drawbore pins; and third, a look at the lathe corner.