The Evolution of Our Cedar Room Table, Part One: Preparing the Top
May 4, 2020Sometime in 2018, we began thinking again about what the new table for the Media Studio's cedar room would be like. We had created an oval design several years earlier and even milled out and cut the top planks, but it became clear it just wasn't going to be up to standard, so we scrapped the idea and went on to other aspects of the Media Studio completion, with the help of Aditya Vinadhara, Jnani Cevvel, Kanda Alahan and other selfless volunteers. Tasks included the soffit around the building made from camphor, installing the storm shutters, completing the trim around the big window and installing wainscoting and window treatments, etc., in Kumarnathaswami's office. Then it was time again for the table. We got some ideas from vintage examples, such as the one on the second slide....Somewhere around two years later, we have the finished product (as you will see in the next post).
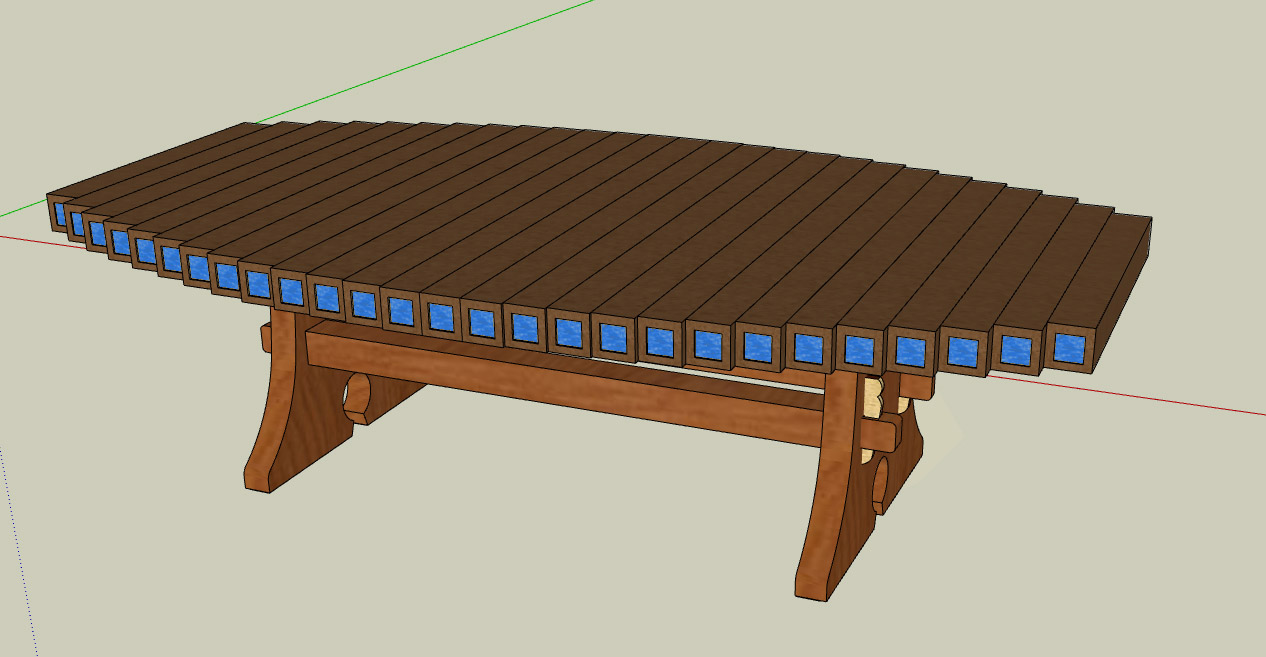
This is the design that Sadasivanathaswami and Kumarnathaswami finally settled on after many renderings in Sketchup. The top is from an example that Paramacharya saw once and was totally charmed by. As you\
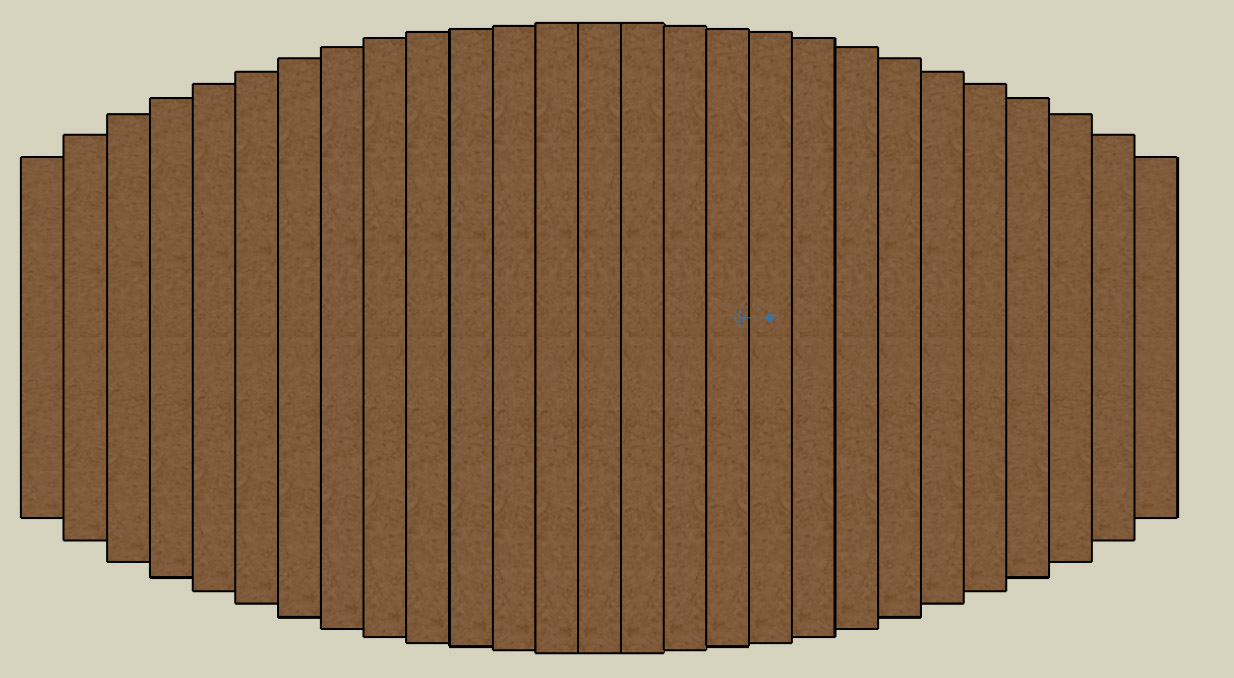
ll see, the base is modeled after a vintage example. There are 27 top members, one for each nakshatra. The blue recessed ends are copper etched with an artful process that yields this blue patina.'
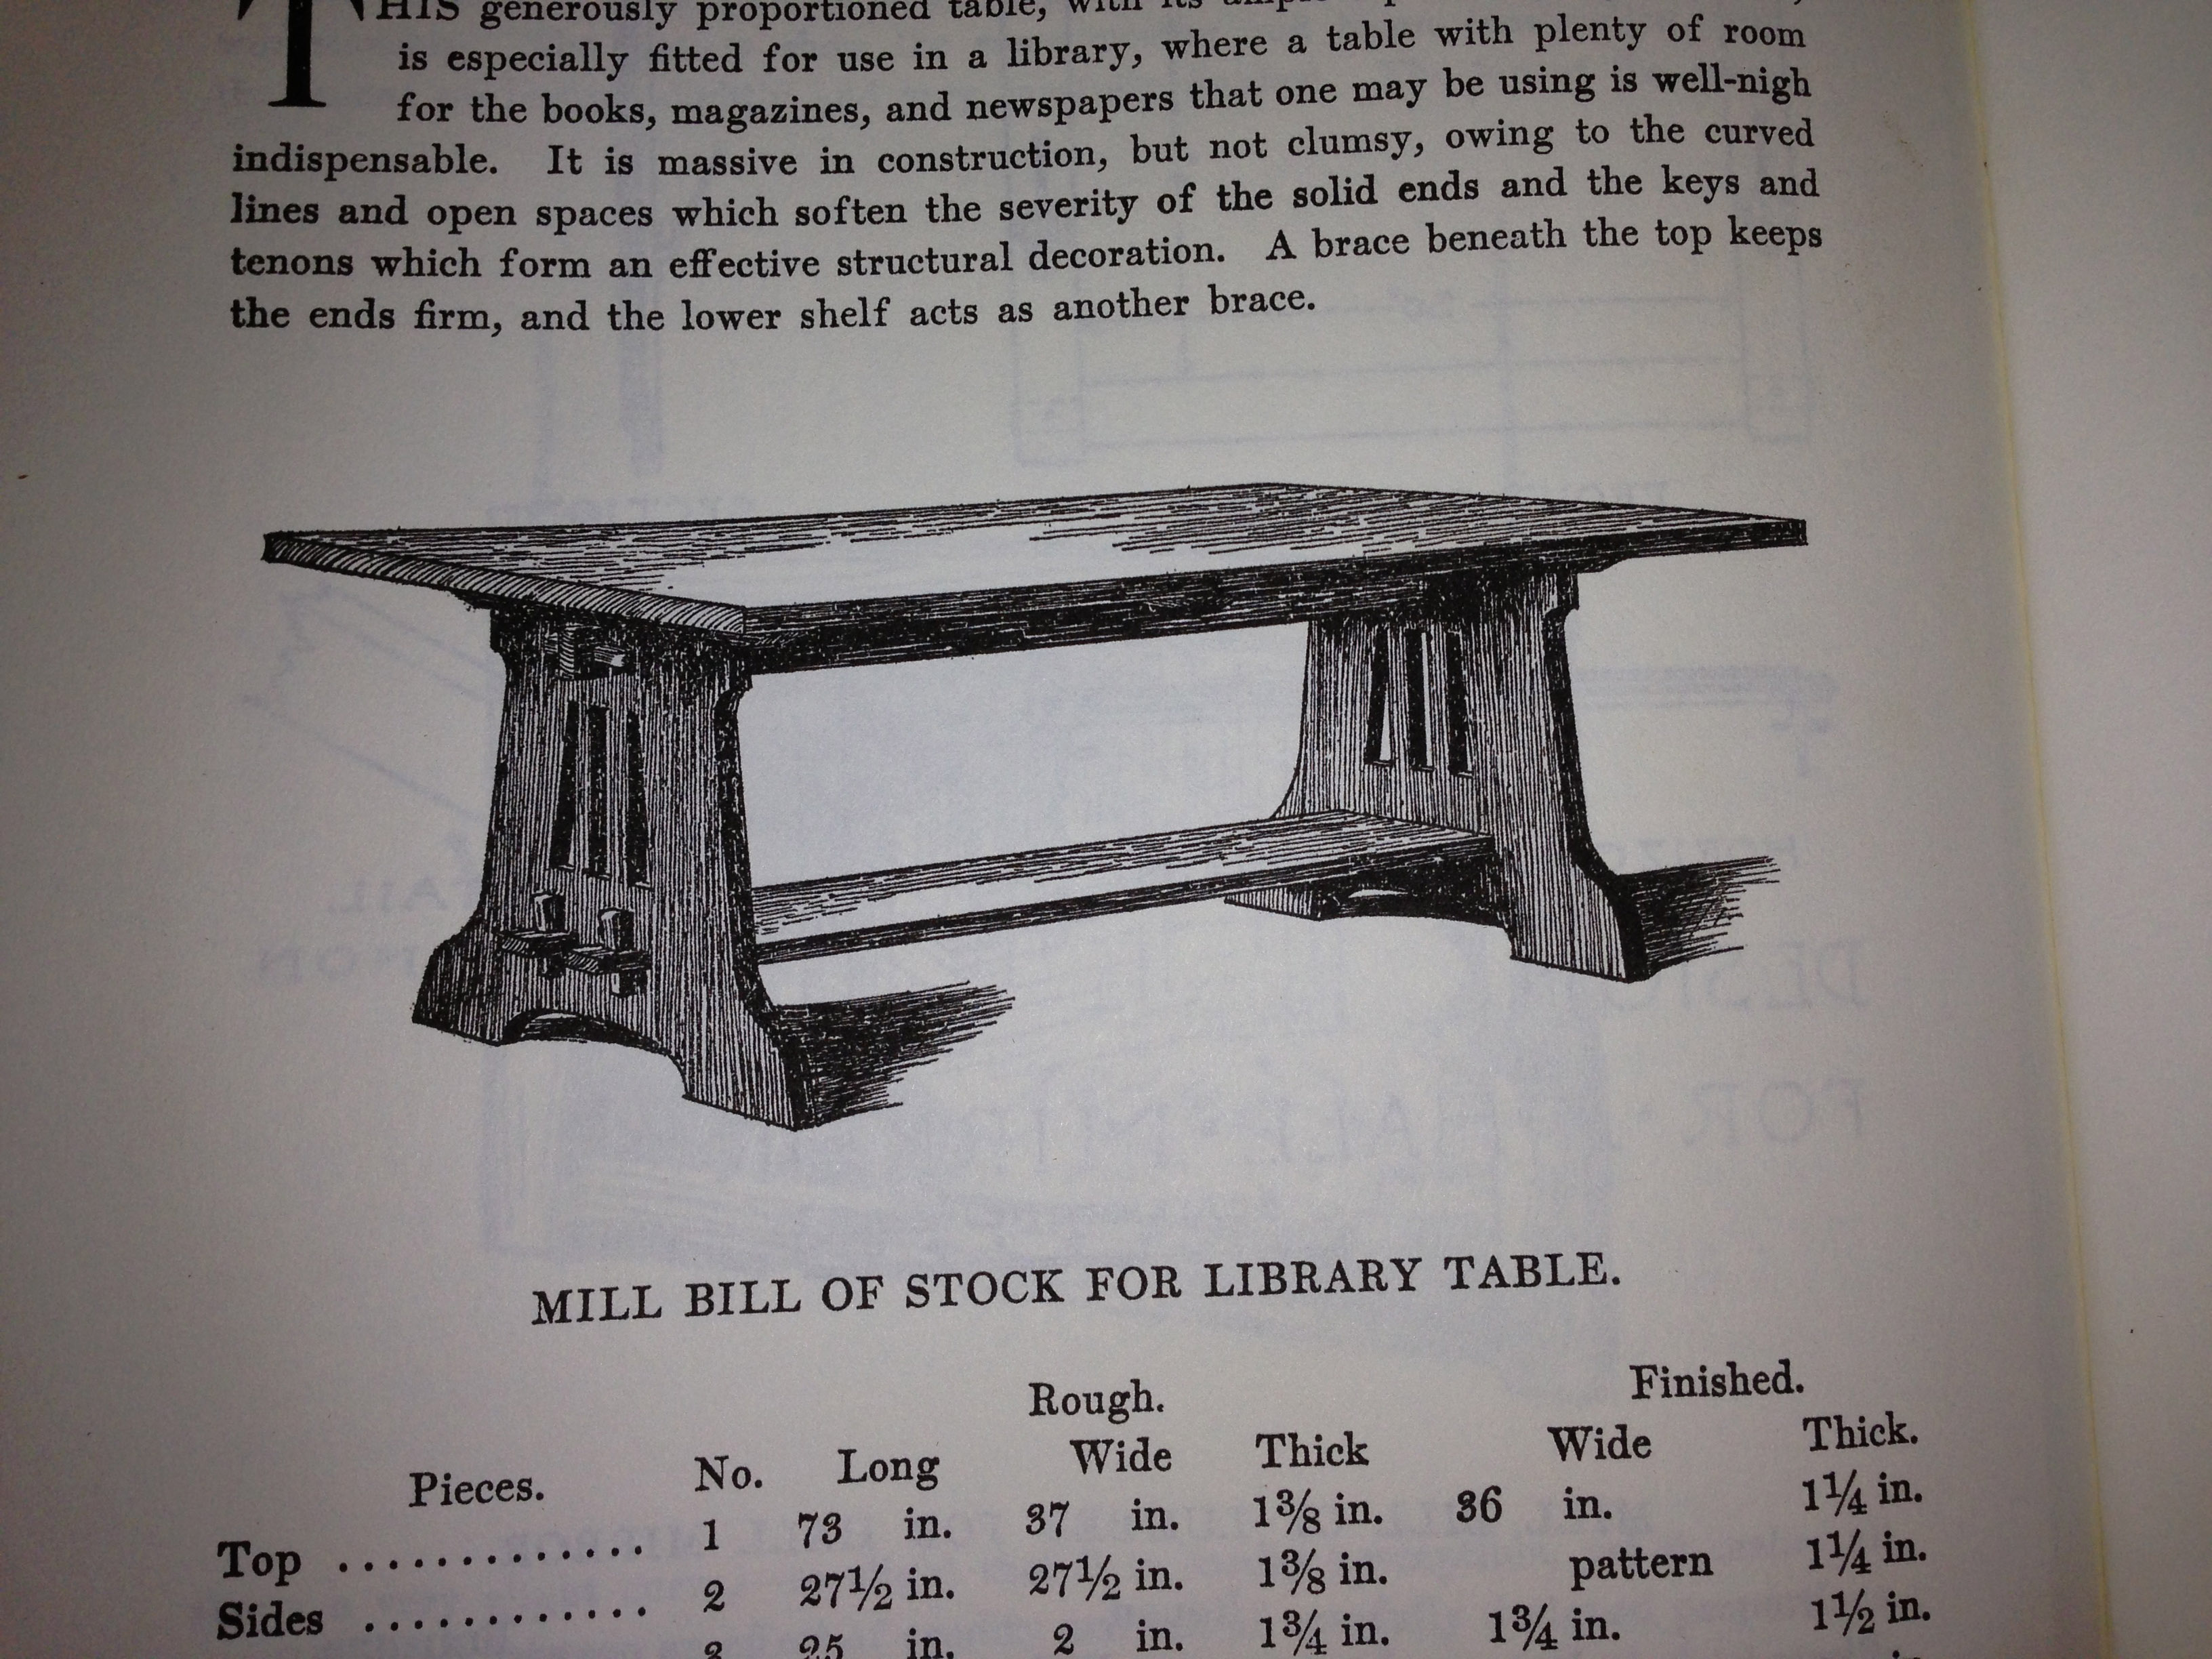
A vintage trestle table designed in the early 1900s.
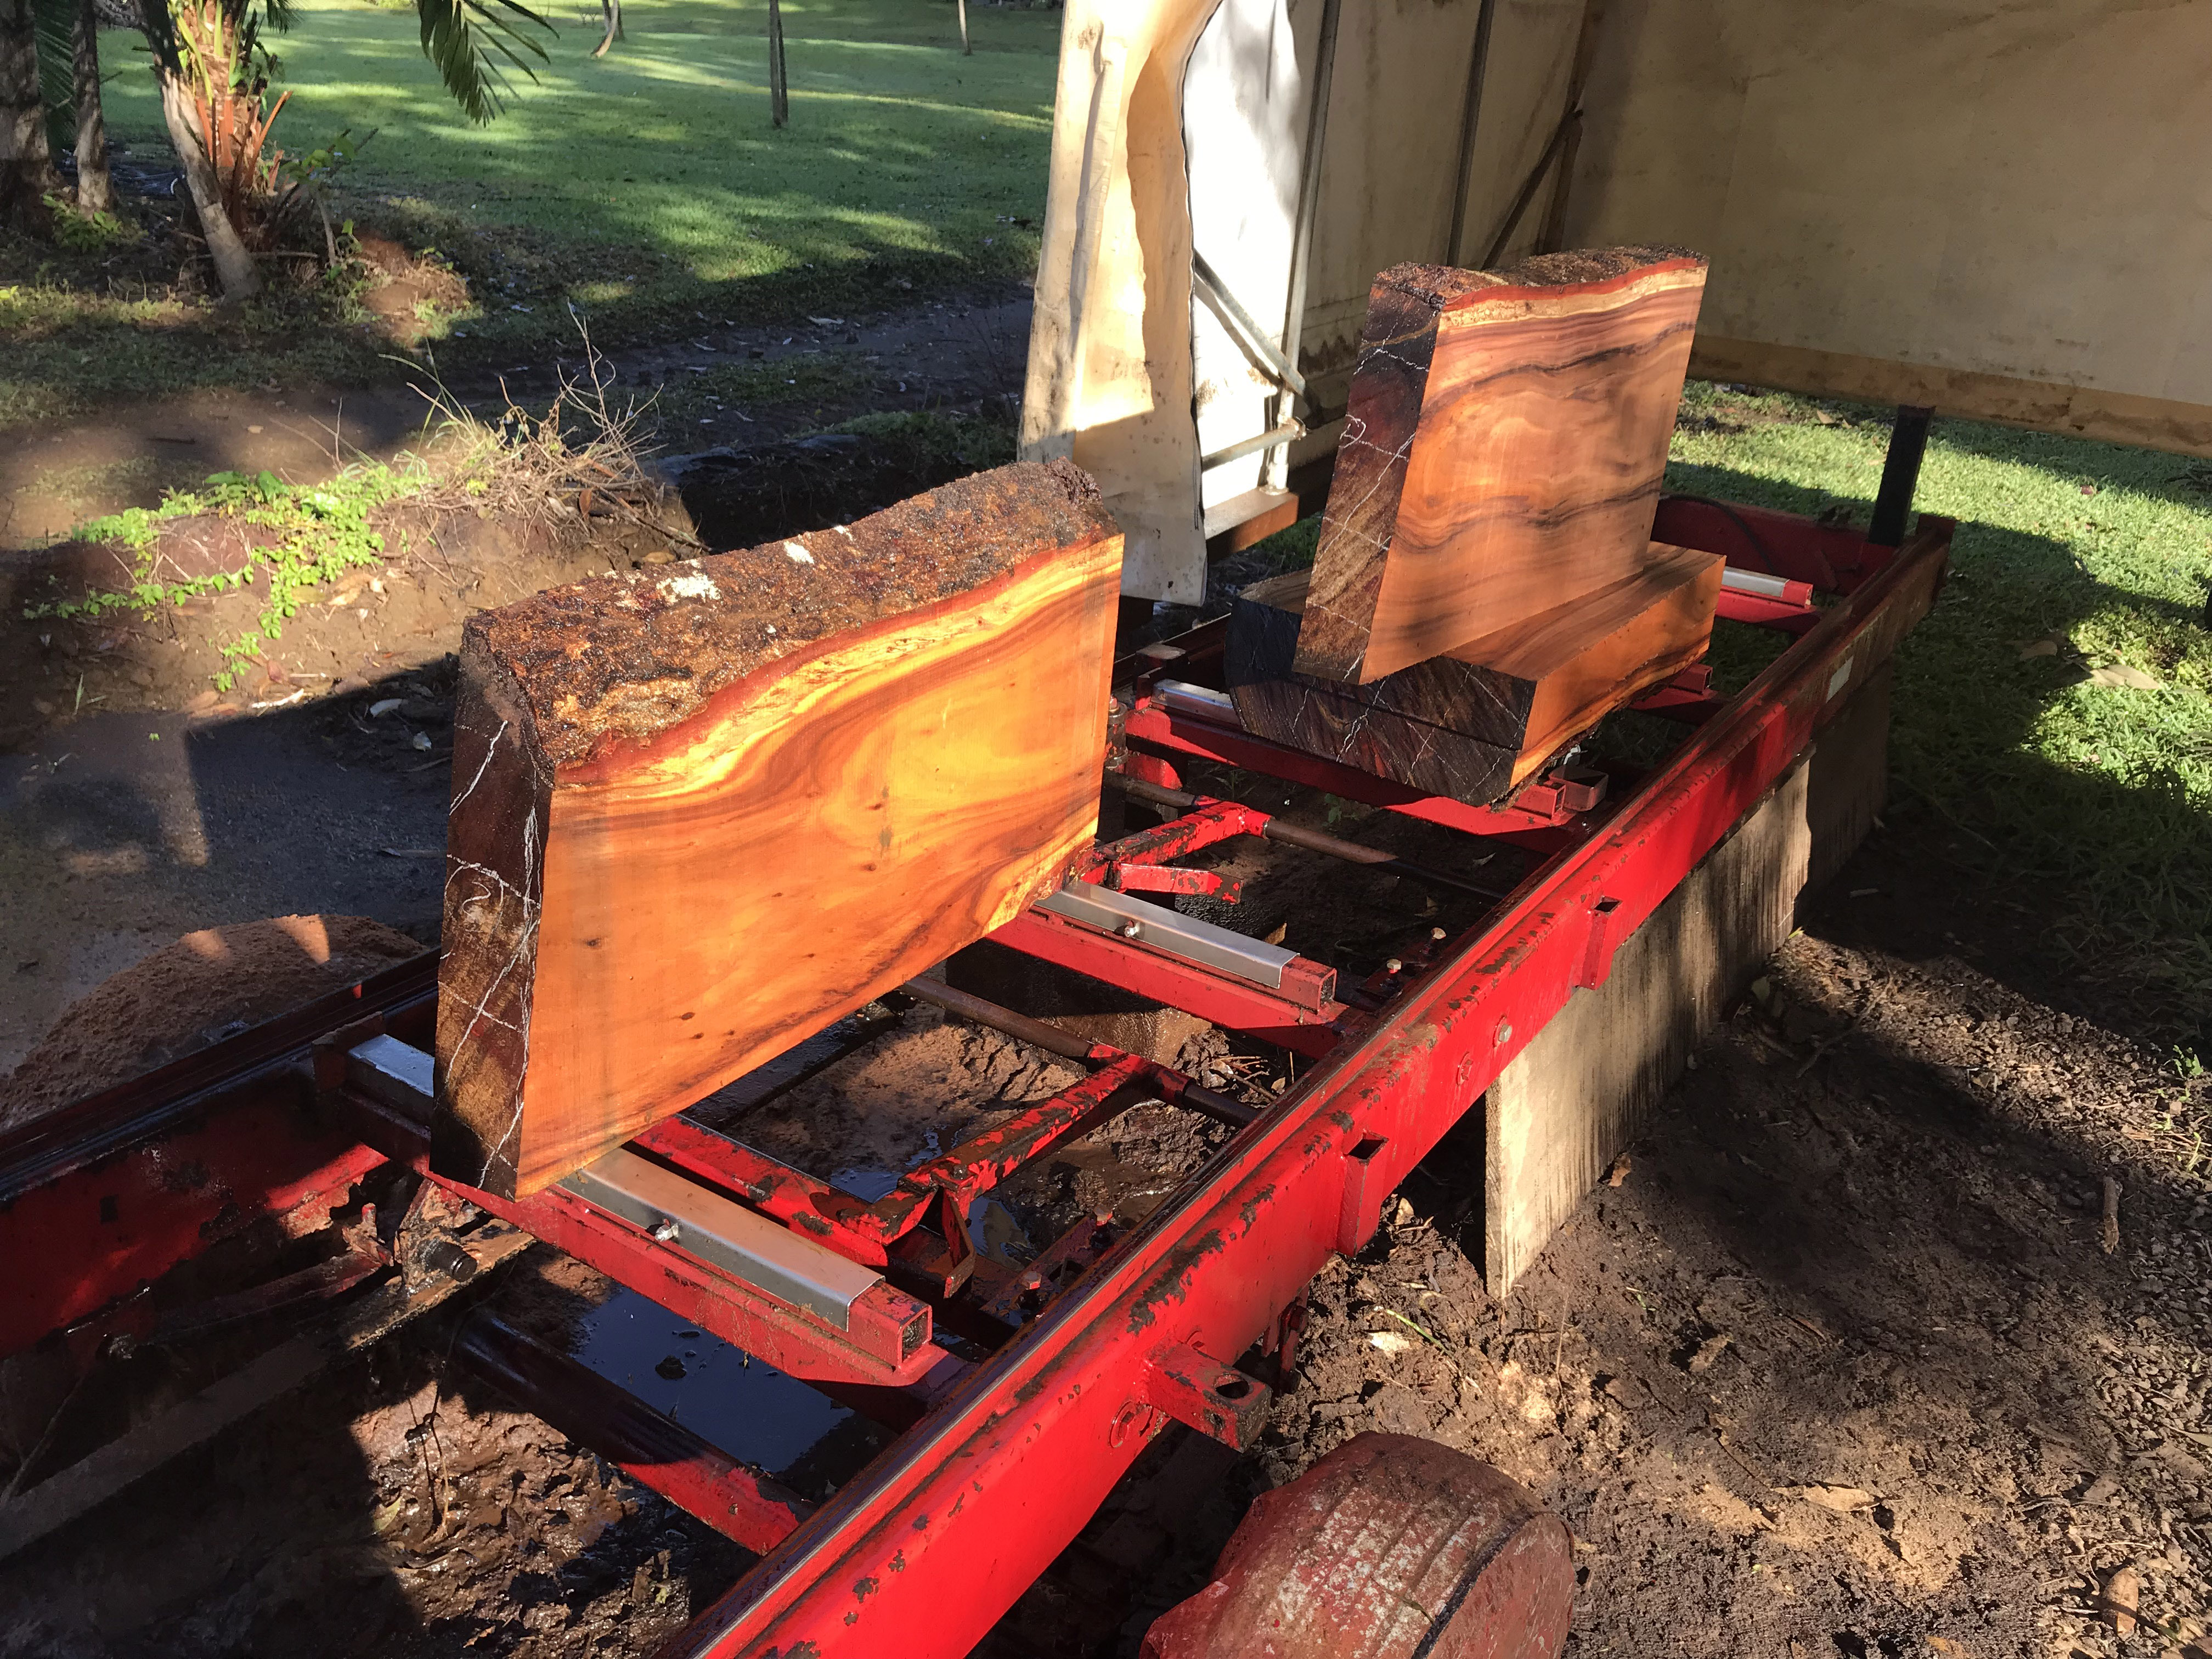
We discussed two main options for the wood: monkeypod and earpod. Whatever we used would still need months and months to be dry enough to work. Then two mature formosa koa trees in our front parking lot were taken down because it was feared they would drop branches on the cars beneath them. Of course, we worked with the arborists to get the best possible yeild. After their work, we had a large stock of logs. It\
s rare when milling a tree to know what it is destined to become. In this case the idea soon dawned on us that this should be used for the table. Hence we were fortunate in being able to mill the logs according to the cut list for our table. Here, you can see a bit of that milling process on our Cook bandsaw mill (Adi Srikantha helped with this work.)'
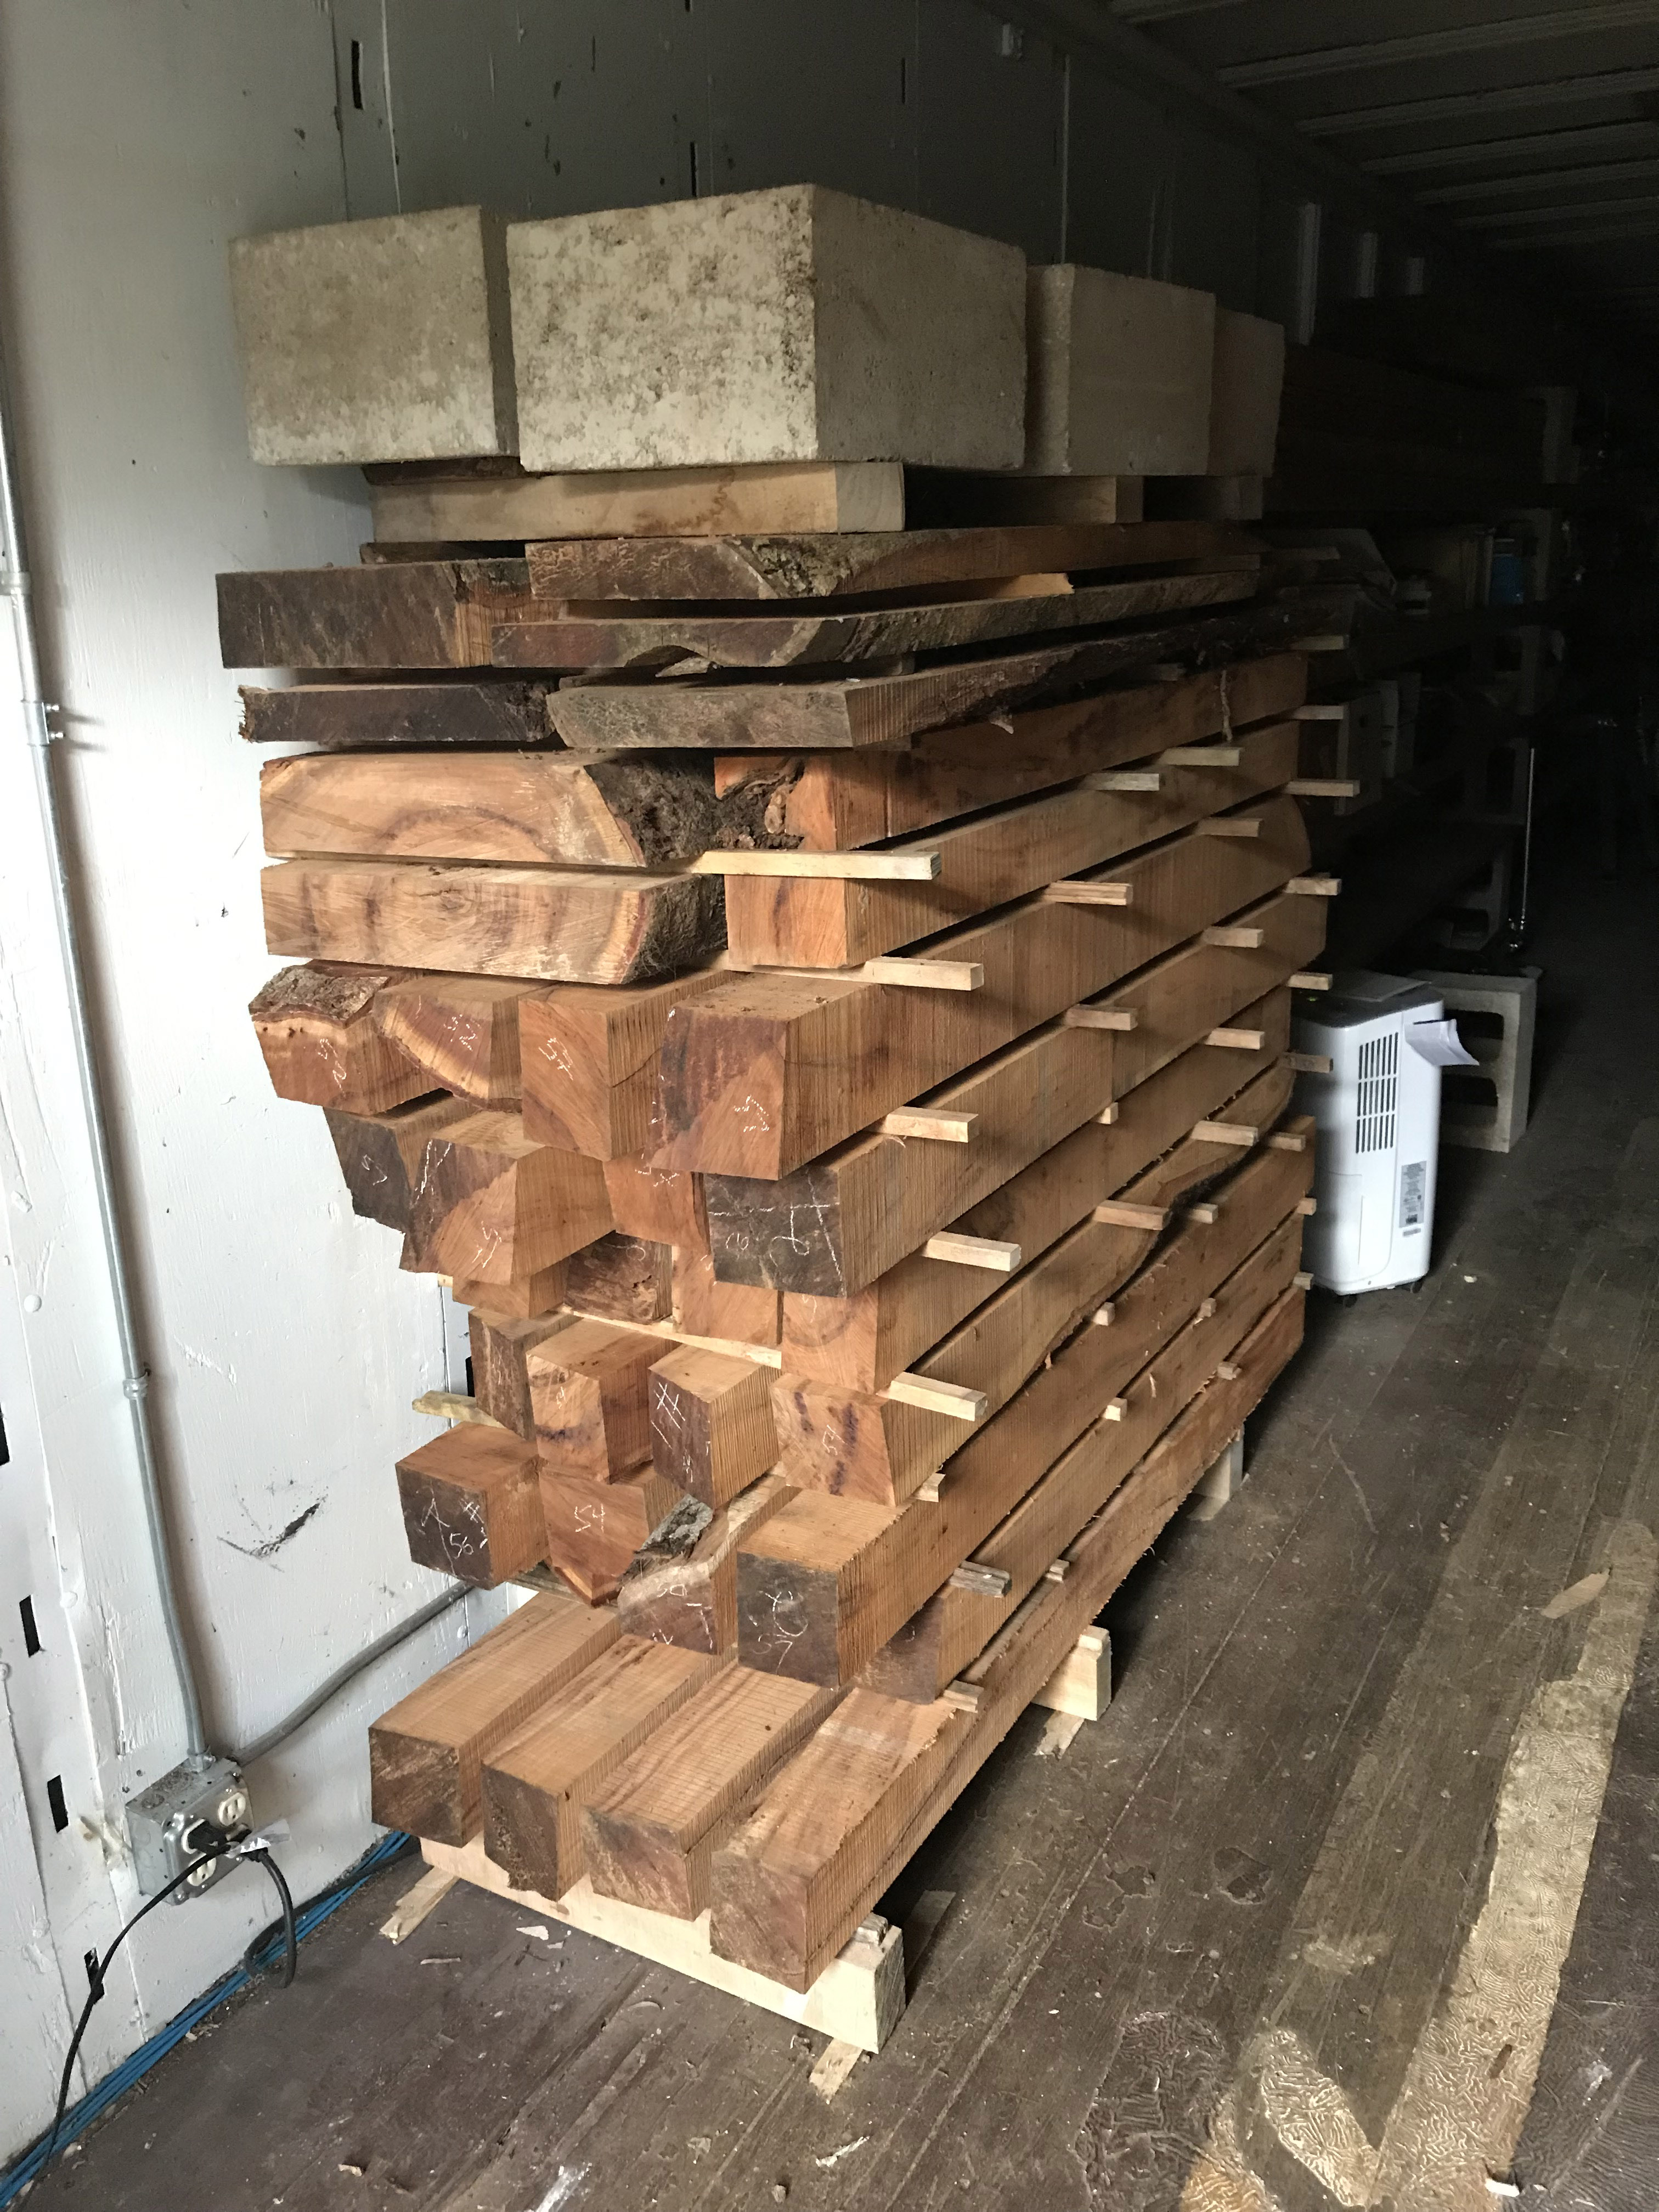
Here is the rough wood stacked in our dehumidified library container to speed up the drying time. With this acceleration, were able to start the work on the table after only 9 months. Warping and twisting was considerable.
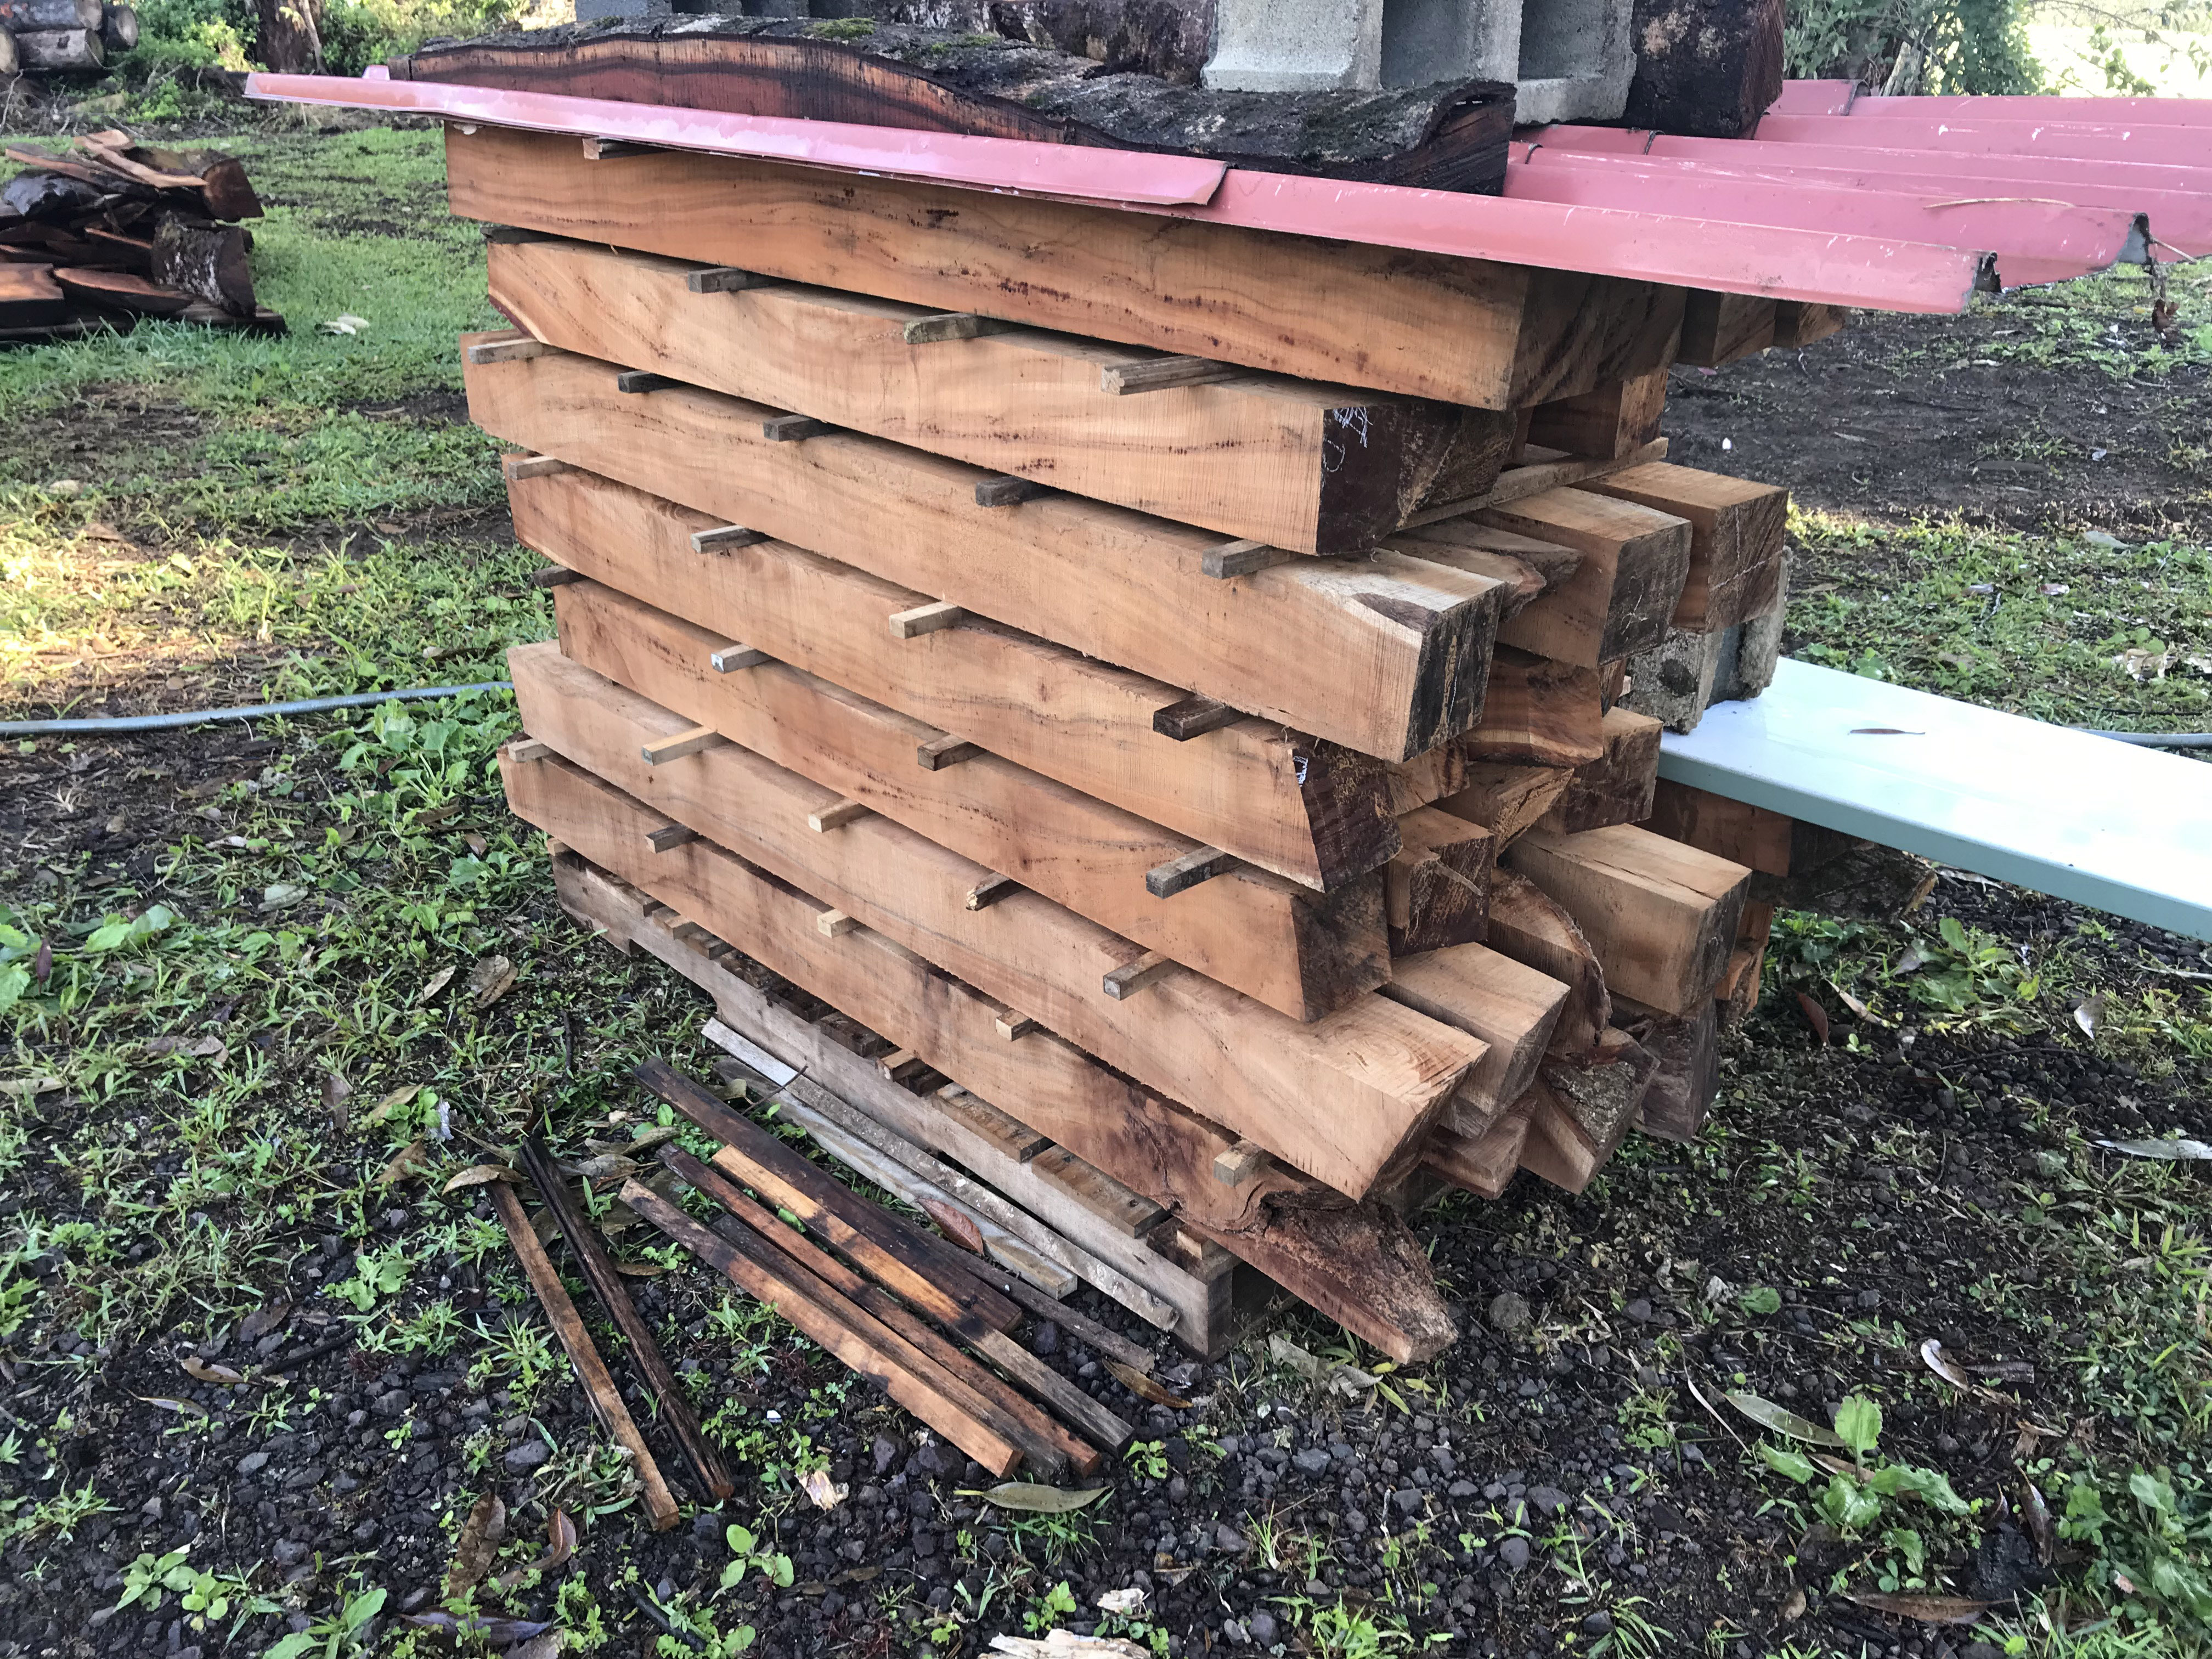
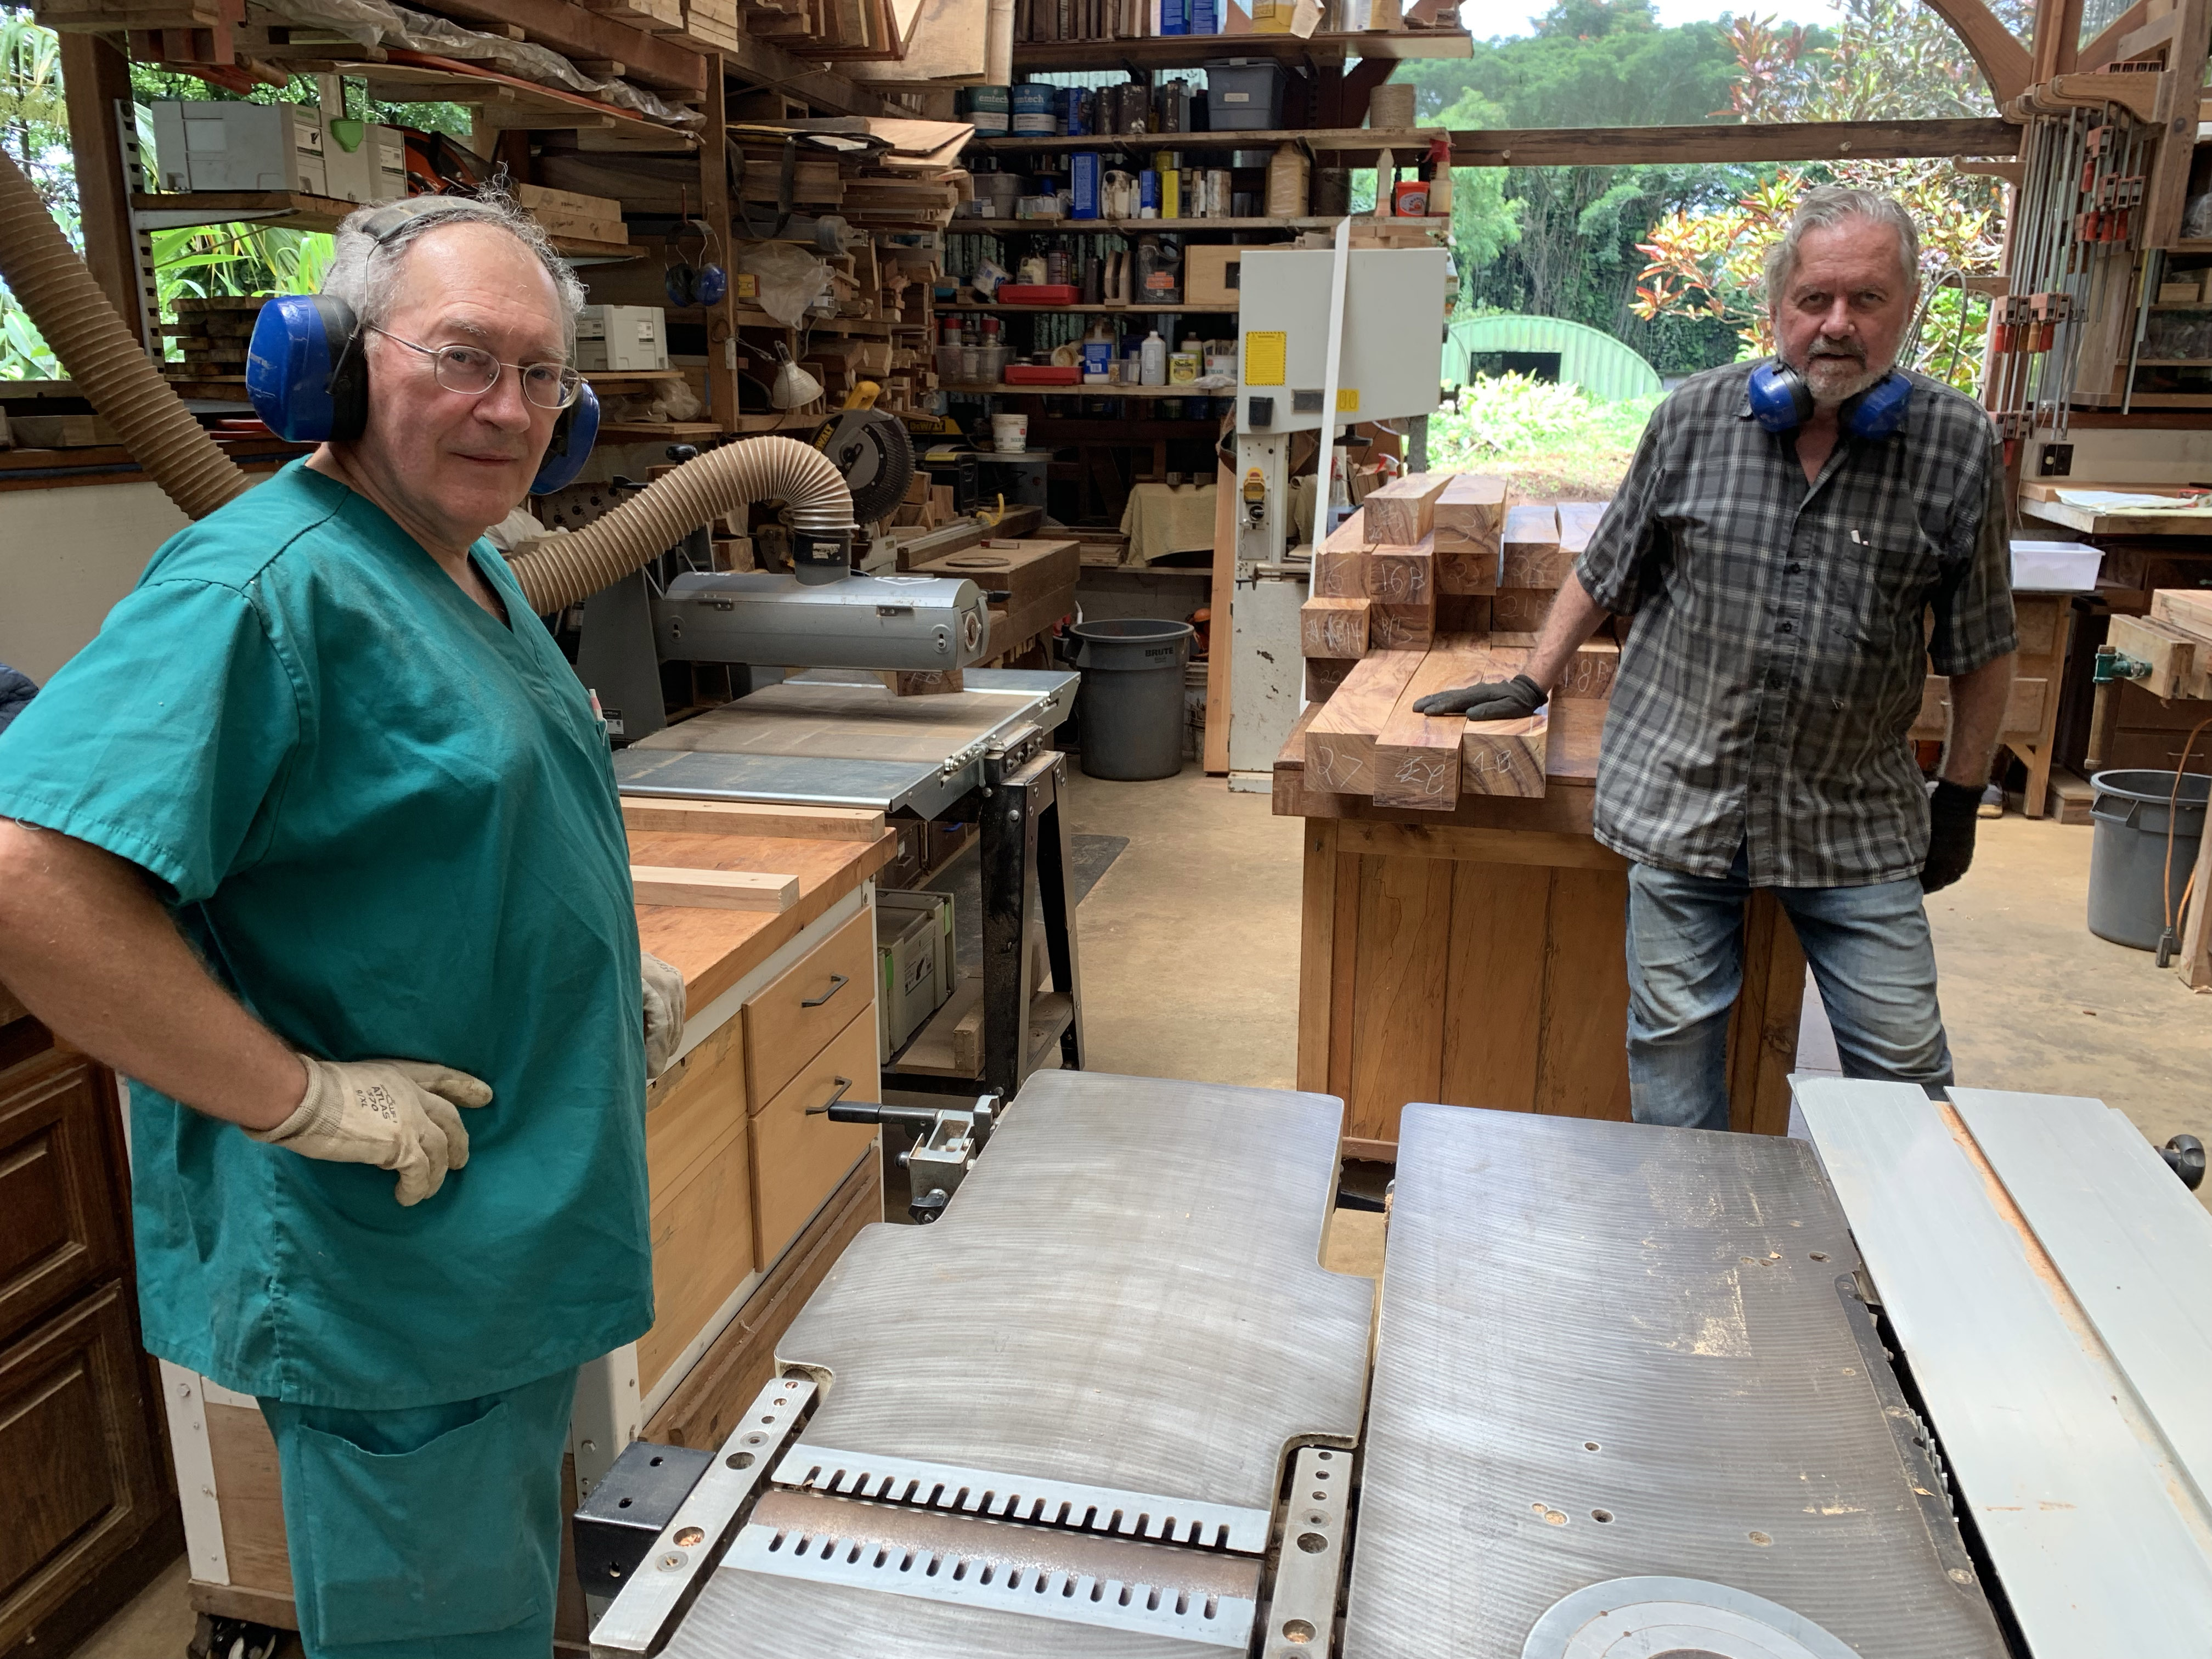
Here are the top pieces stacked on a pallet in front of the wood shop as we teamed up to start the construction. This began in September of 2019 with the arrival of Jnanideva and Aditya, who spent nearly 4 weeks helping Kumarnathaswami with the work, turning this rugged stock into something magnificent.
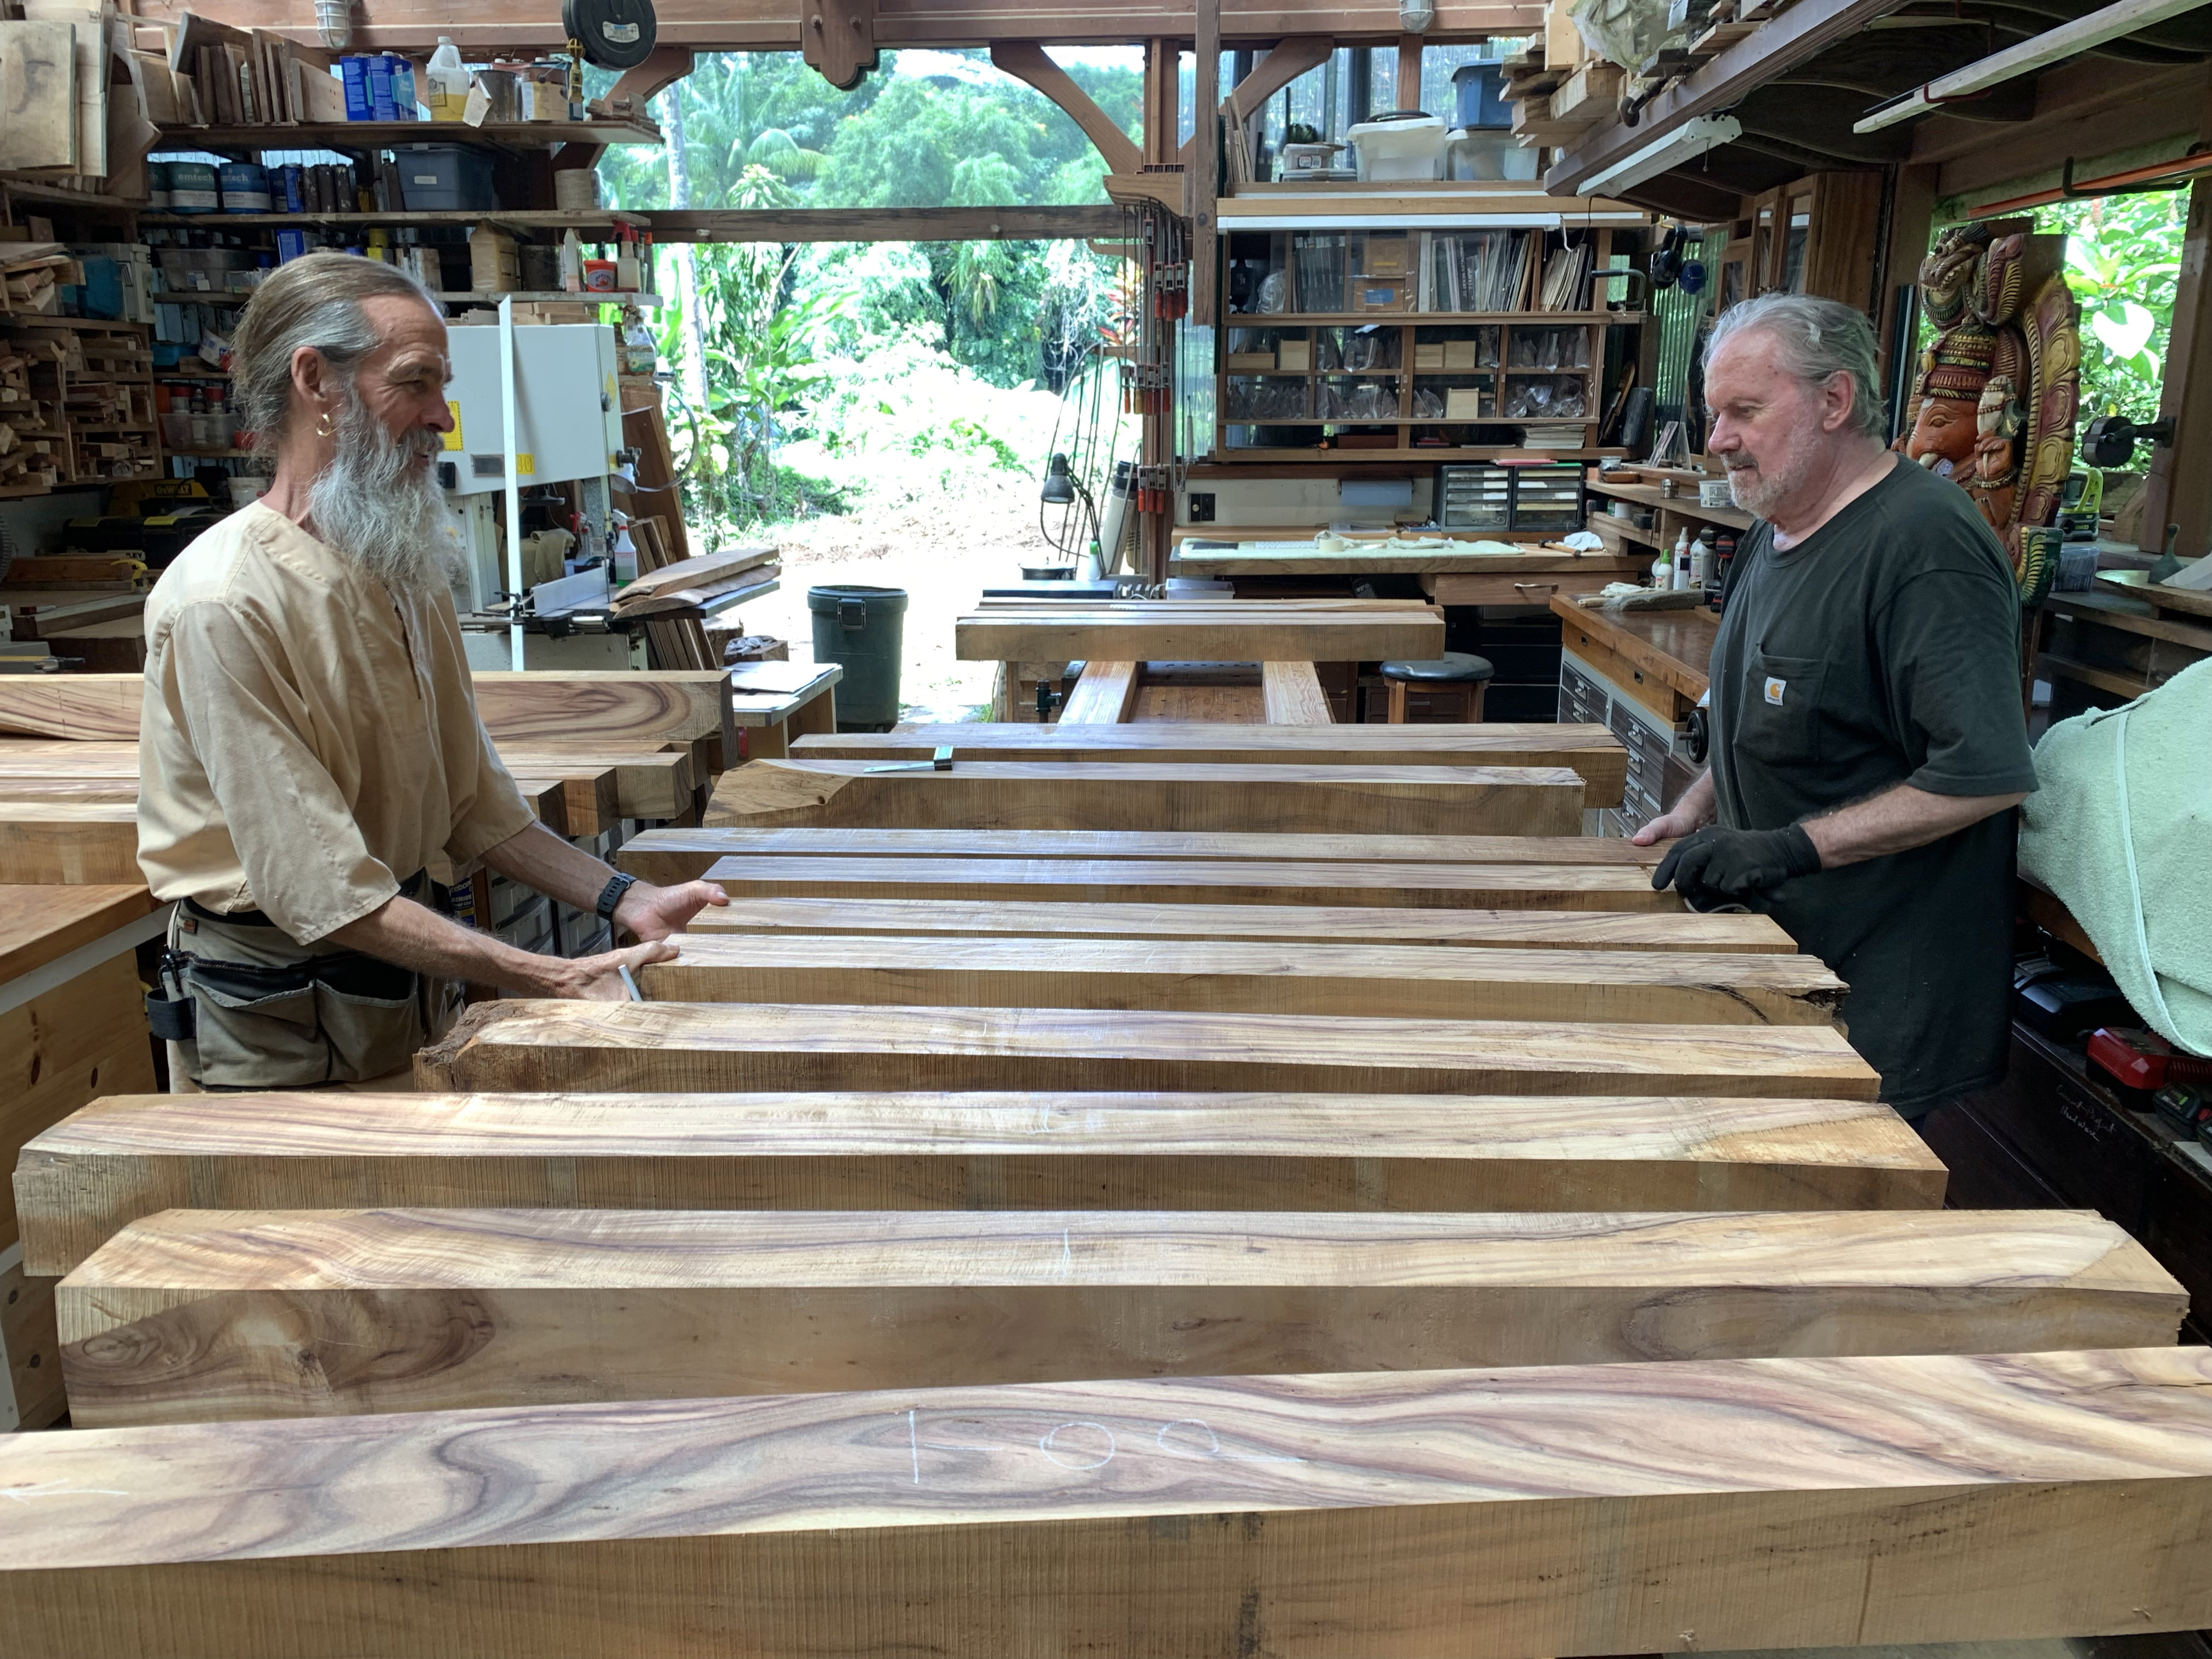
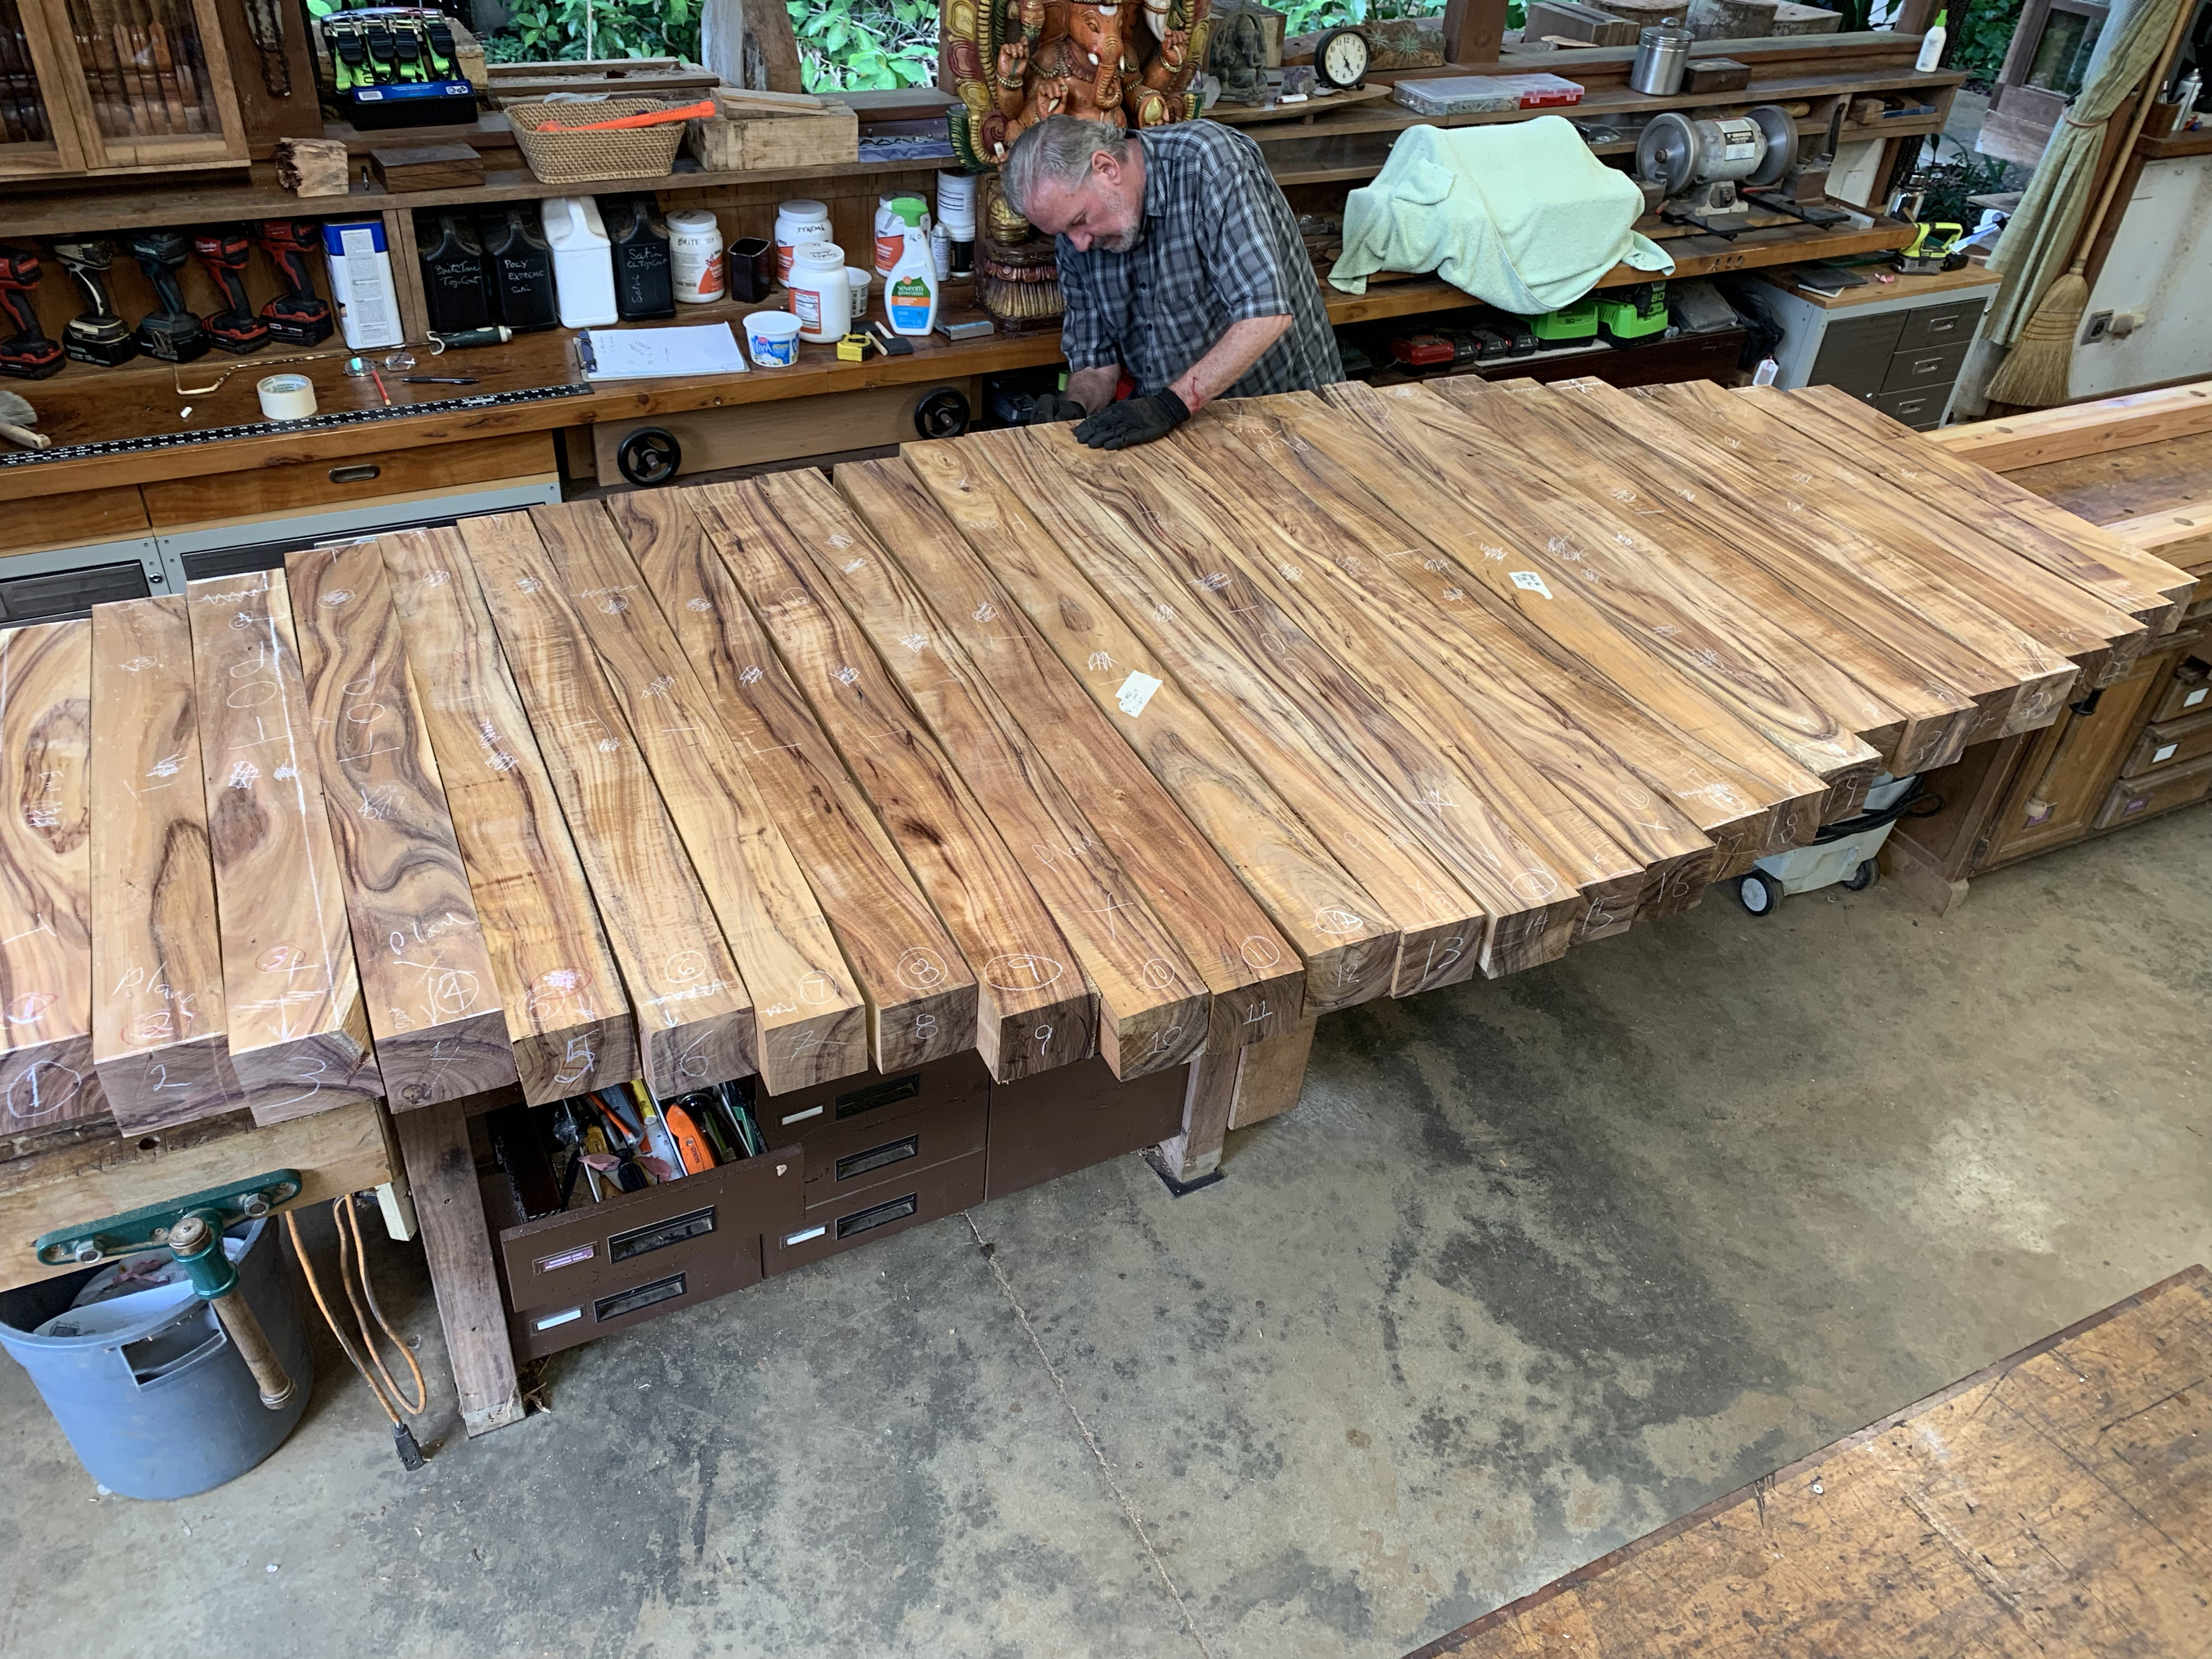
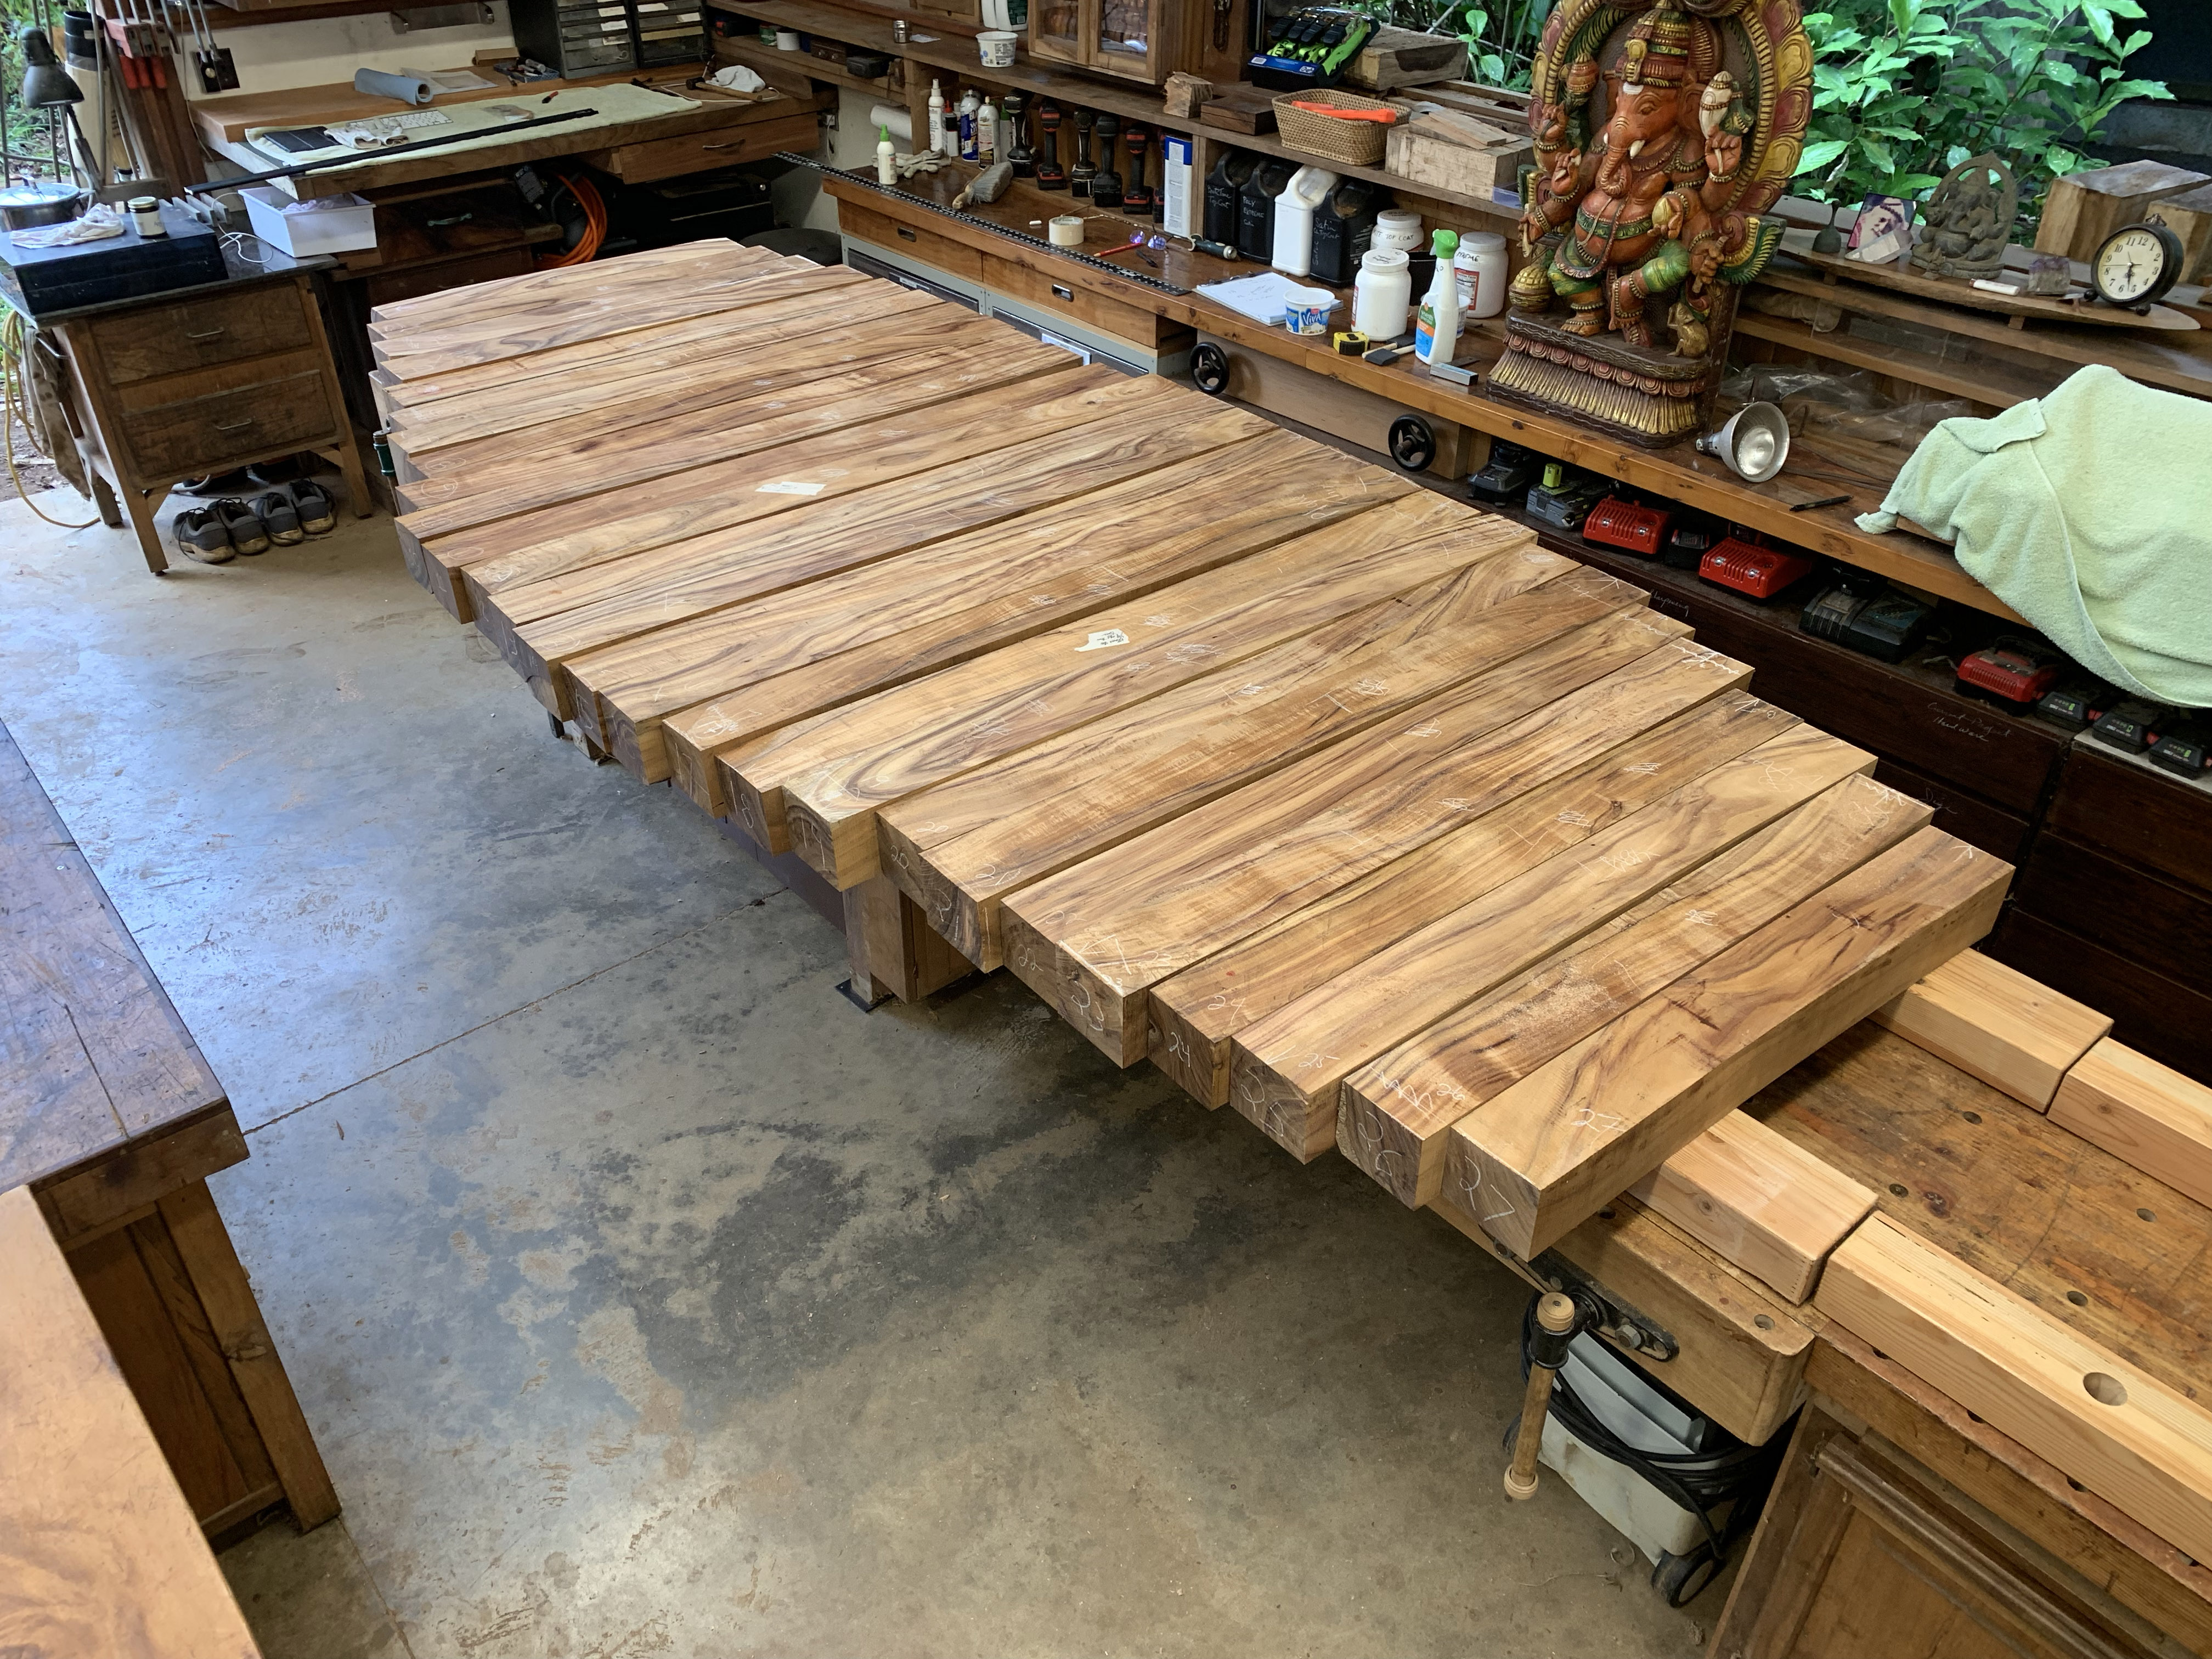
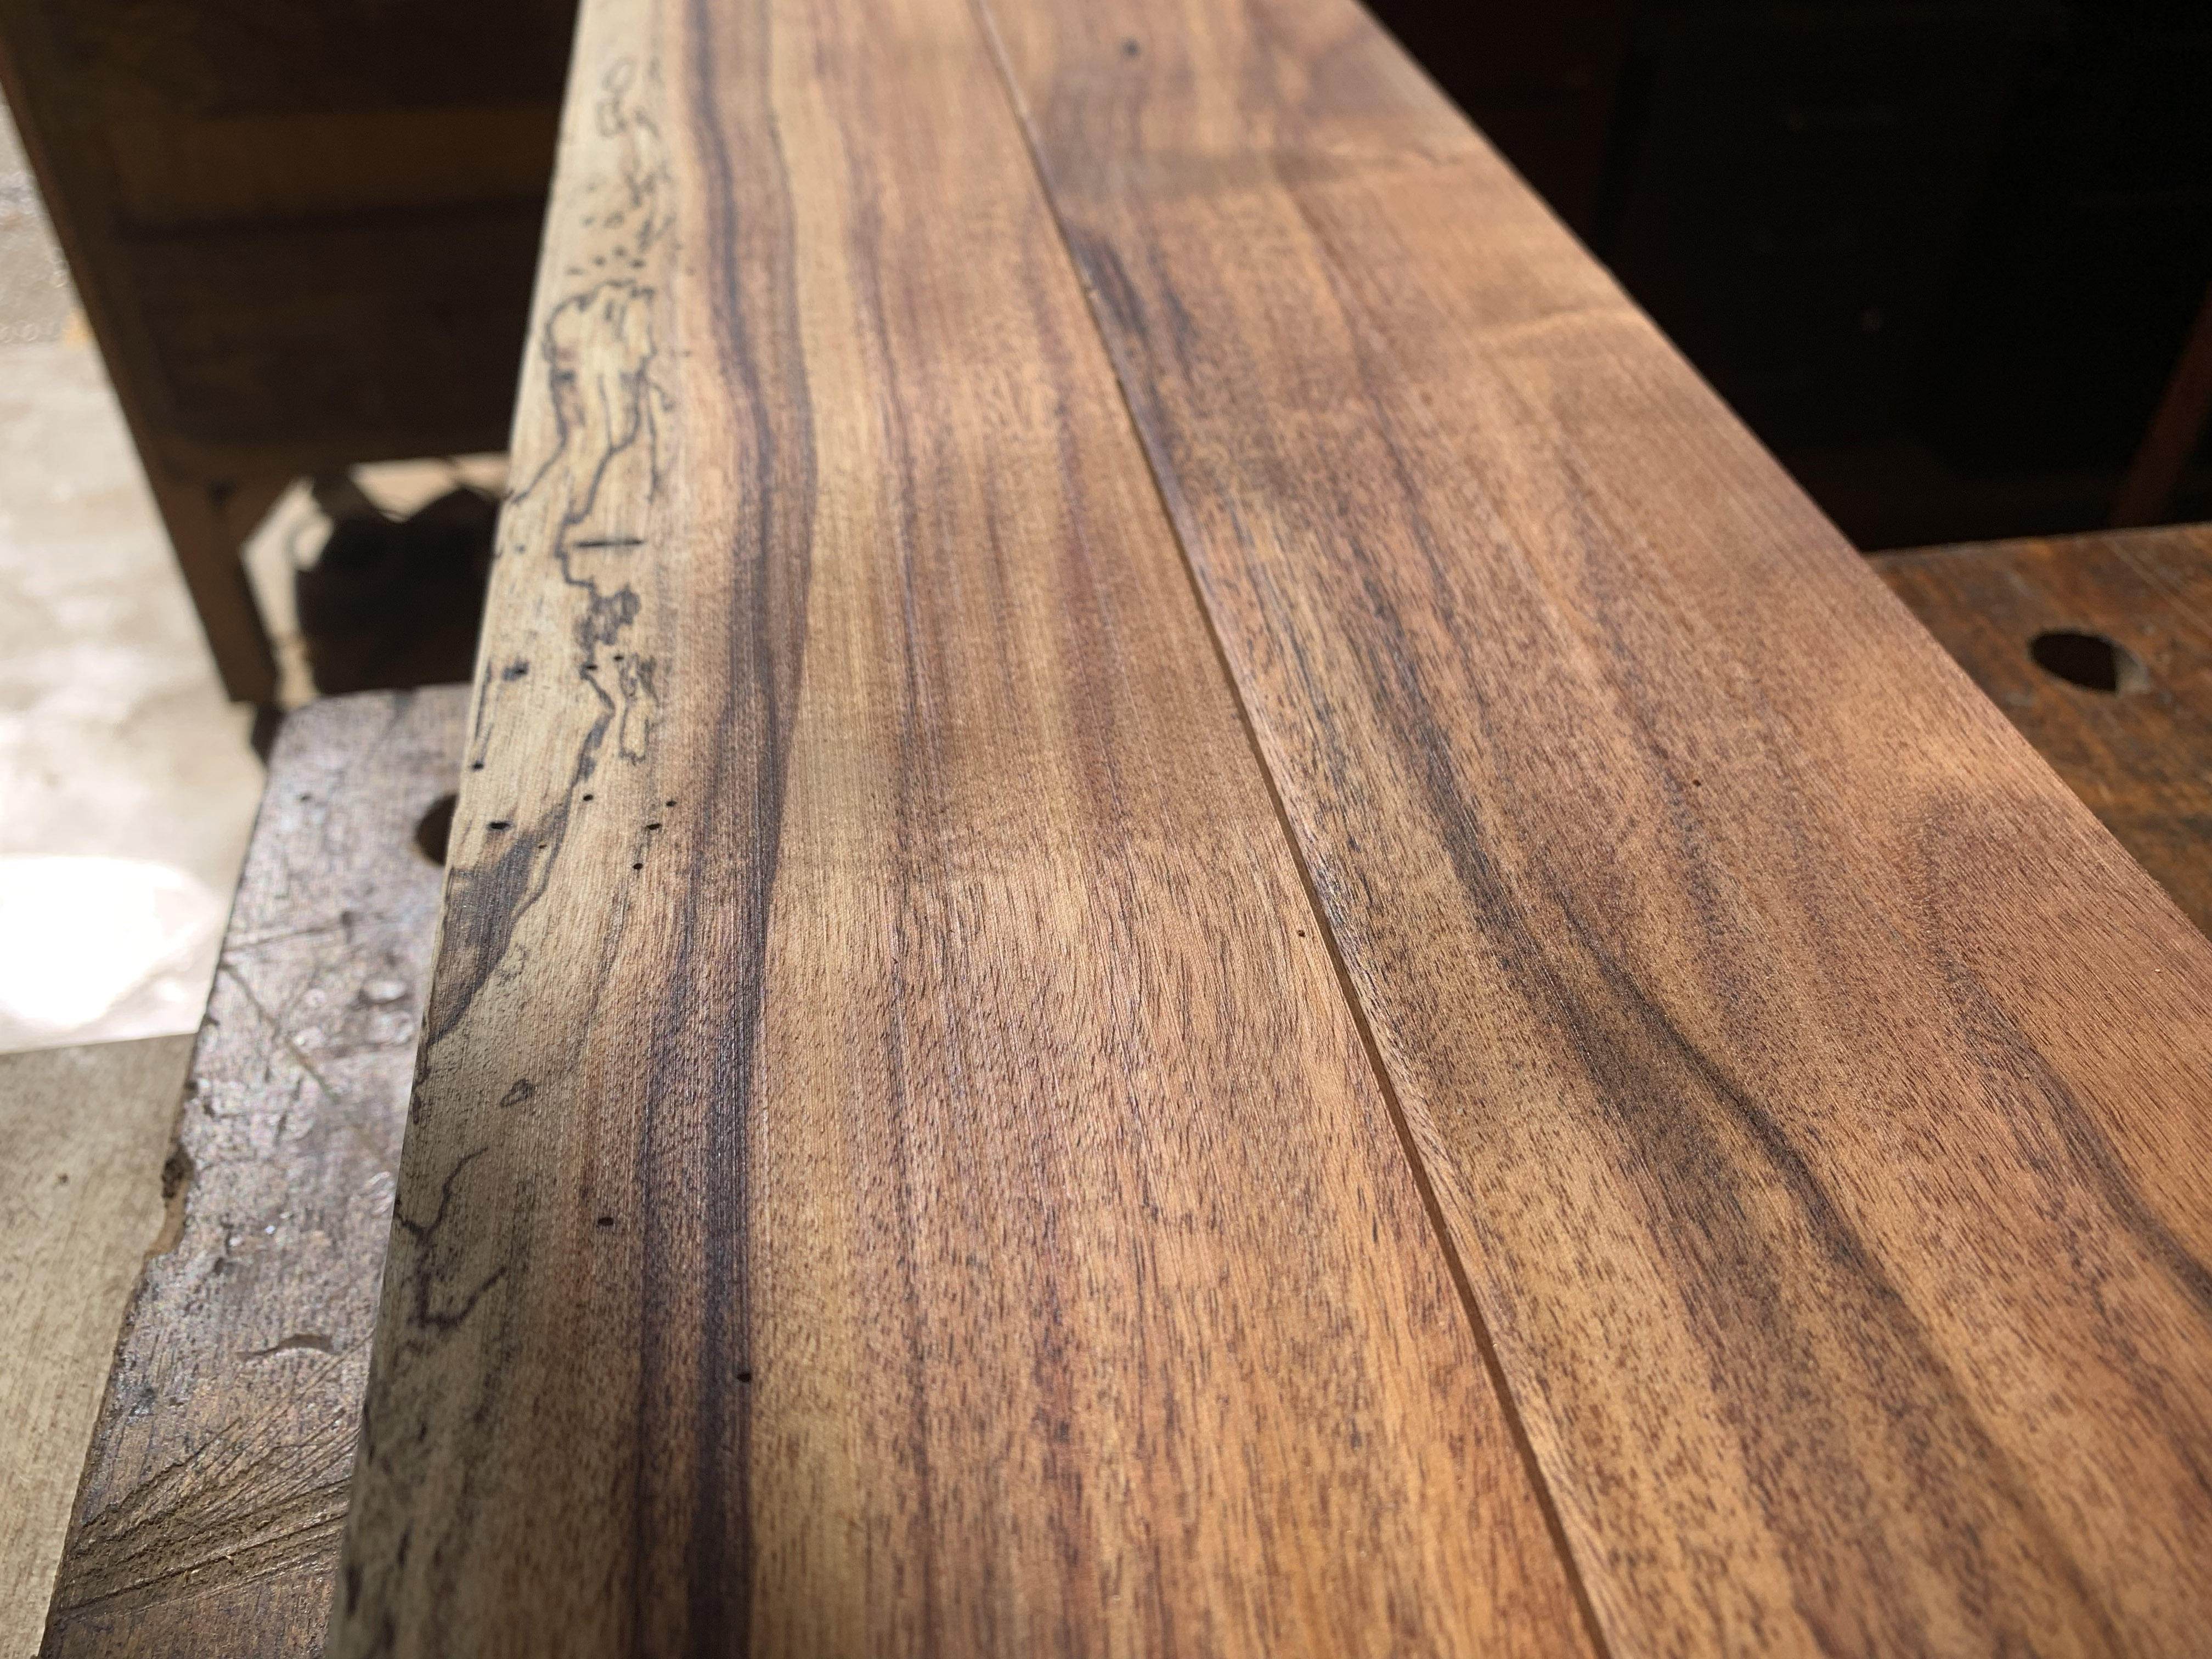
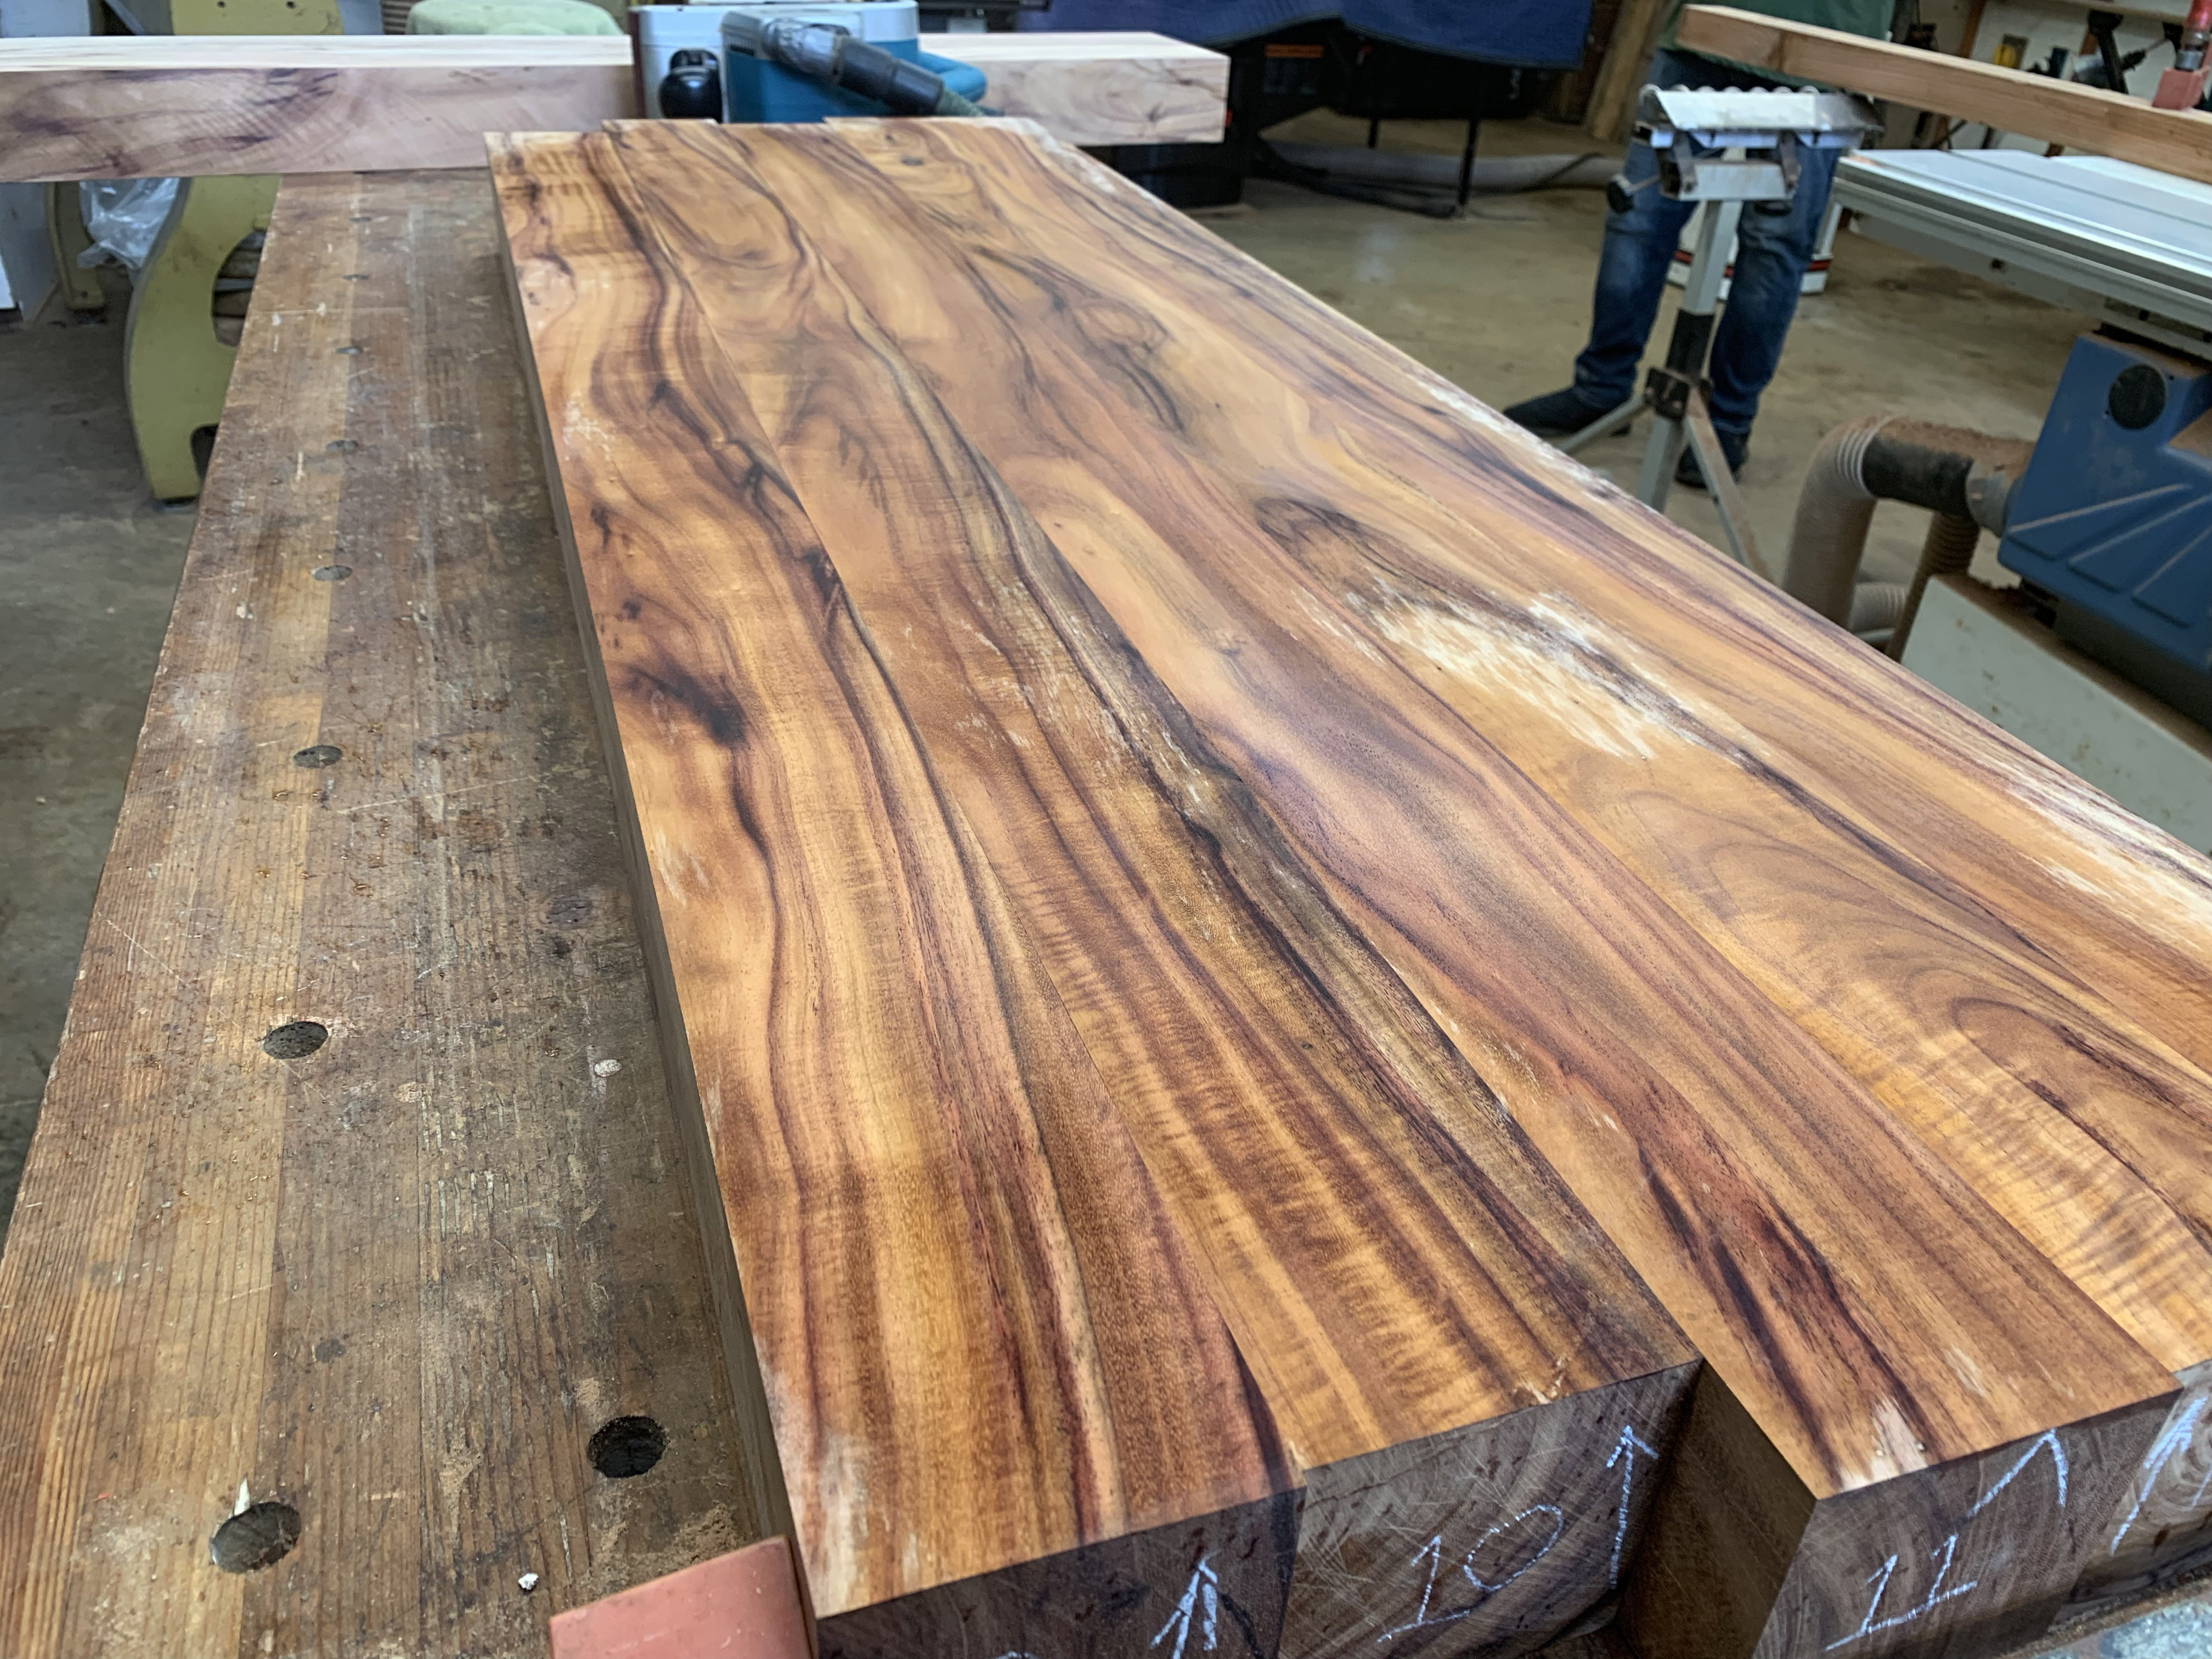
We started with the top. Here are the pieces after hours of milling. We are sorting them in an order that would, to us, appear harmonious and balanced, turning the best faces up.
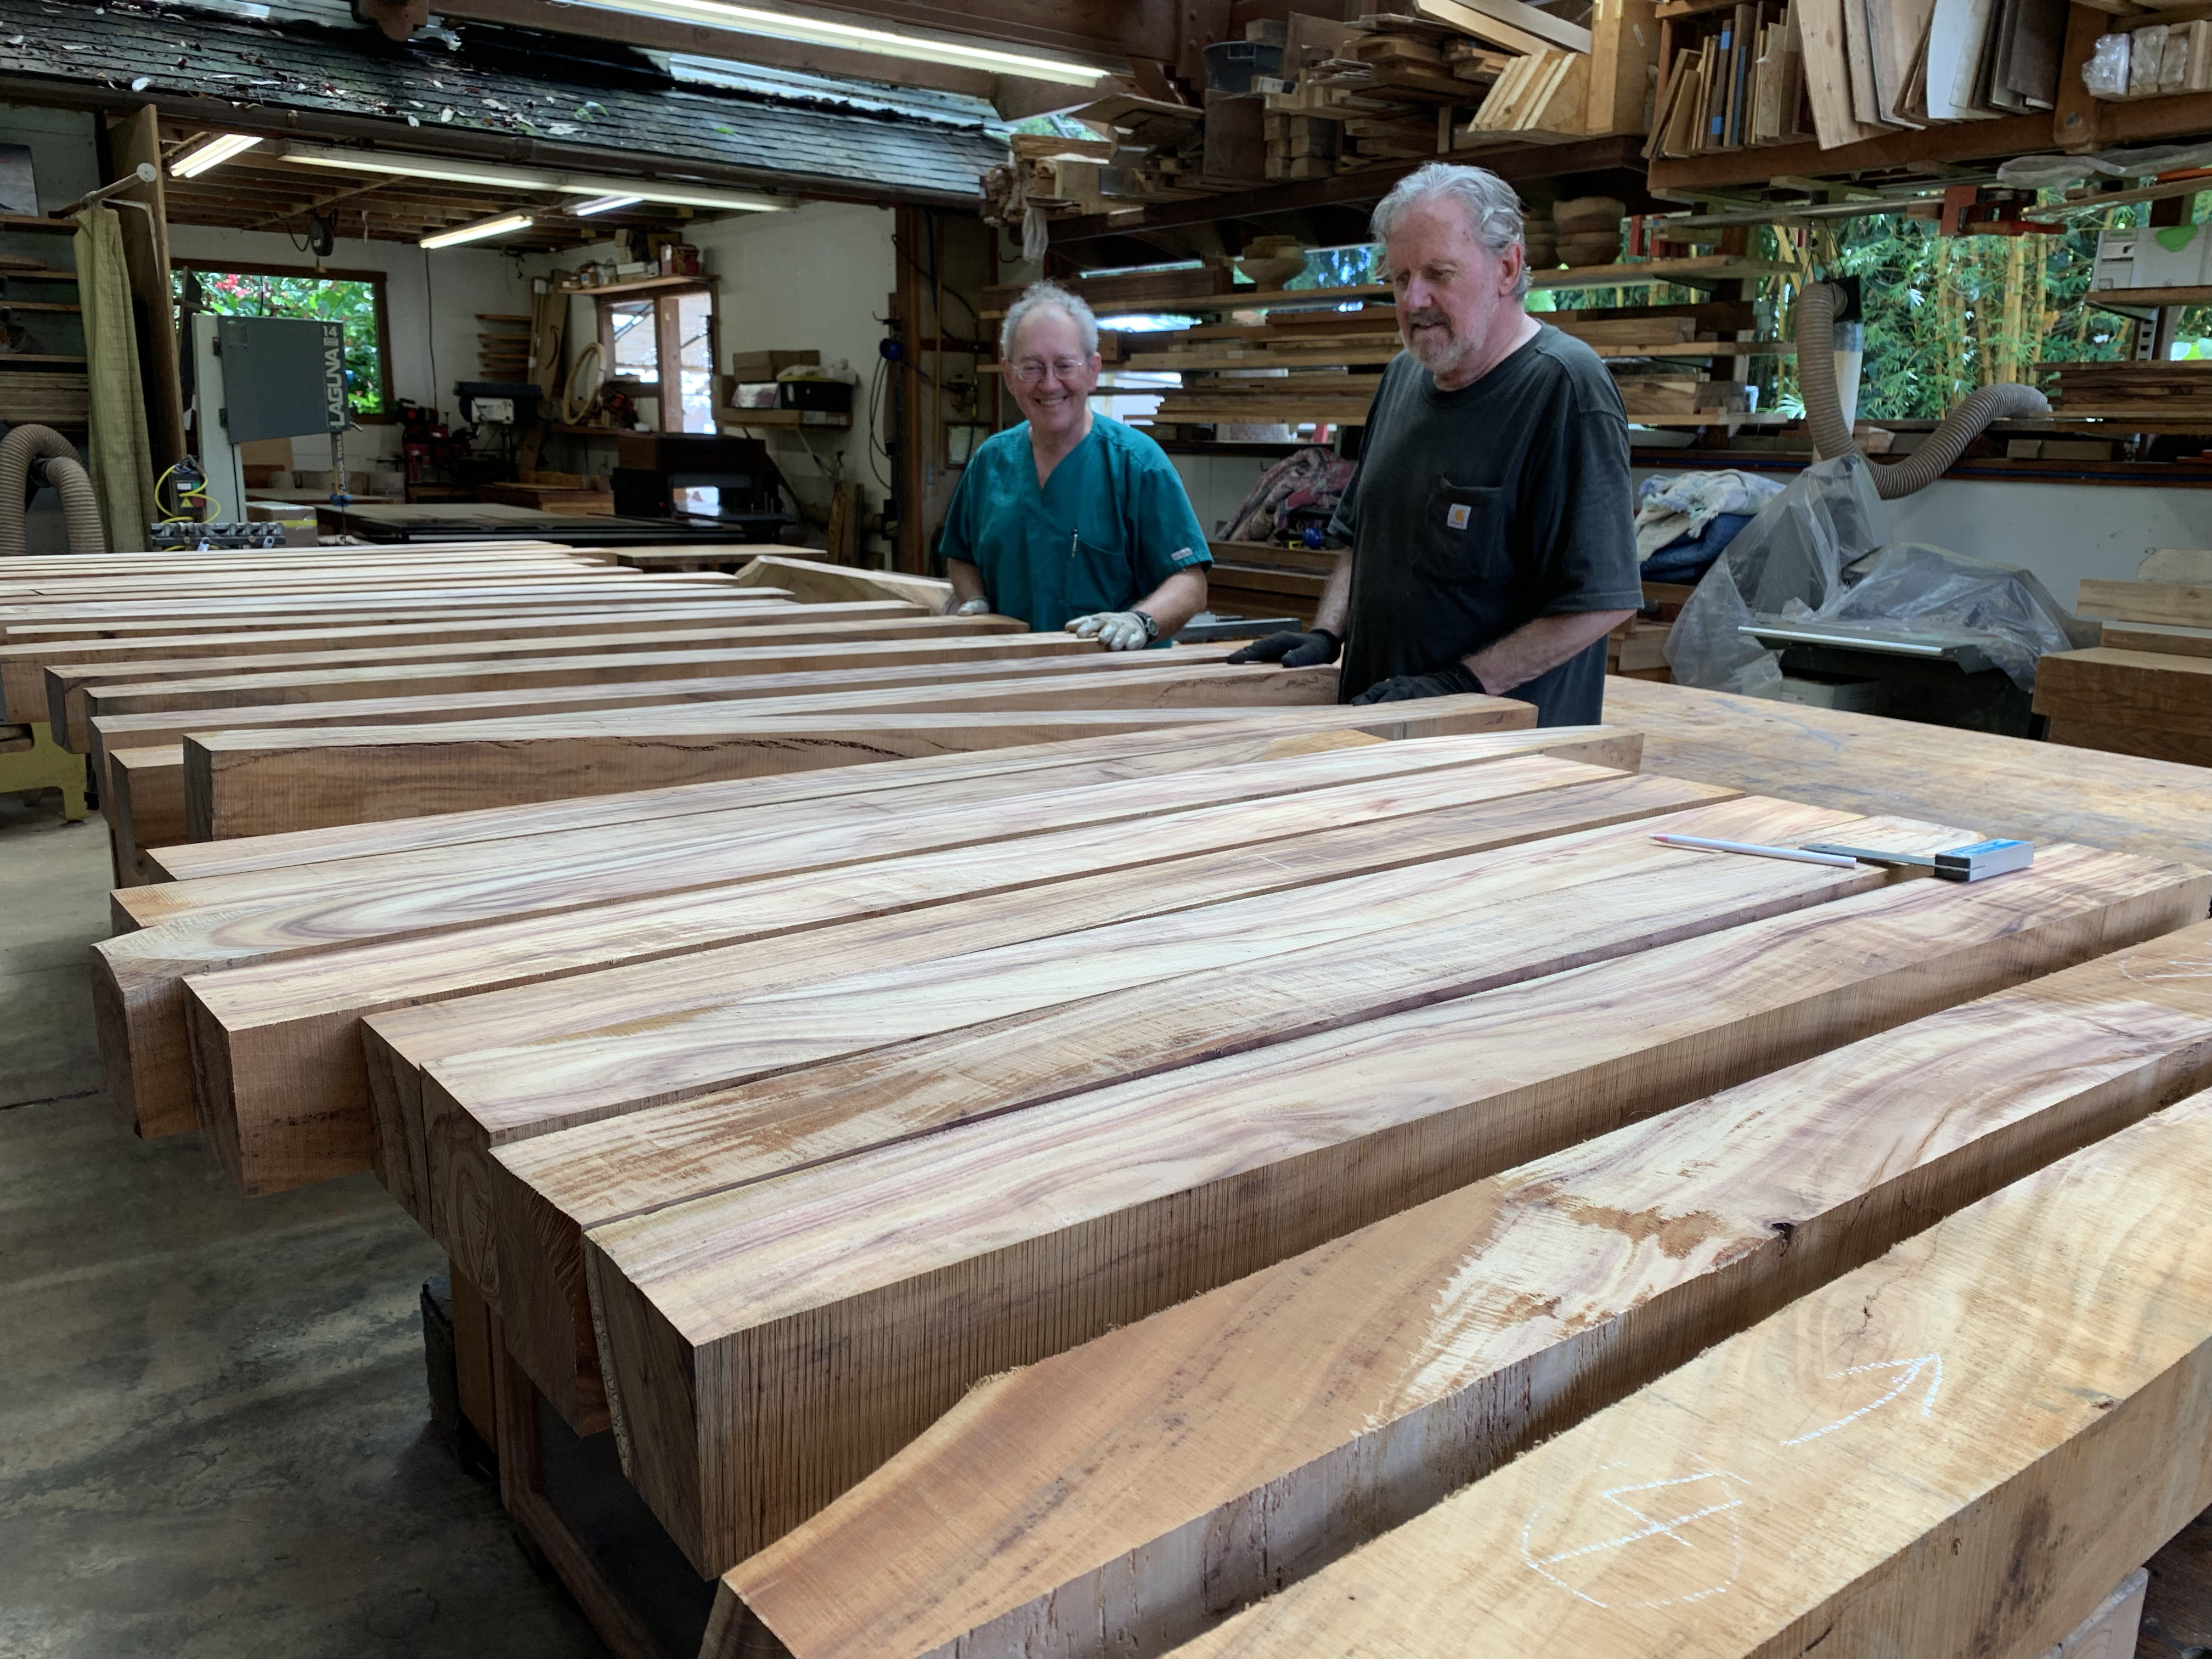
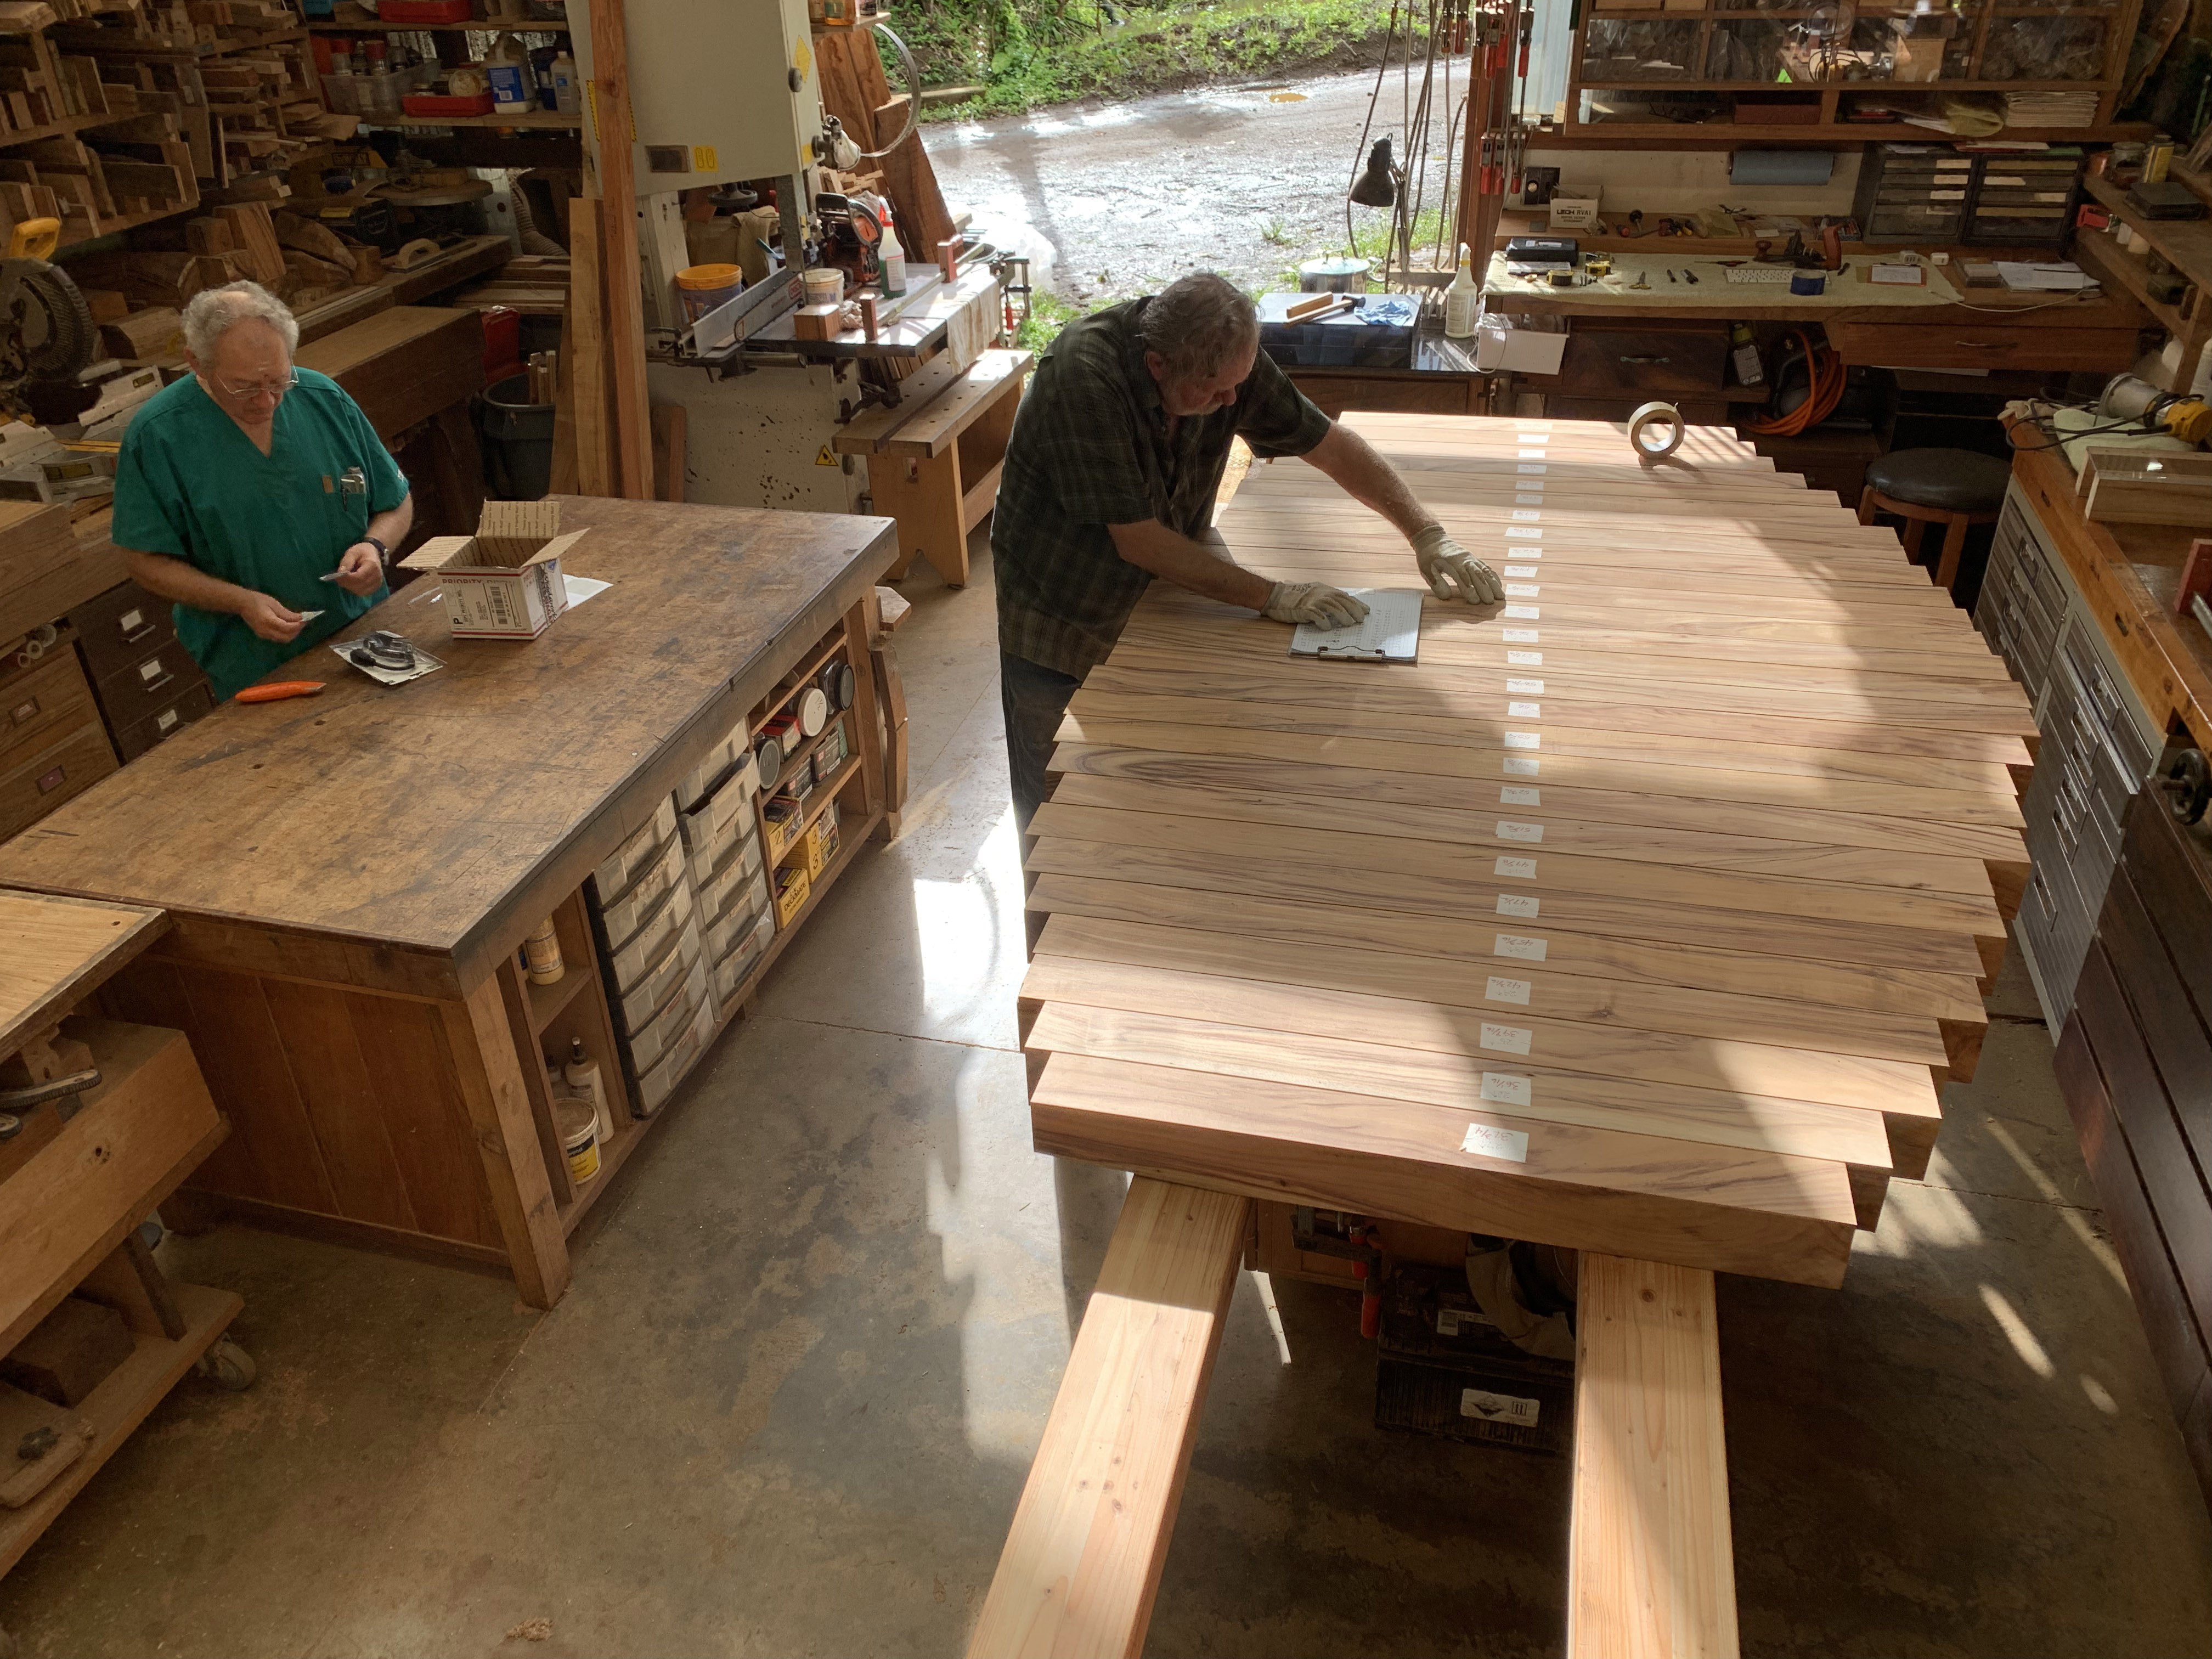
Just moving the pieces around was daunting. When we started, they weighed up to 70 pounds, gradually losing weight as they decreased in length as choices were finalized, and in girth as we worked them down to 3-3\/4\" and \"perfectly\" square all round.
Lord Ganesha oversees the project.
After table sawing and planing, we turned to the drum sander, manned by Jnani and Aditya, to remove any tear-out cause by the planer. We didn\
t want any flaws in the surface when everything was said and done.'

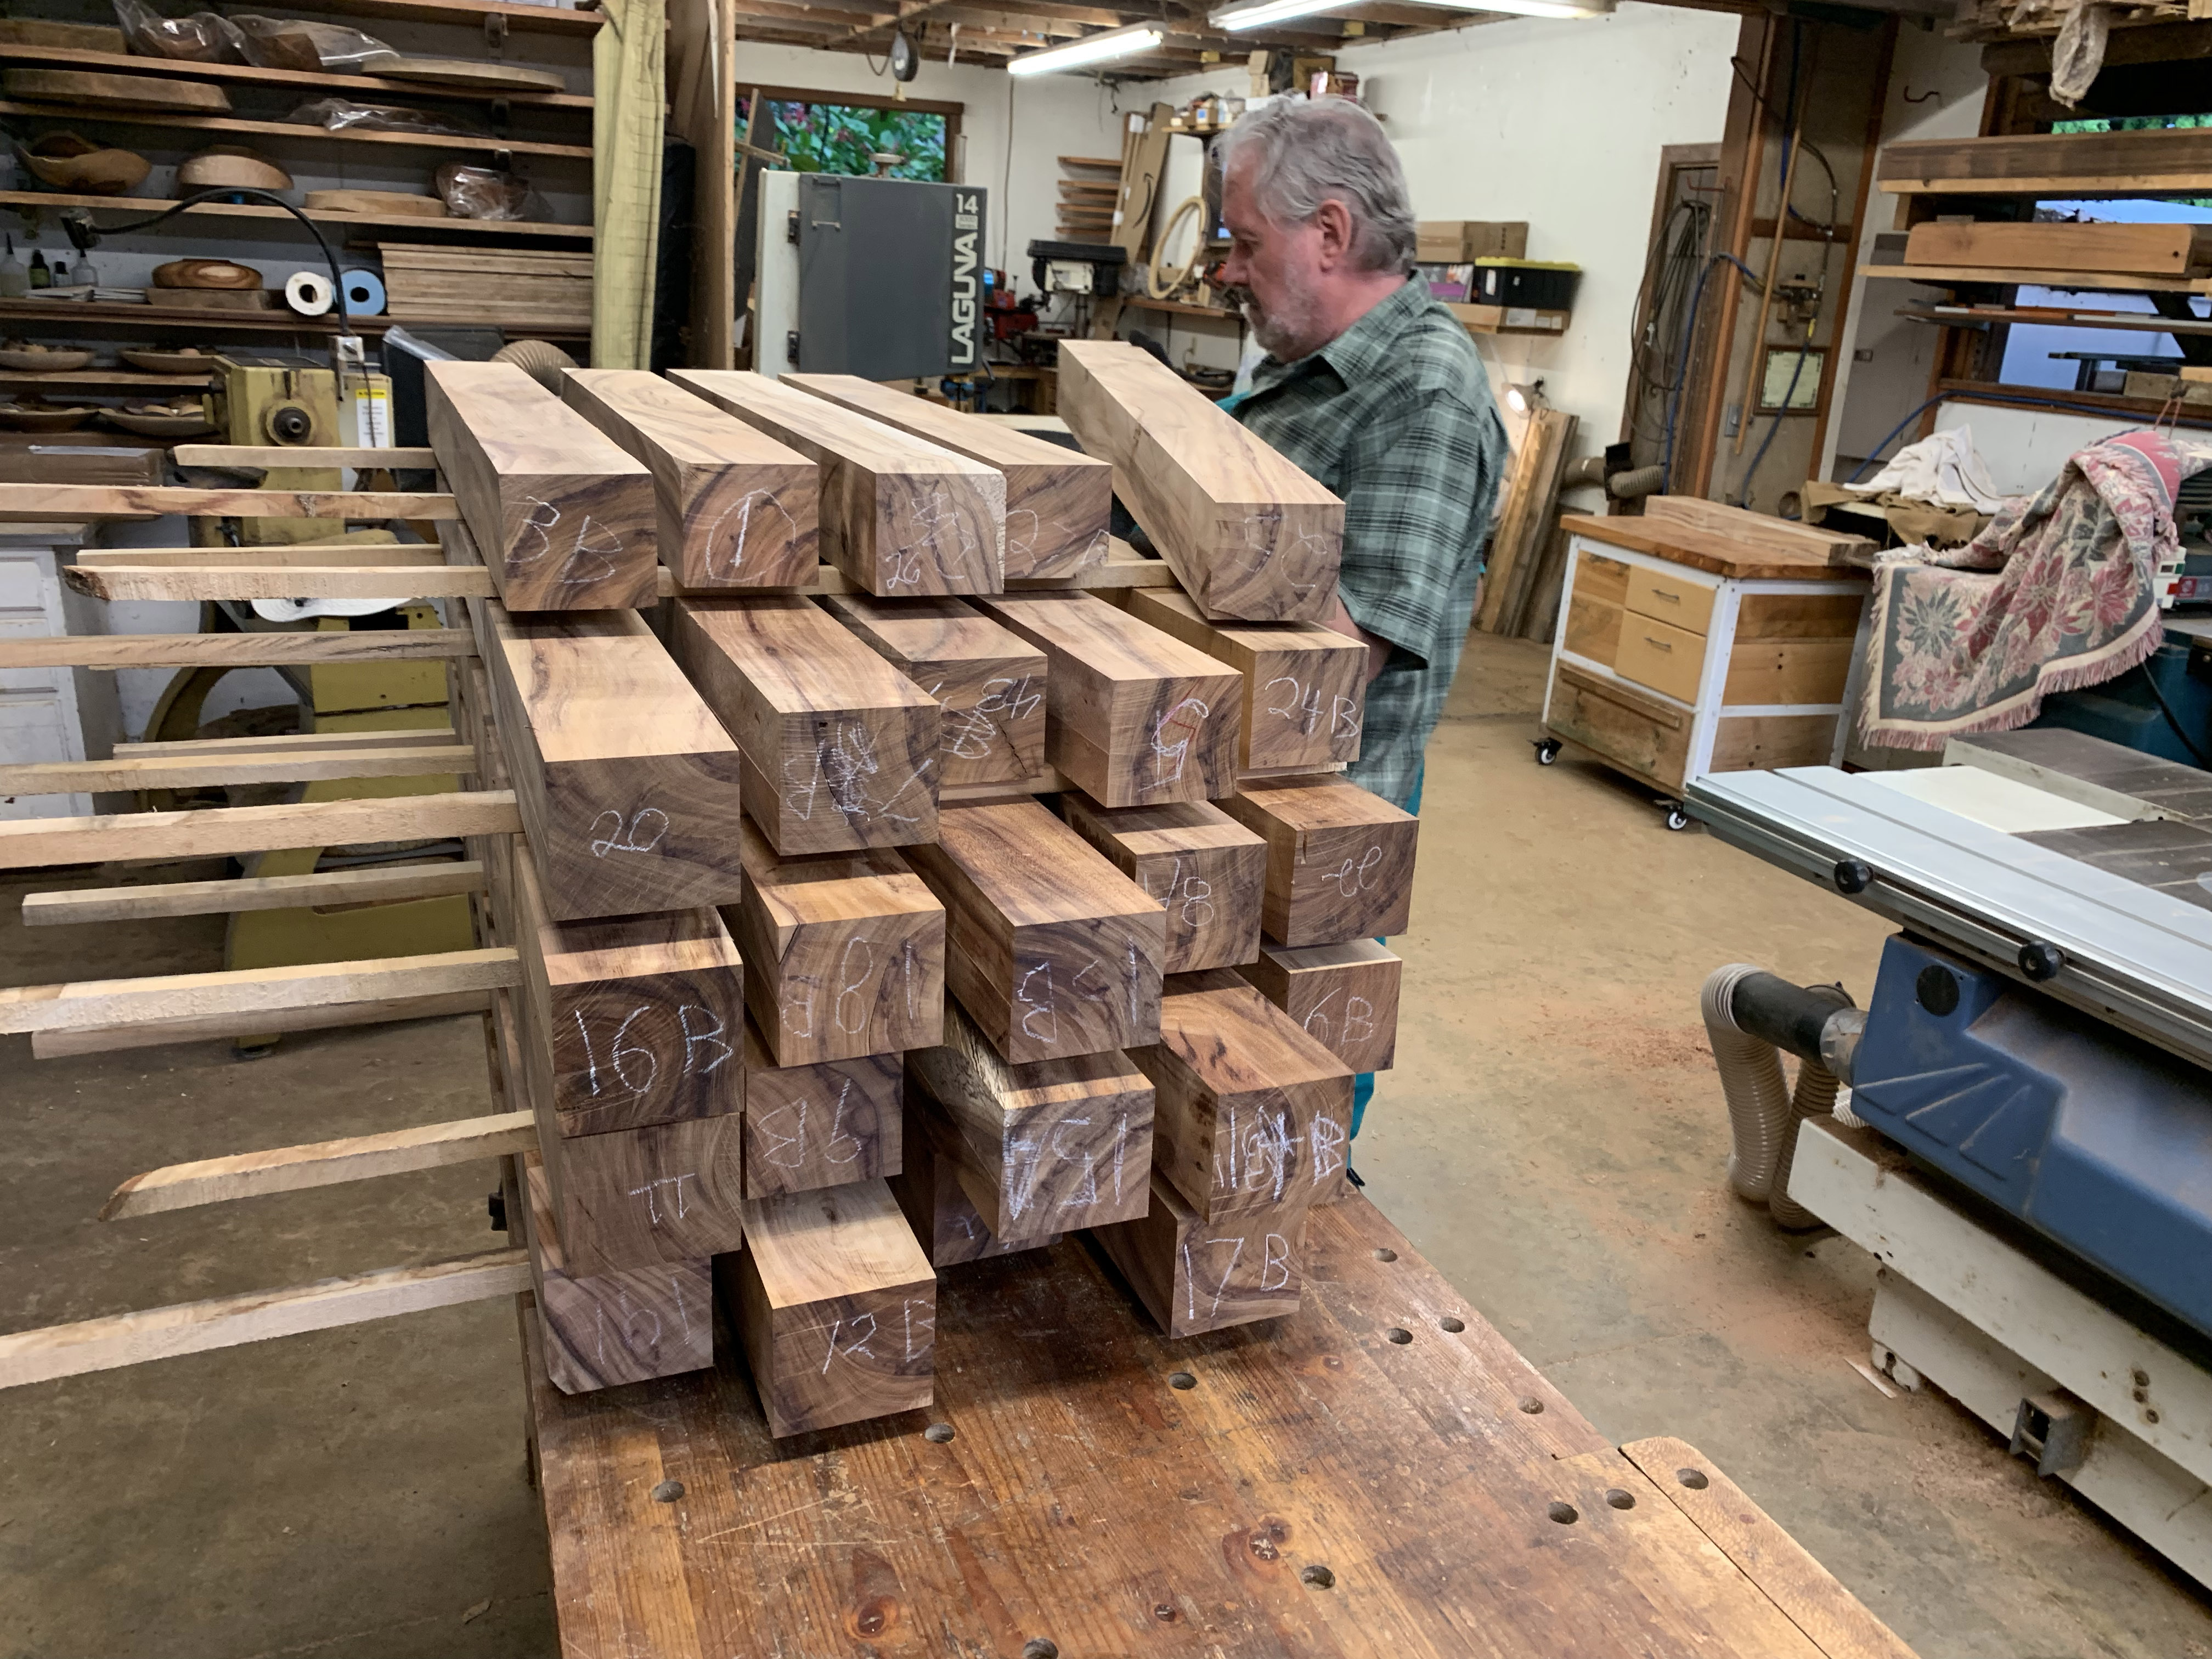
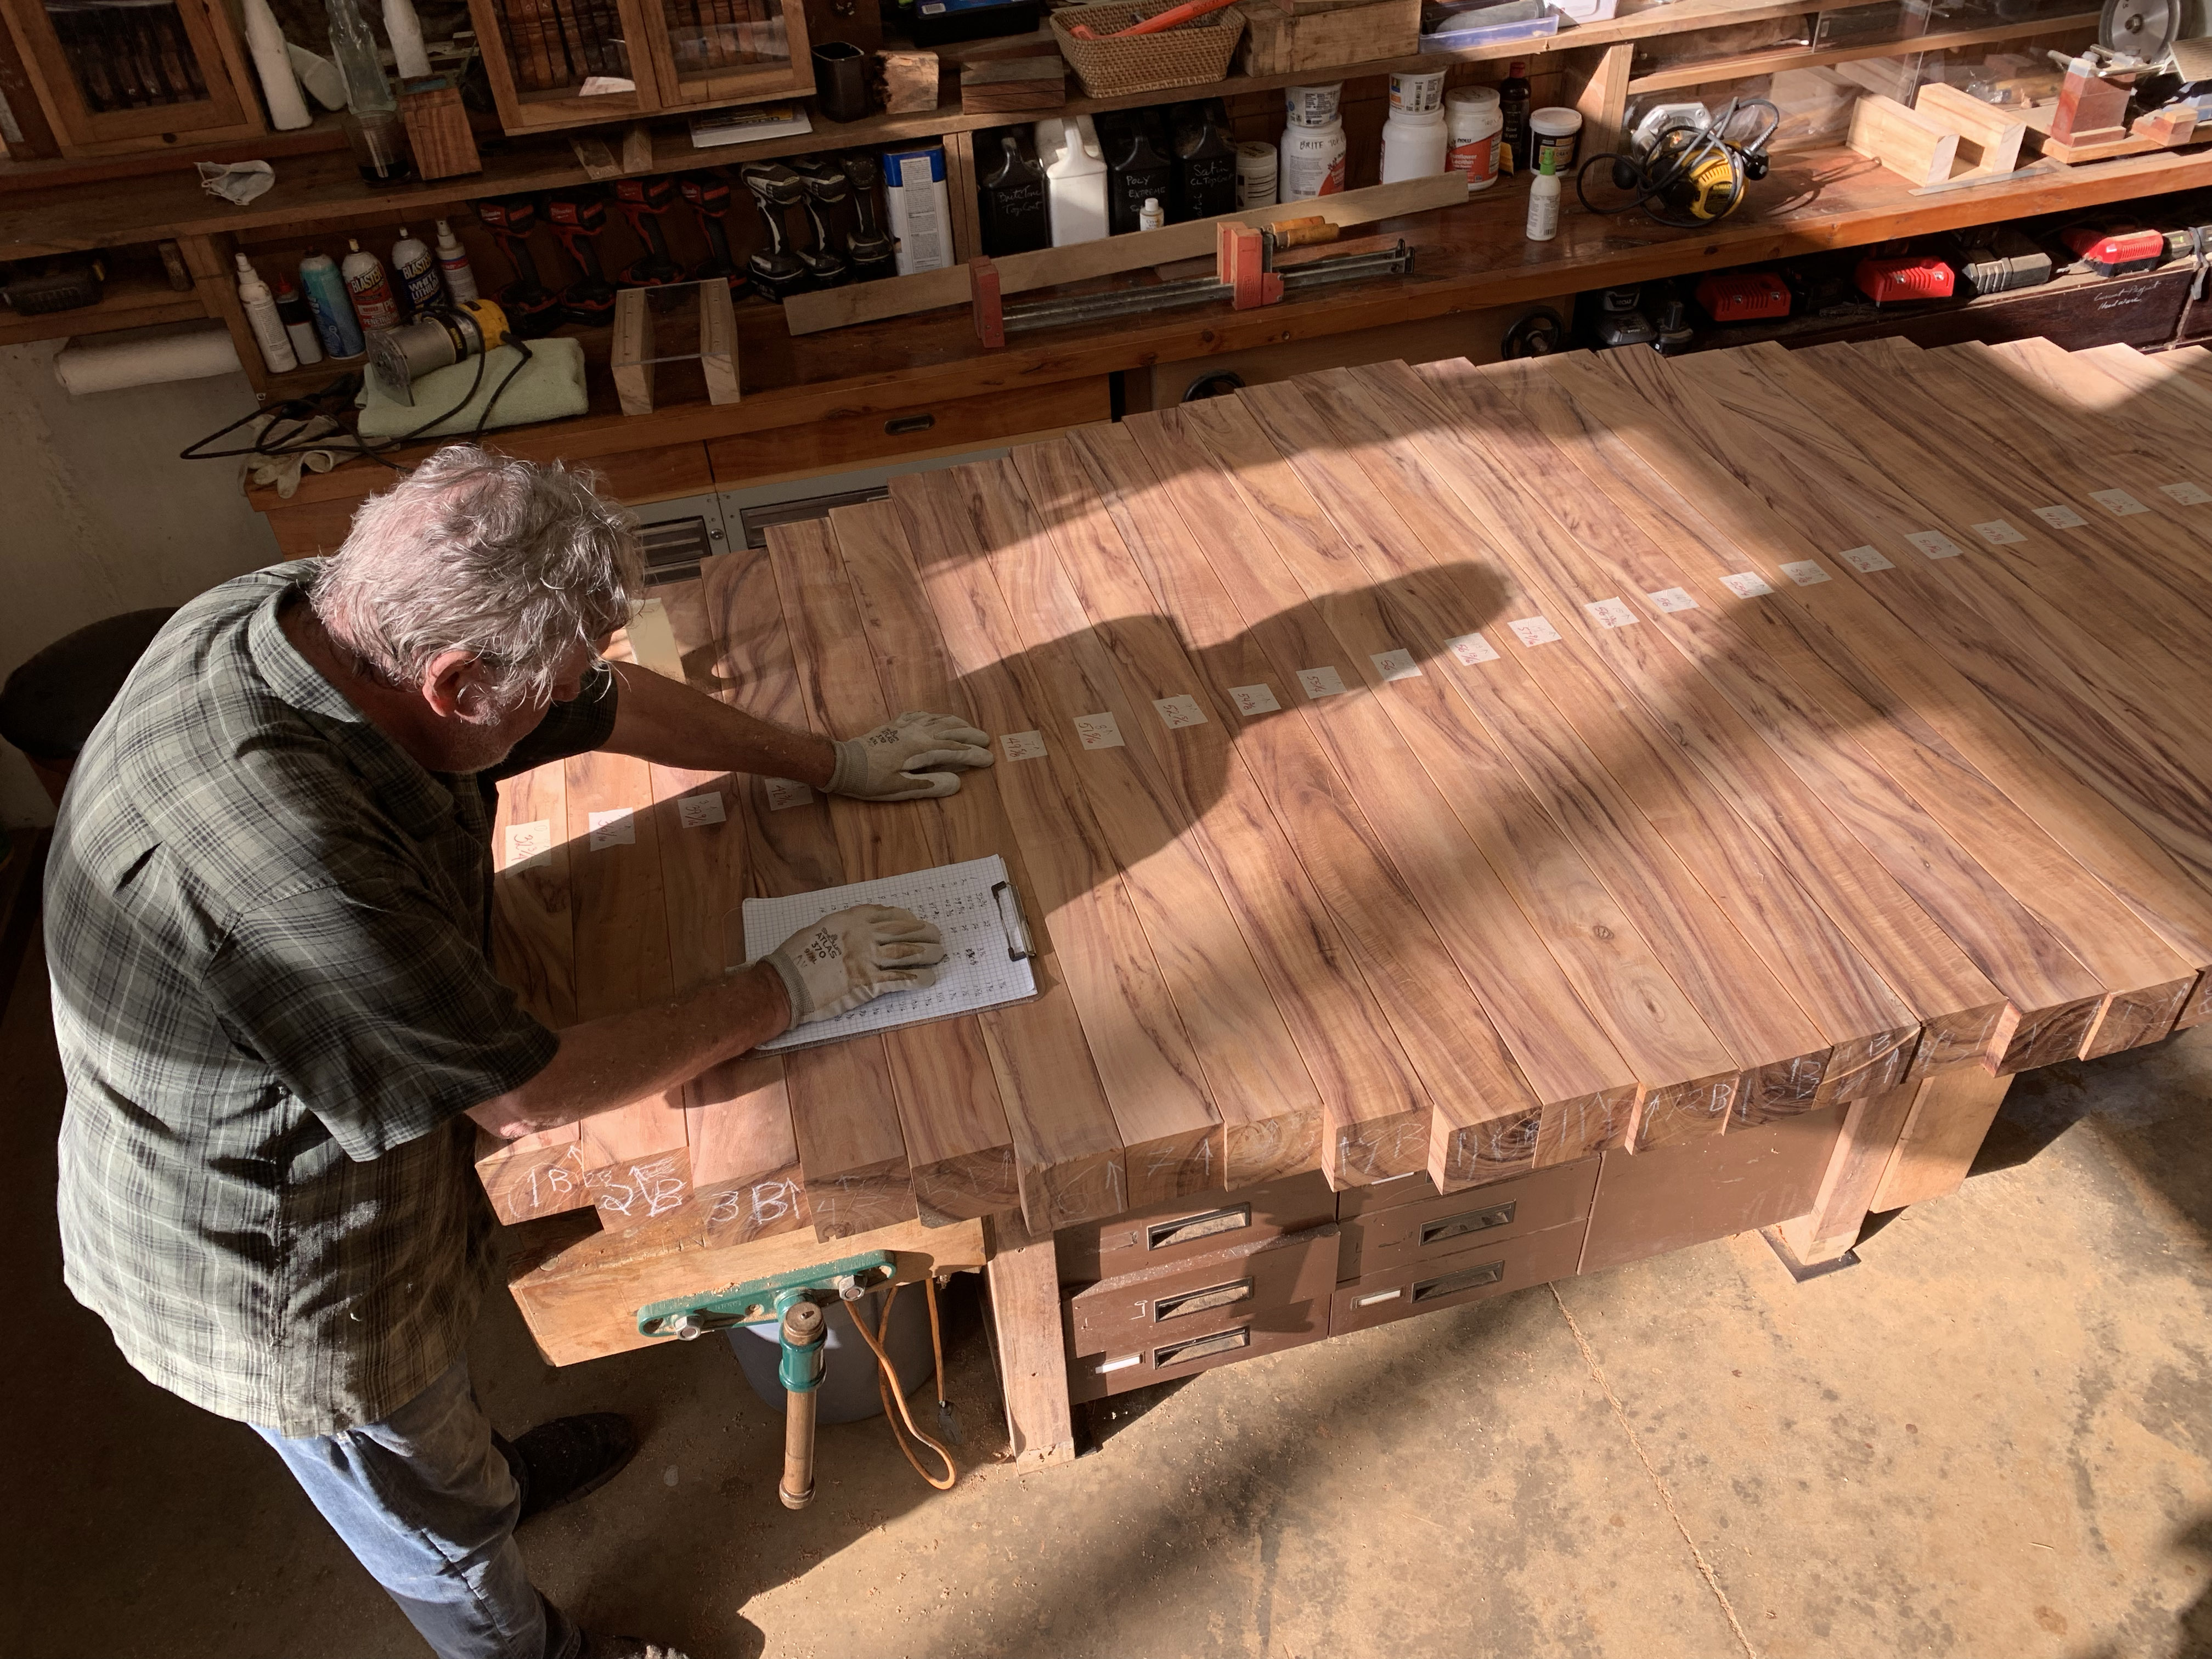
Looking good. Markings were maintained so we would not lose the order we had established. Each piece is still 2\" over length at this point.

More calculations.

Stickering was maintainend to allow the wood to continue drying out as we kept exposing more interior cells.
At this point we needed to decide: chamfer between the members, or no chamfer. We liked and chose the chamfer, as in this sample.
We put some finish on just to enjoy seeing how the table would look in the future.
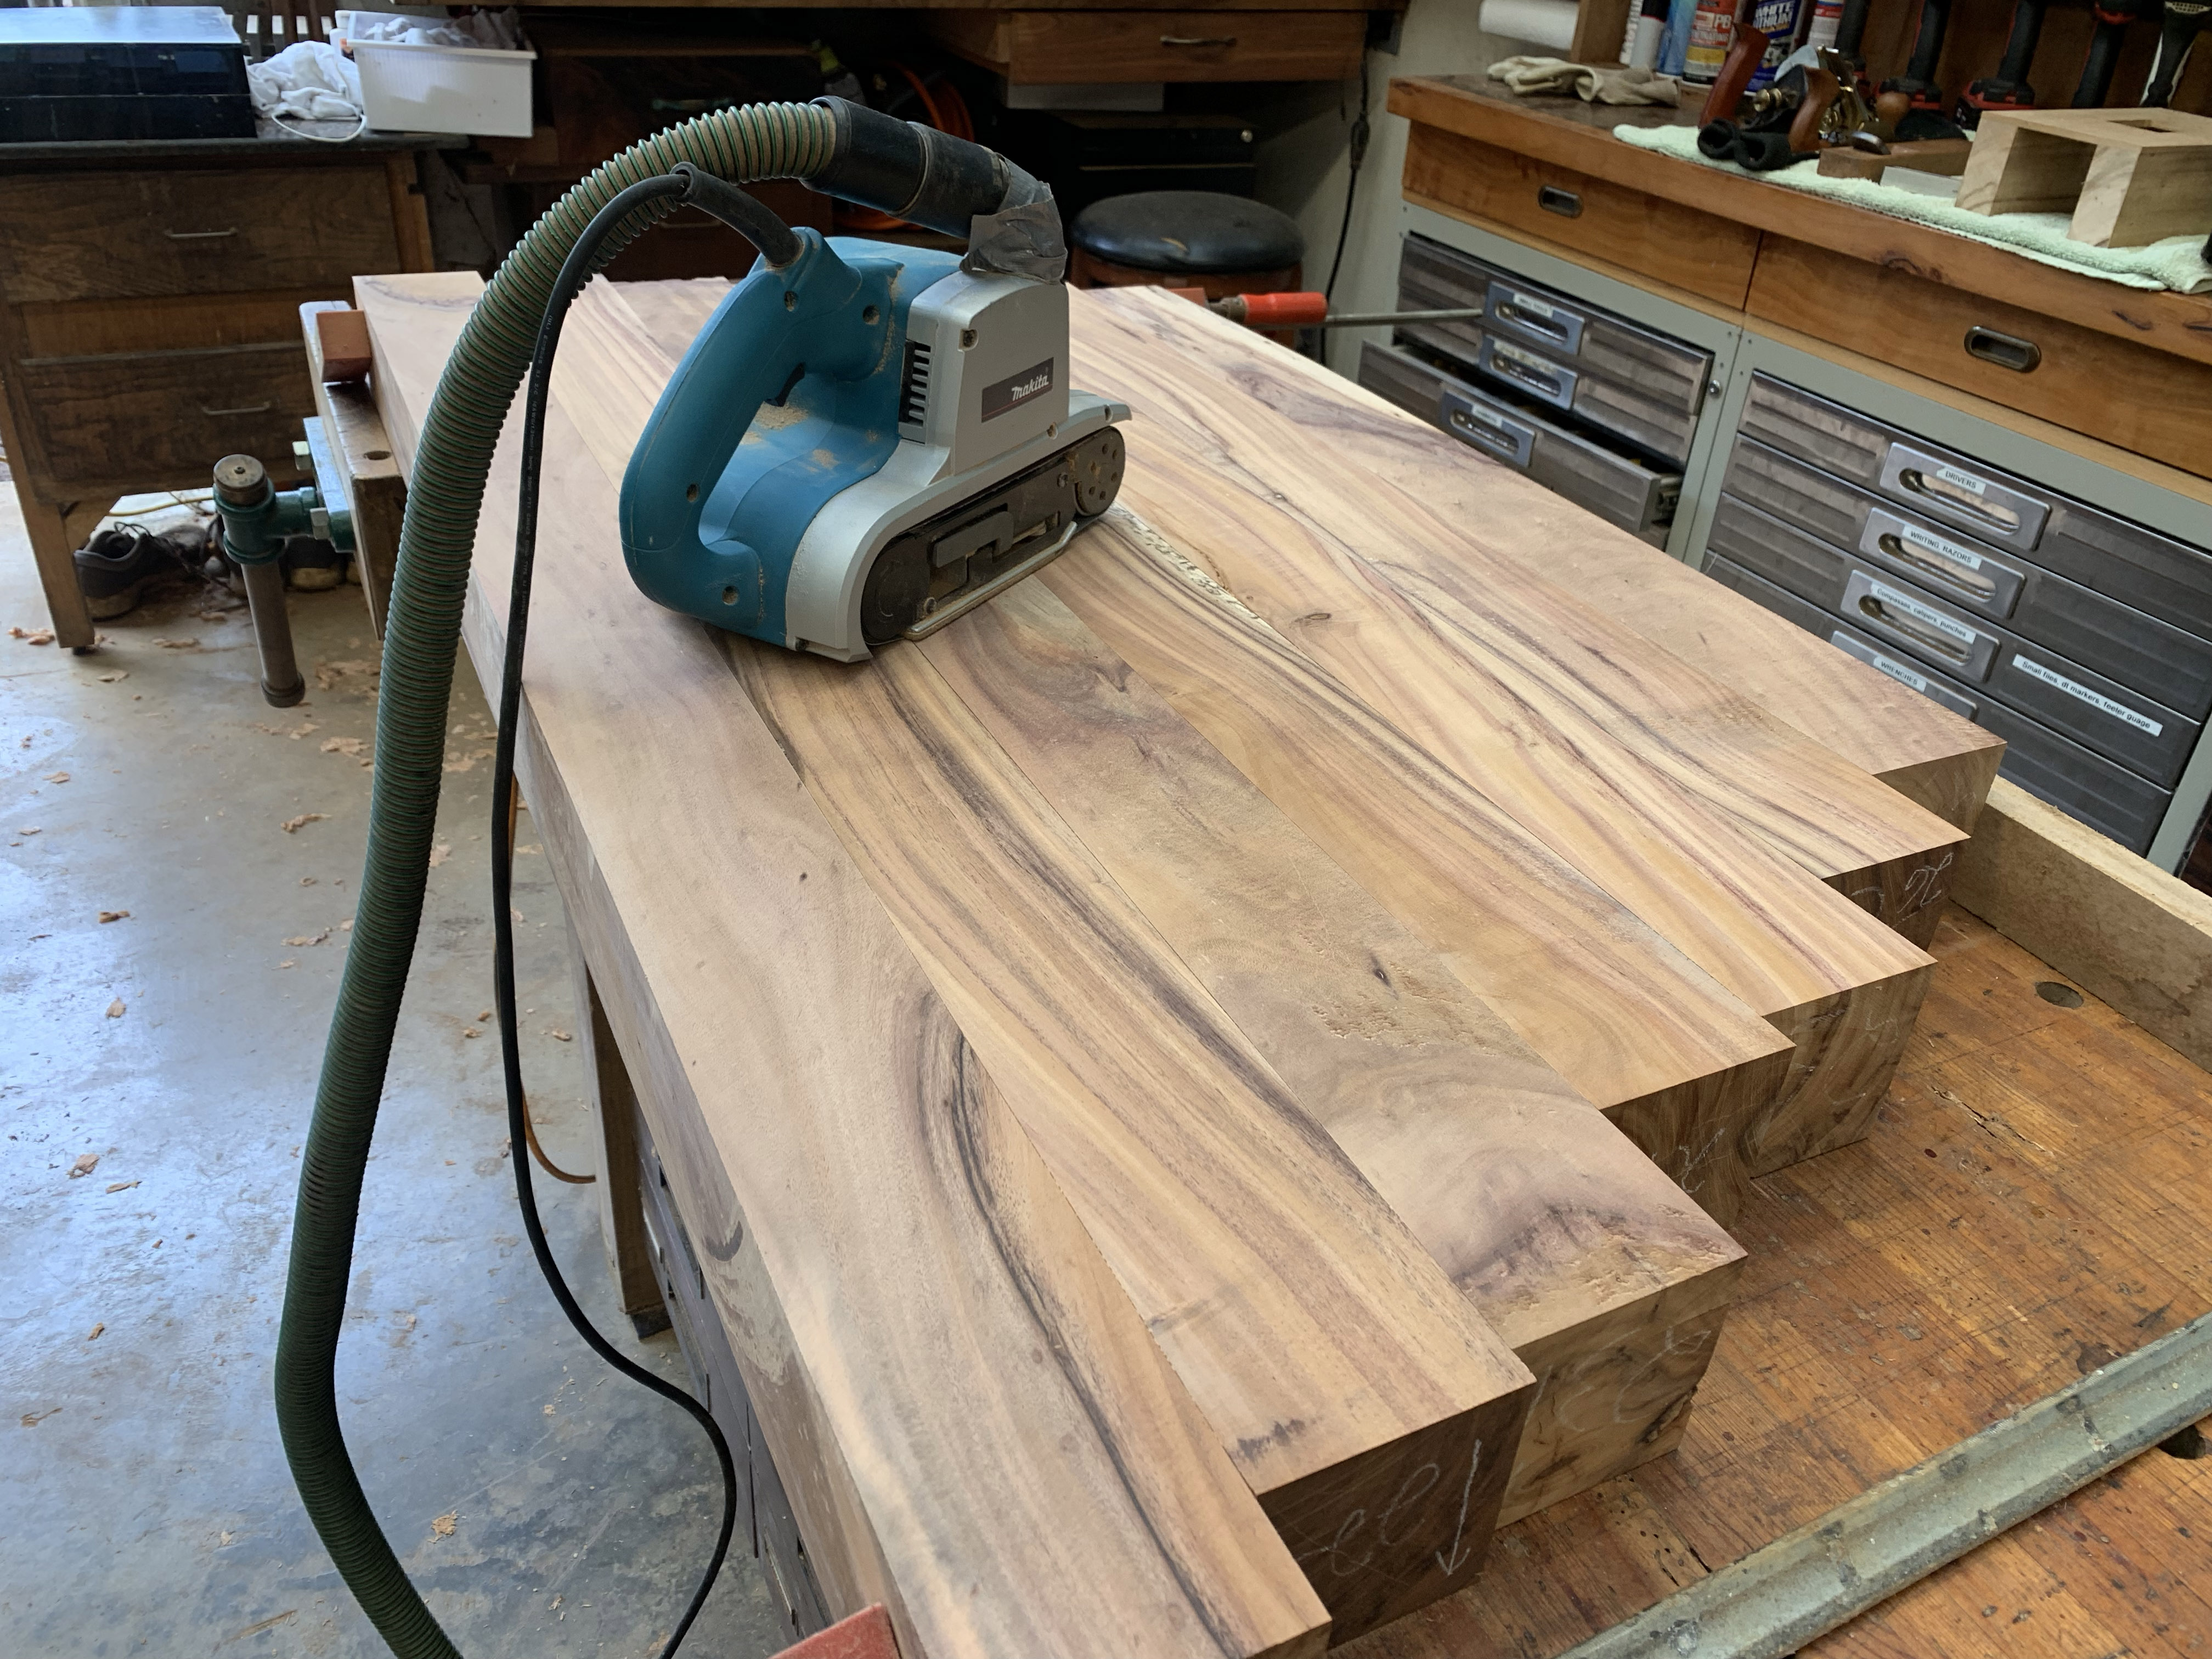
This 4\" belt sander was a key rough-finishing tool in the process.

Calibrating the compound miter saw to ensure perfectly square cuts in the 27 timbers.
On this bright morning Aditya is marking the lengths of the timbers in accordance with out drawing. Ultimately each piece, marked with a centerline, is aligned with that of all others. Then cut marks are made on each piece measuring from the center.
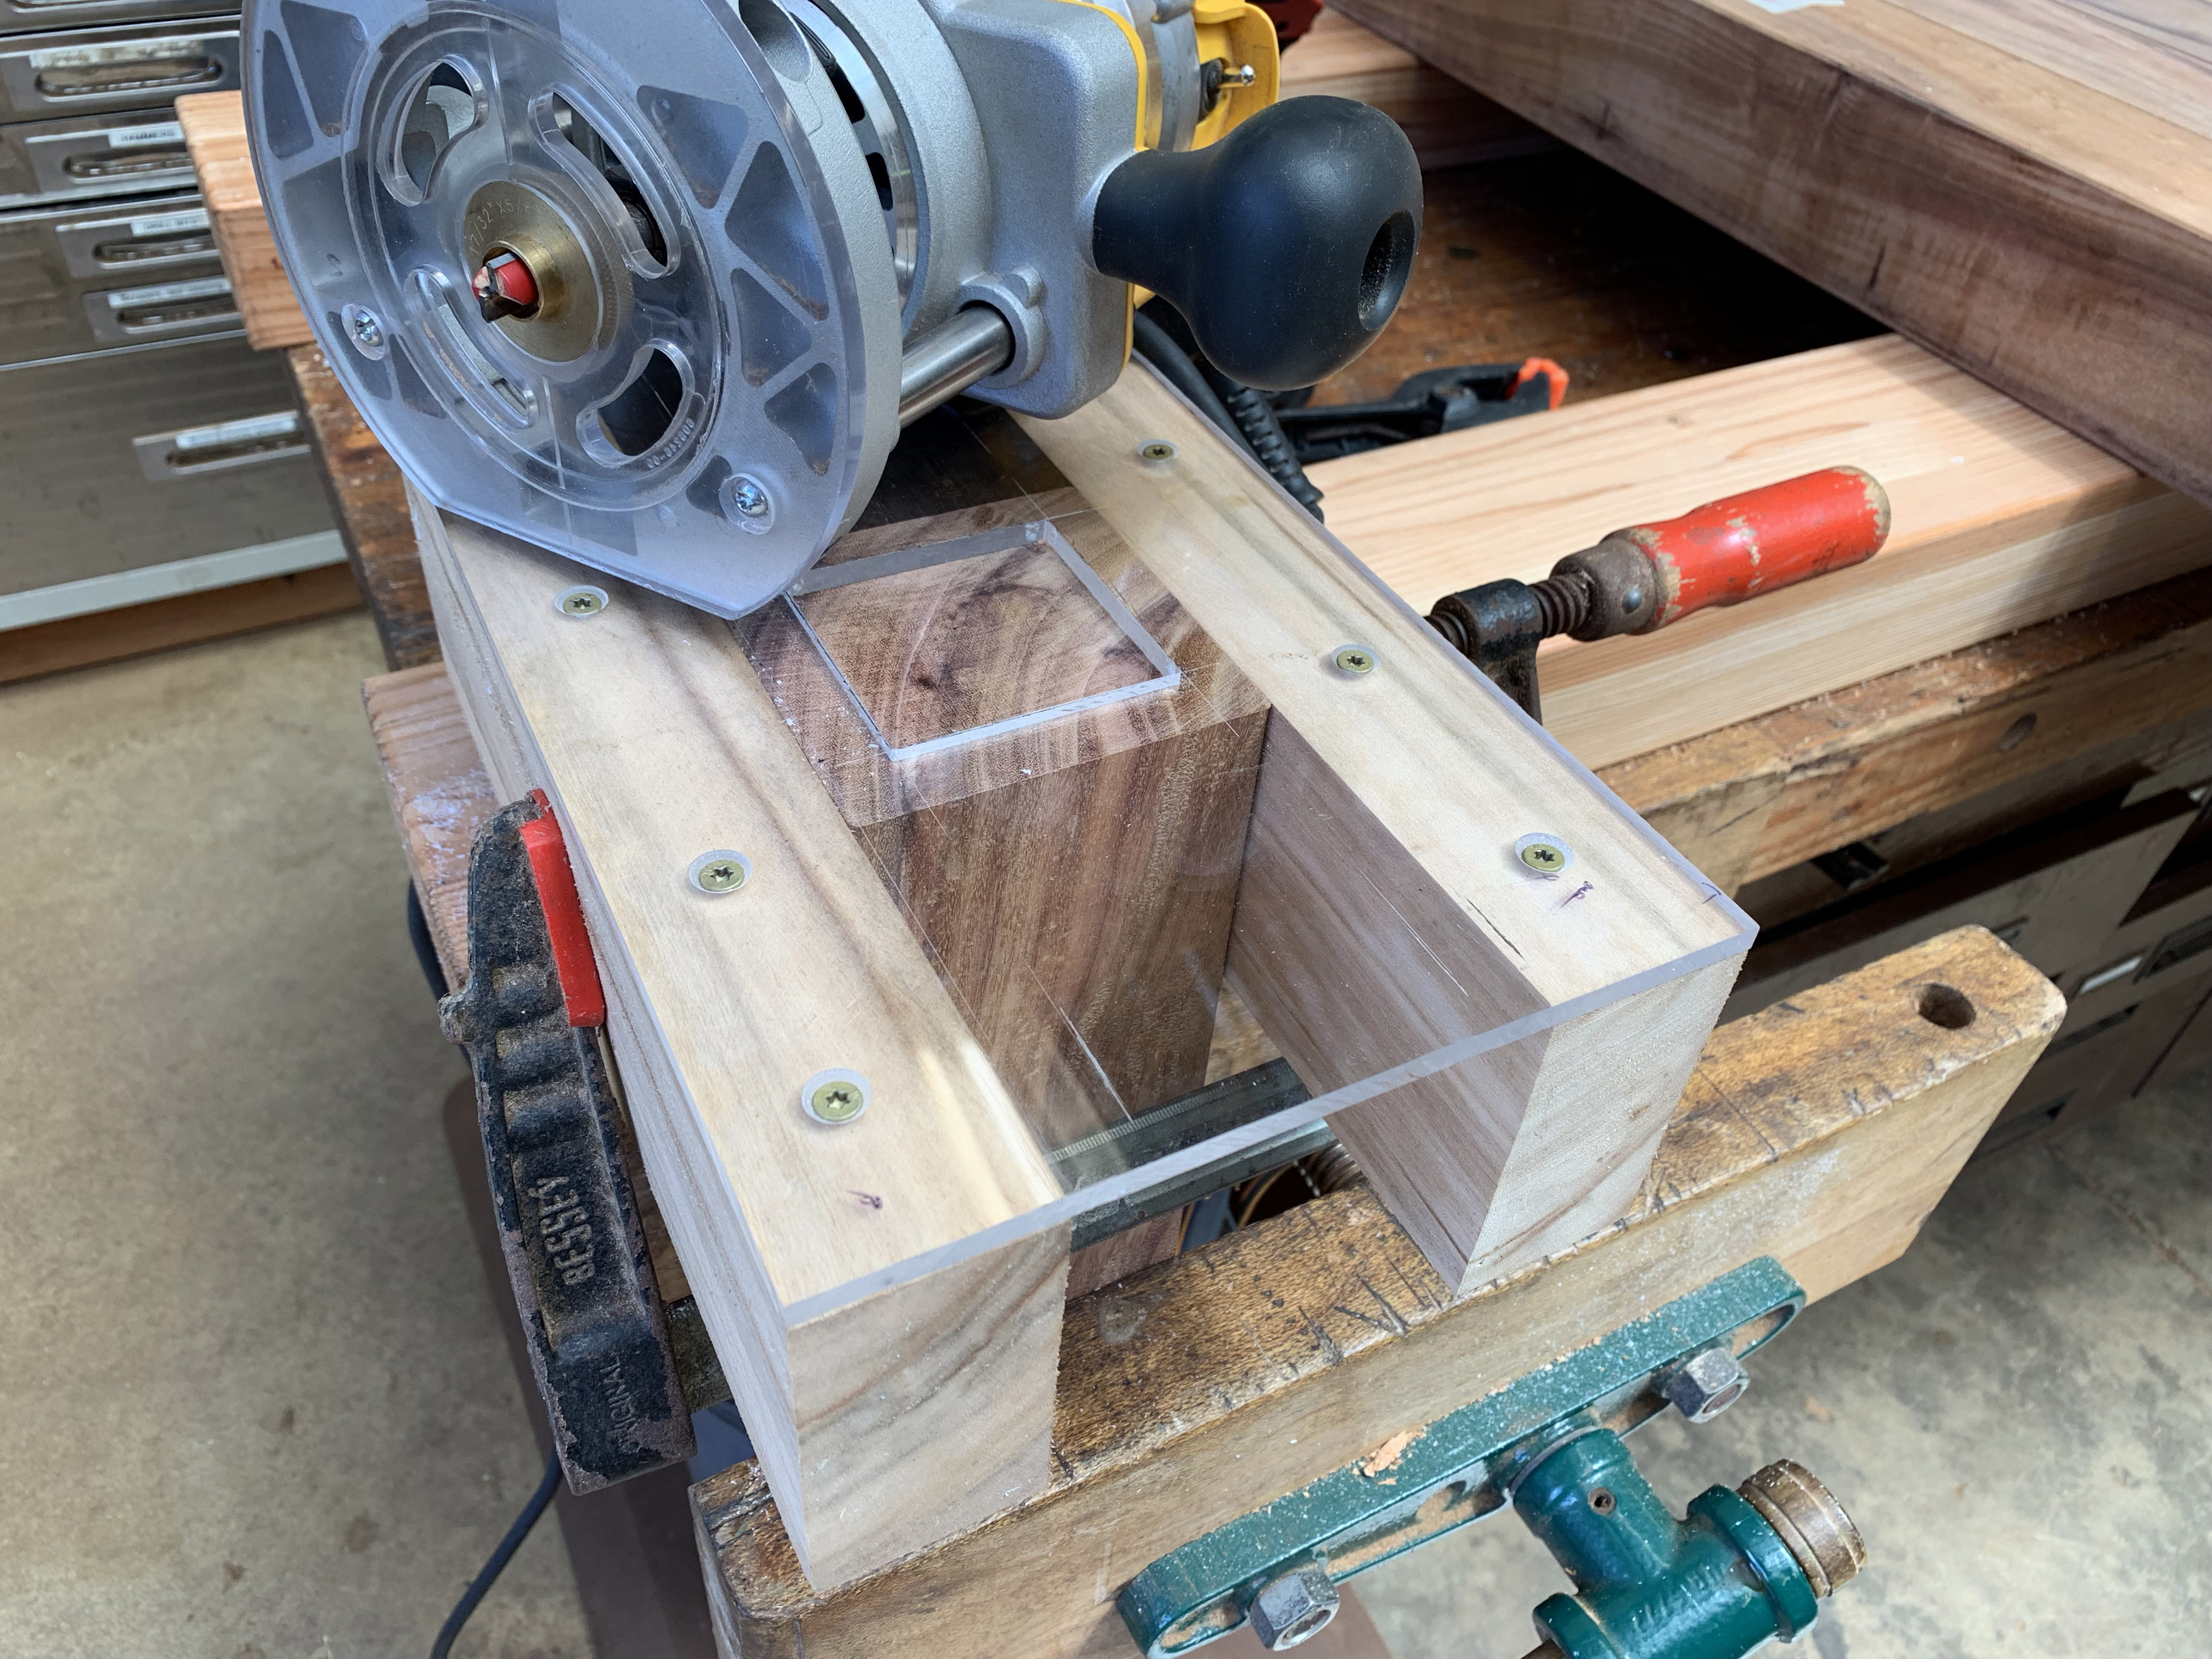
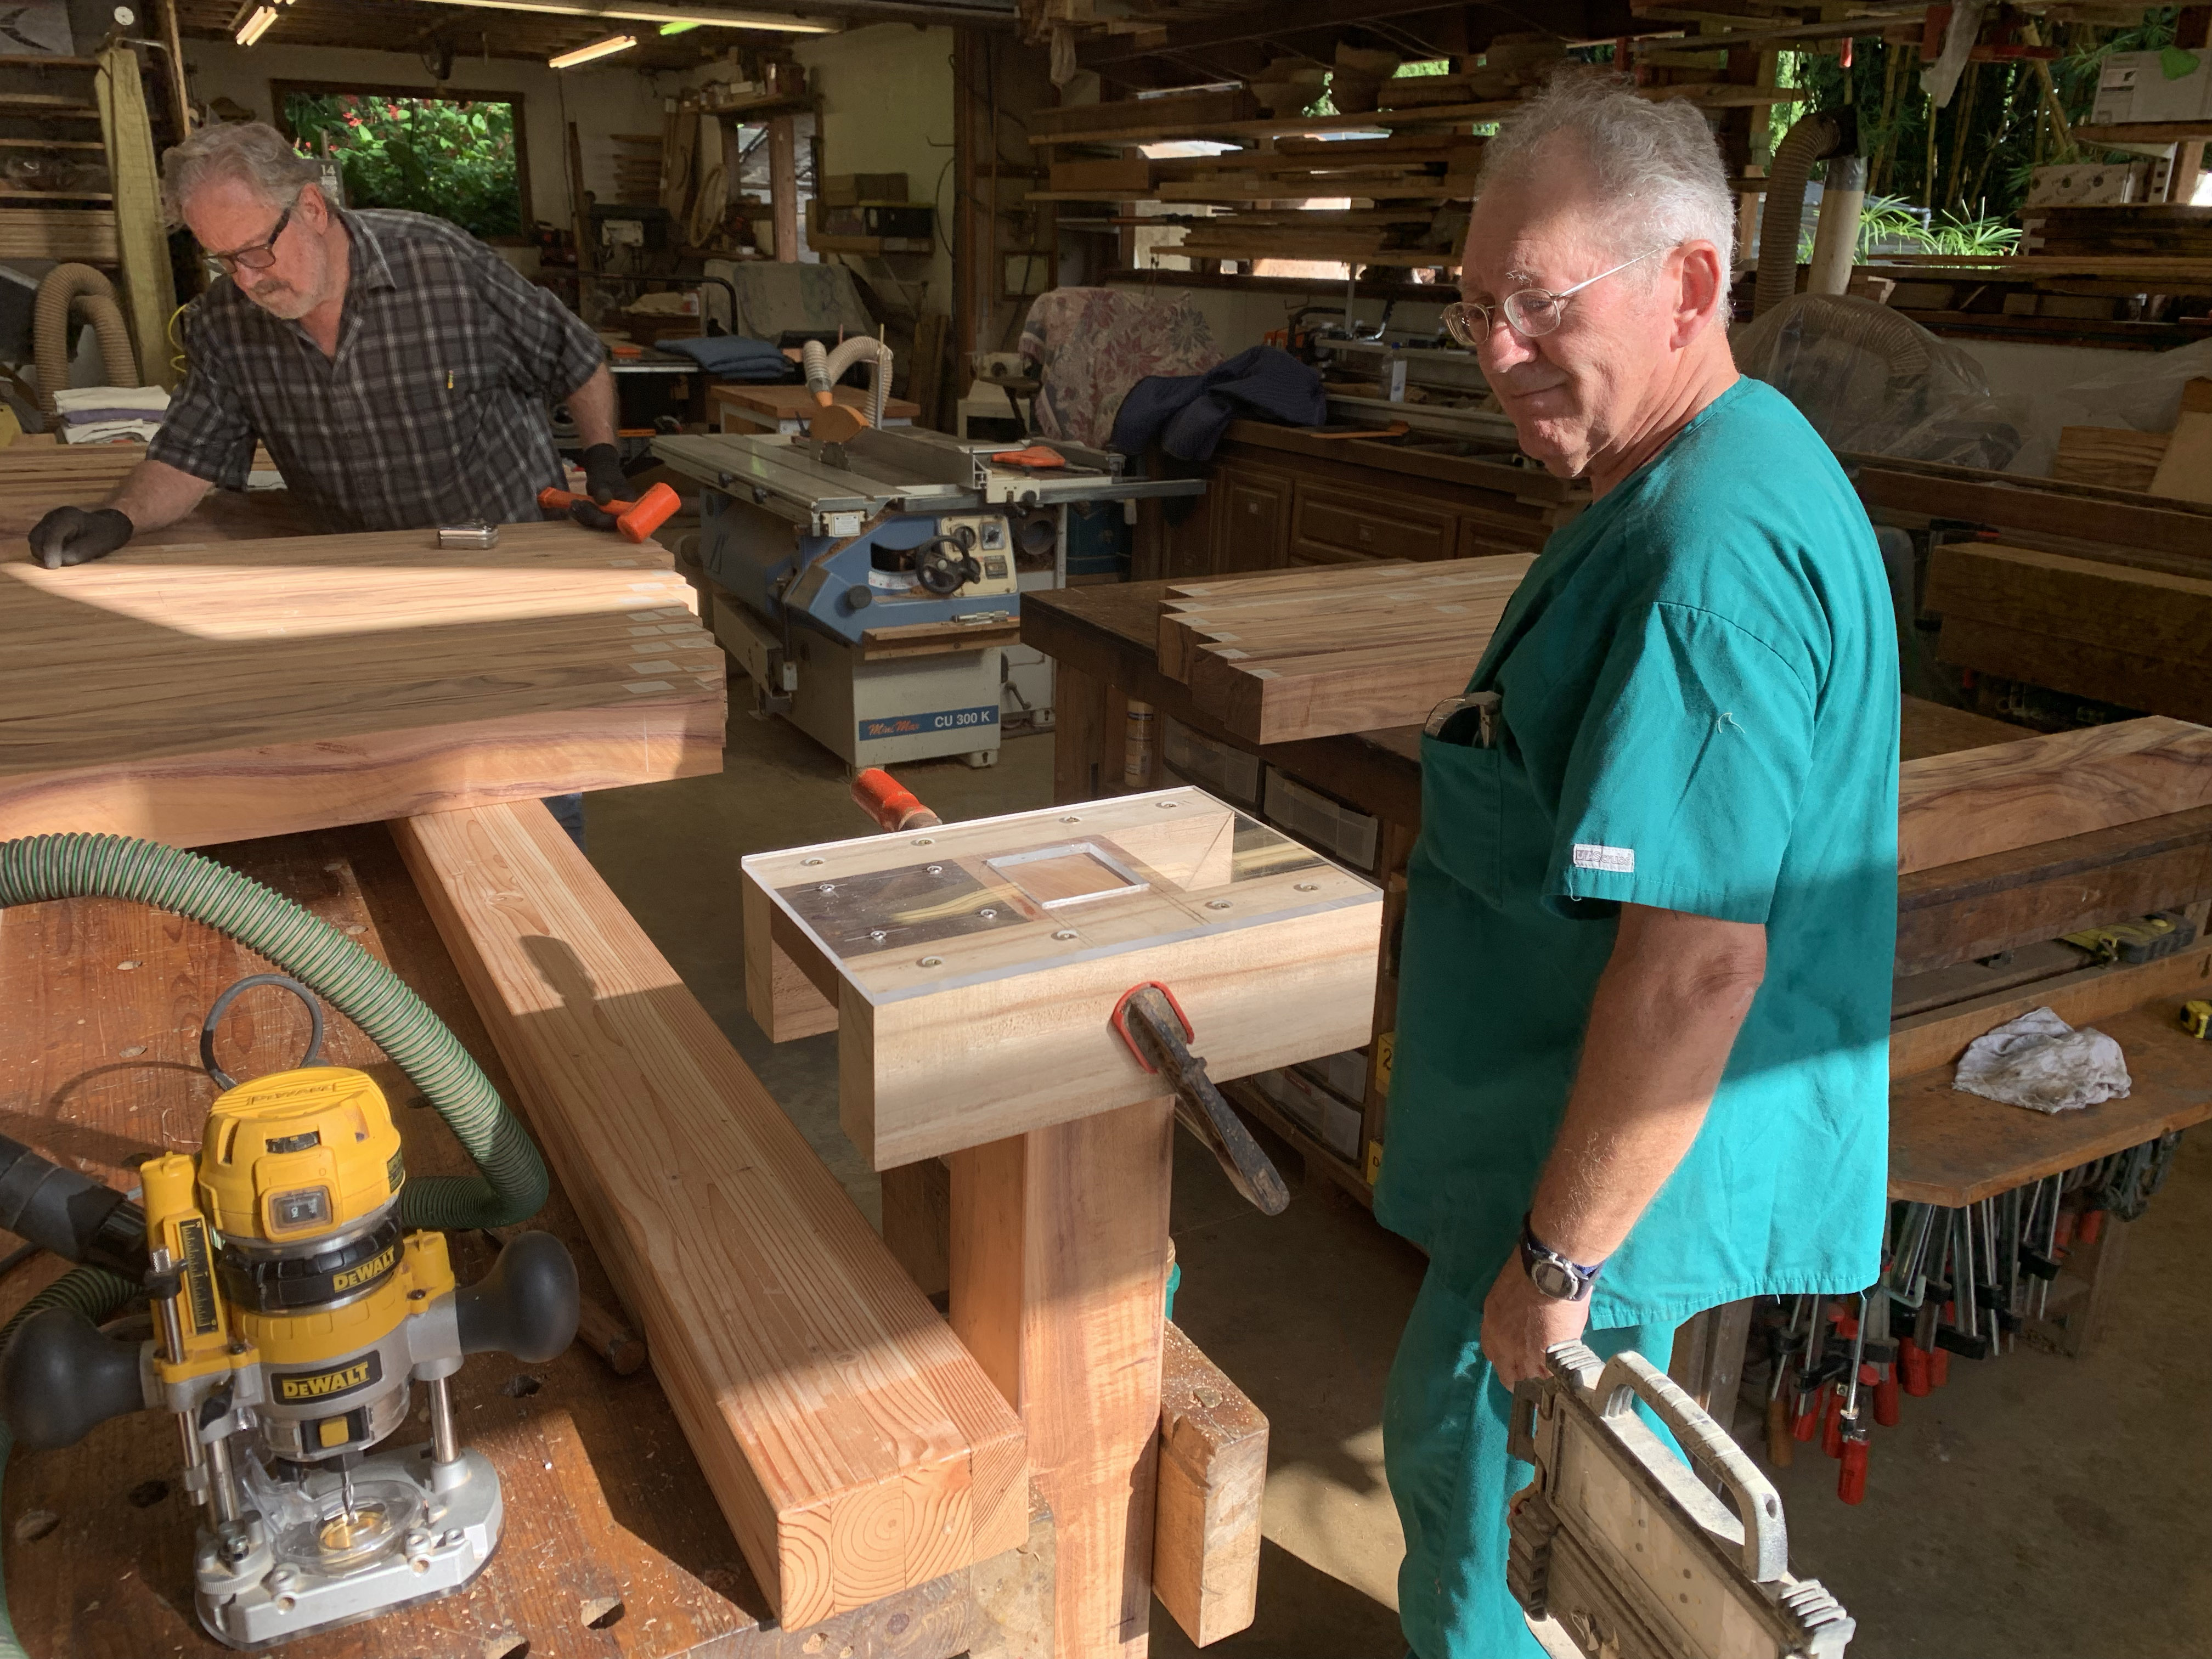
We cut the recesses for the copper plates with a plunge router. The shop made jig in this photo, clamped to the end of a timber, is the guidance system that provided perfect consistency. This jig was built after two prototypes gave us the proportions we were pleased with.
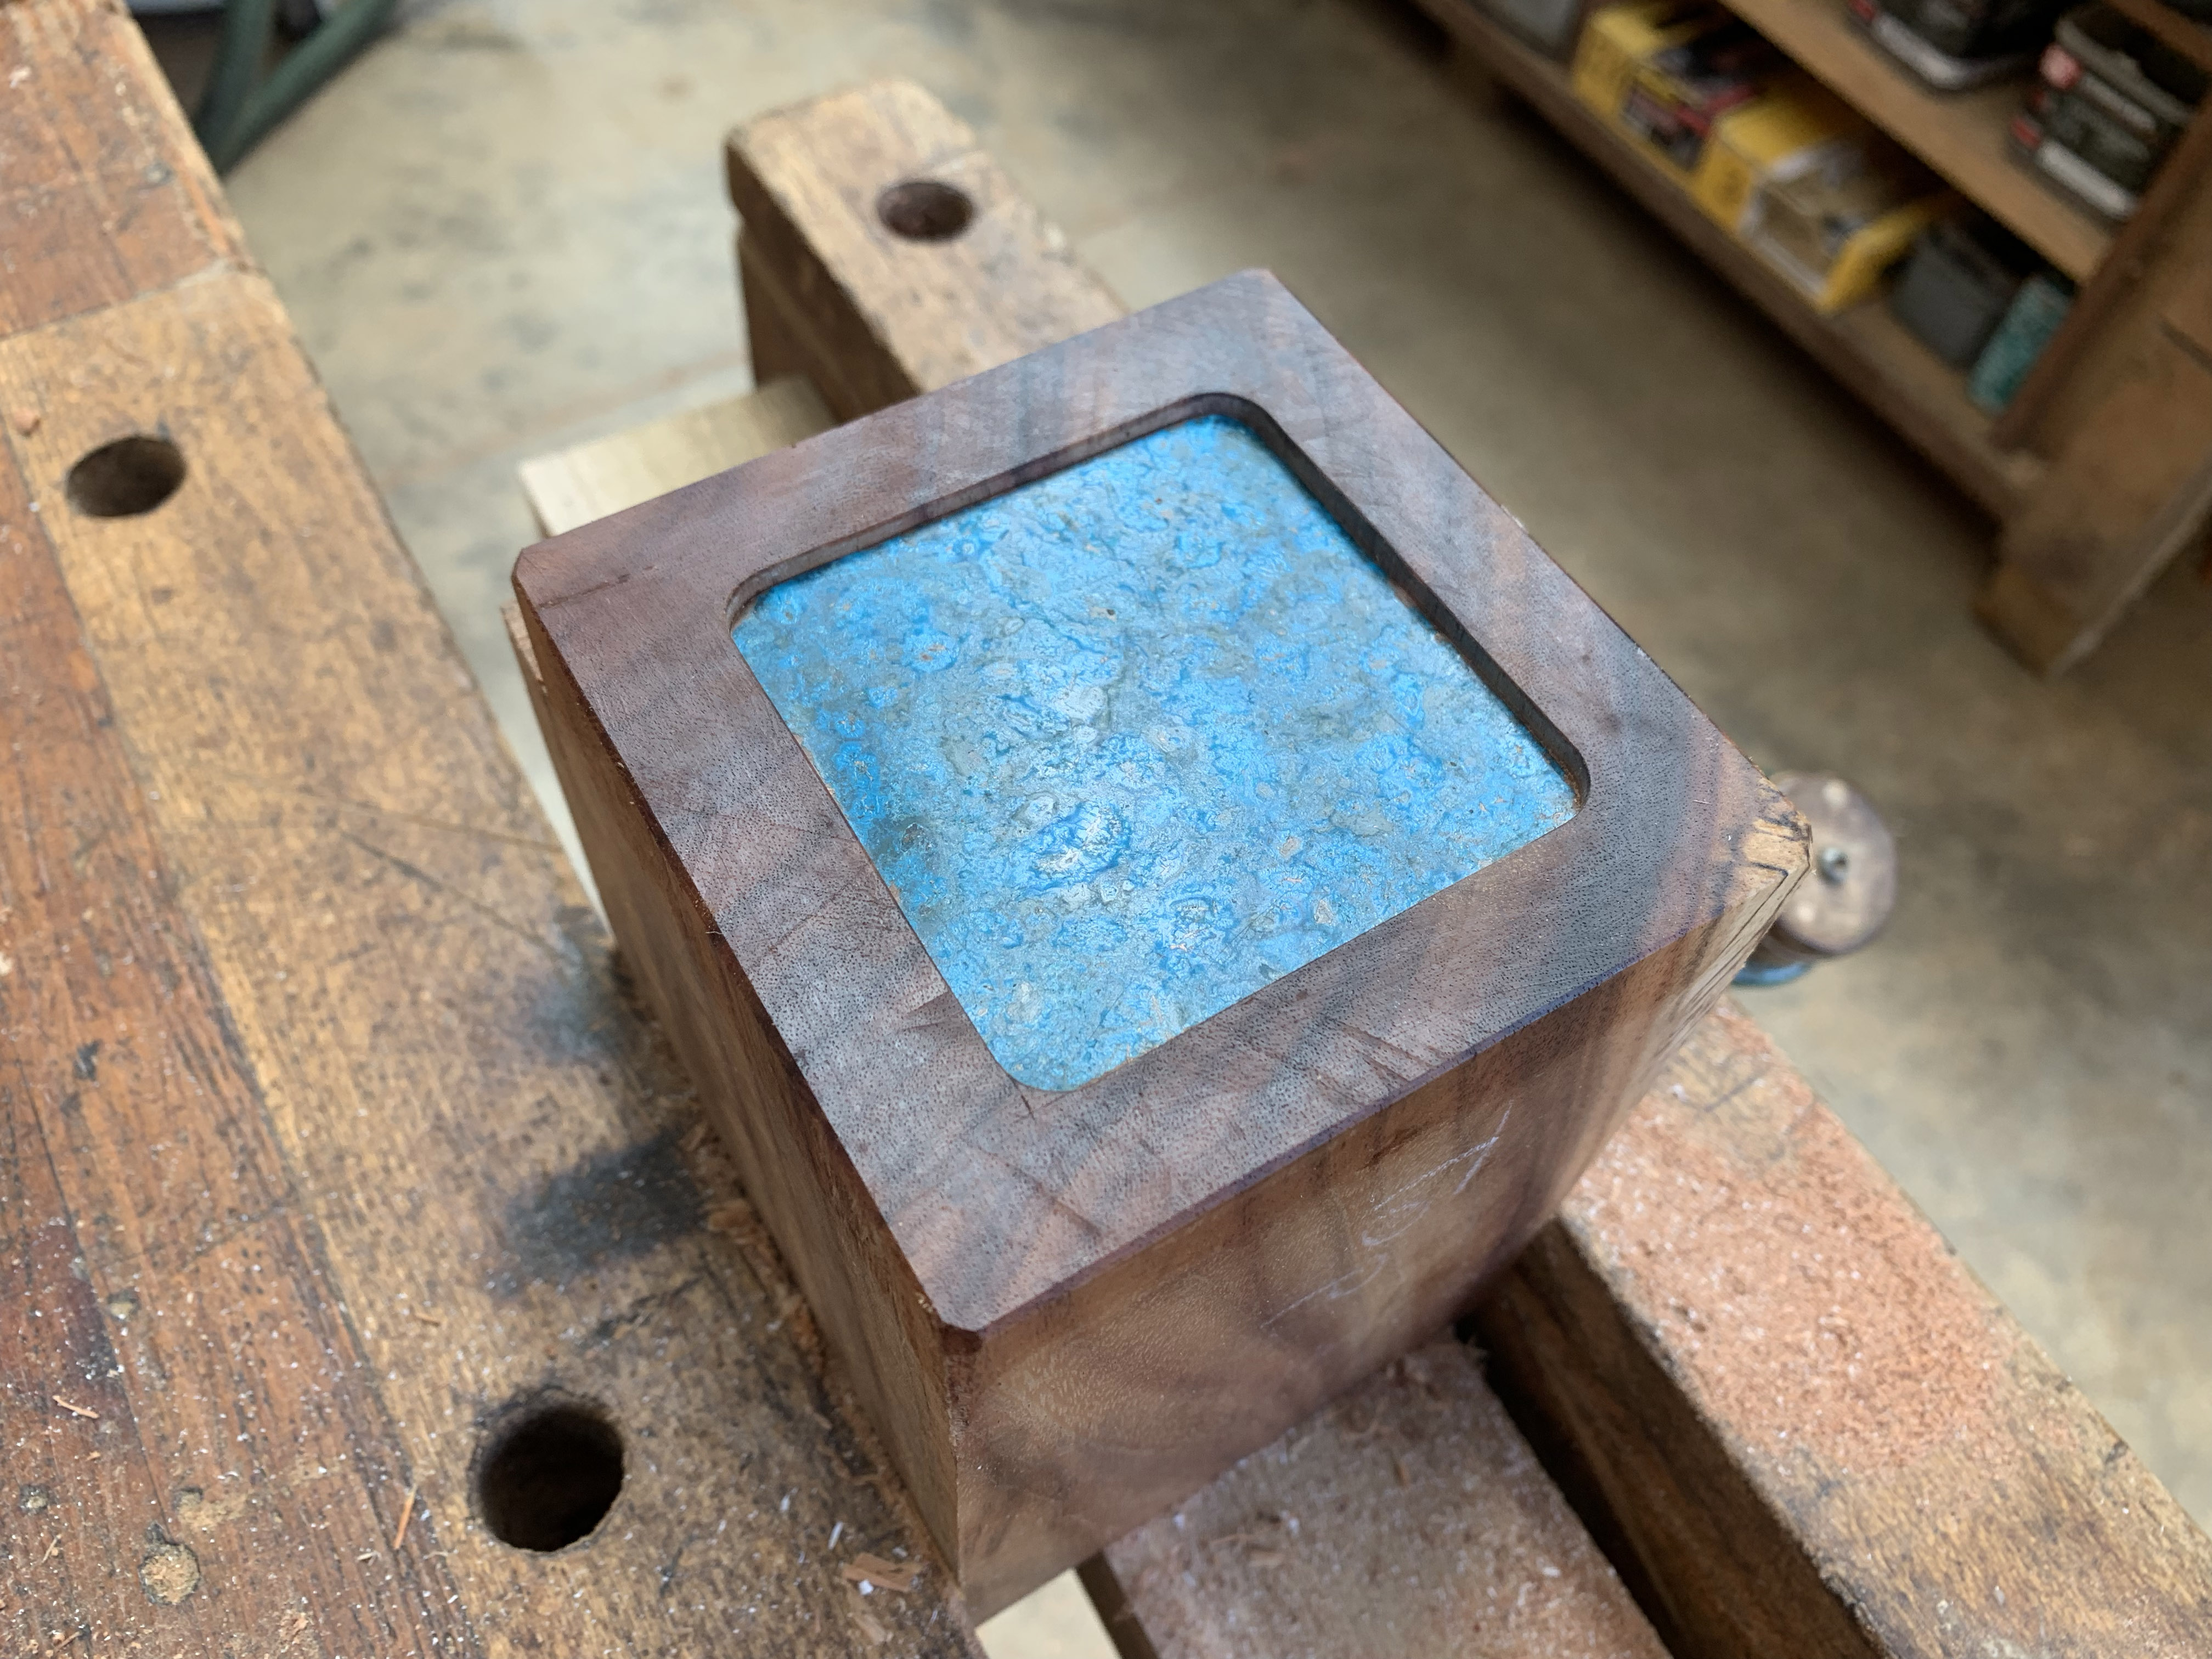
A prototype, with copper.
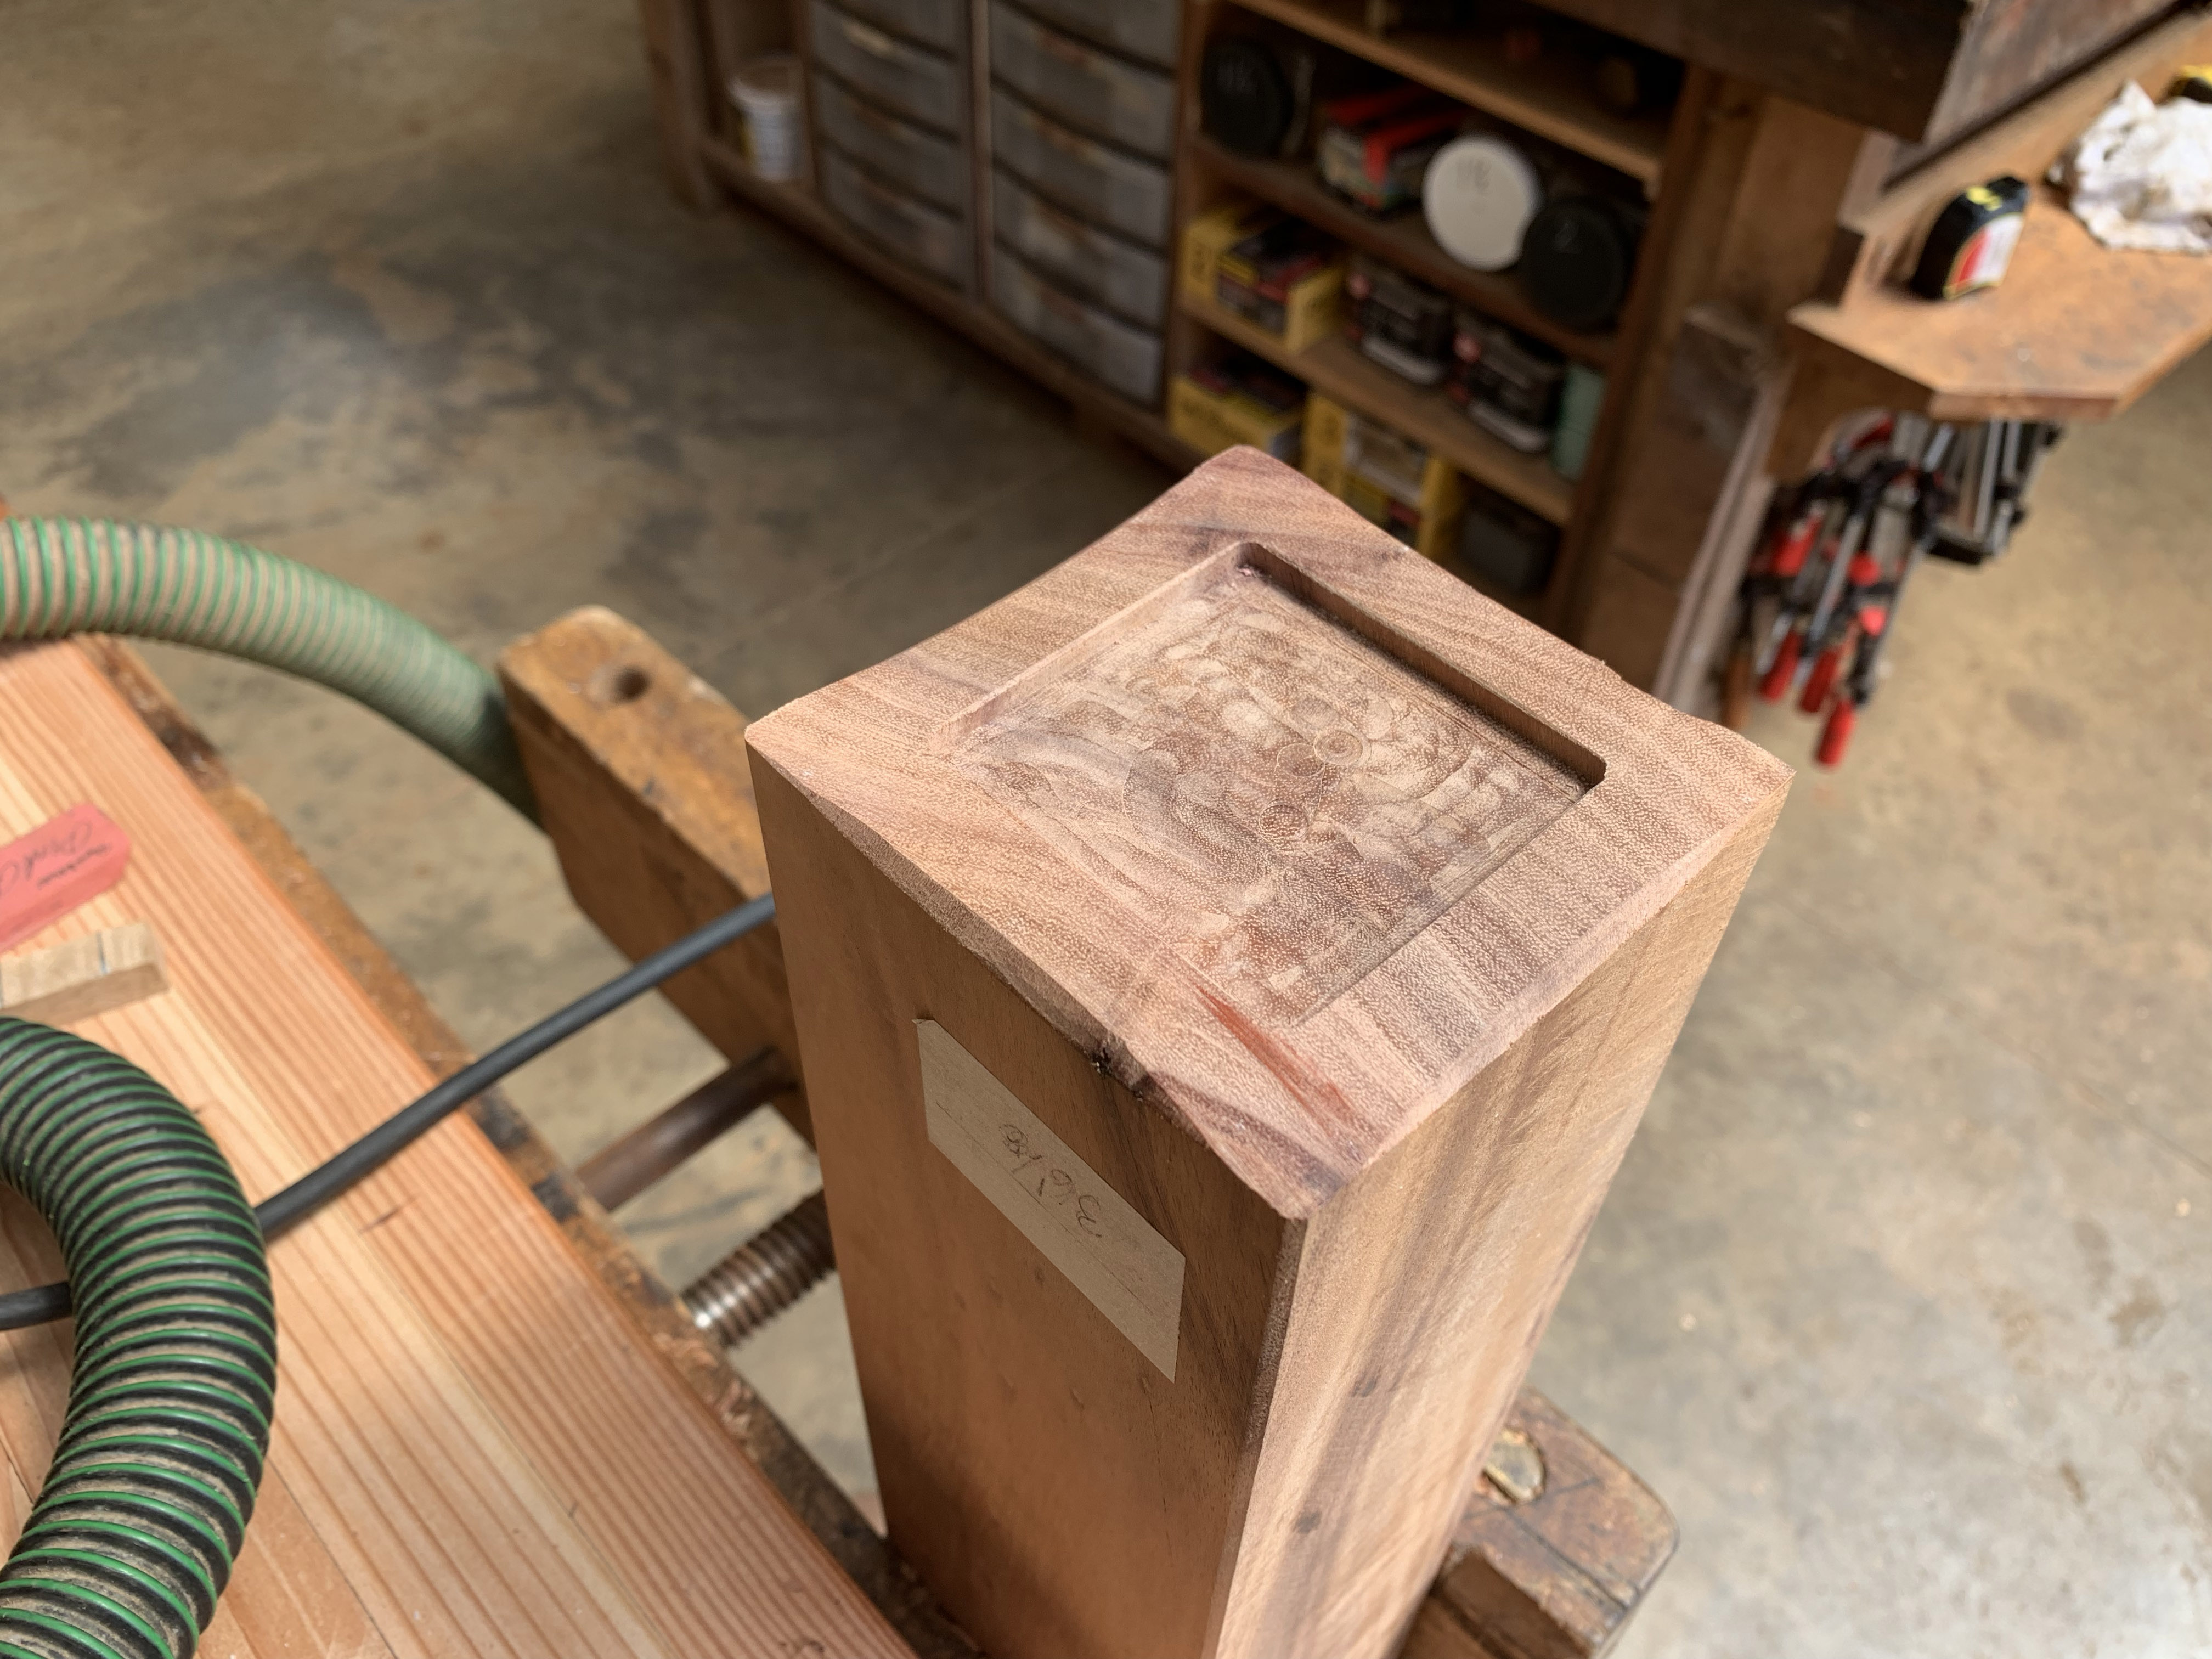
Subtle scallops applied with a spokeshave give charming shapes.
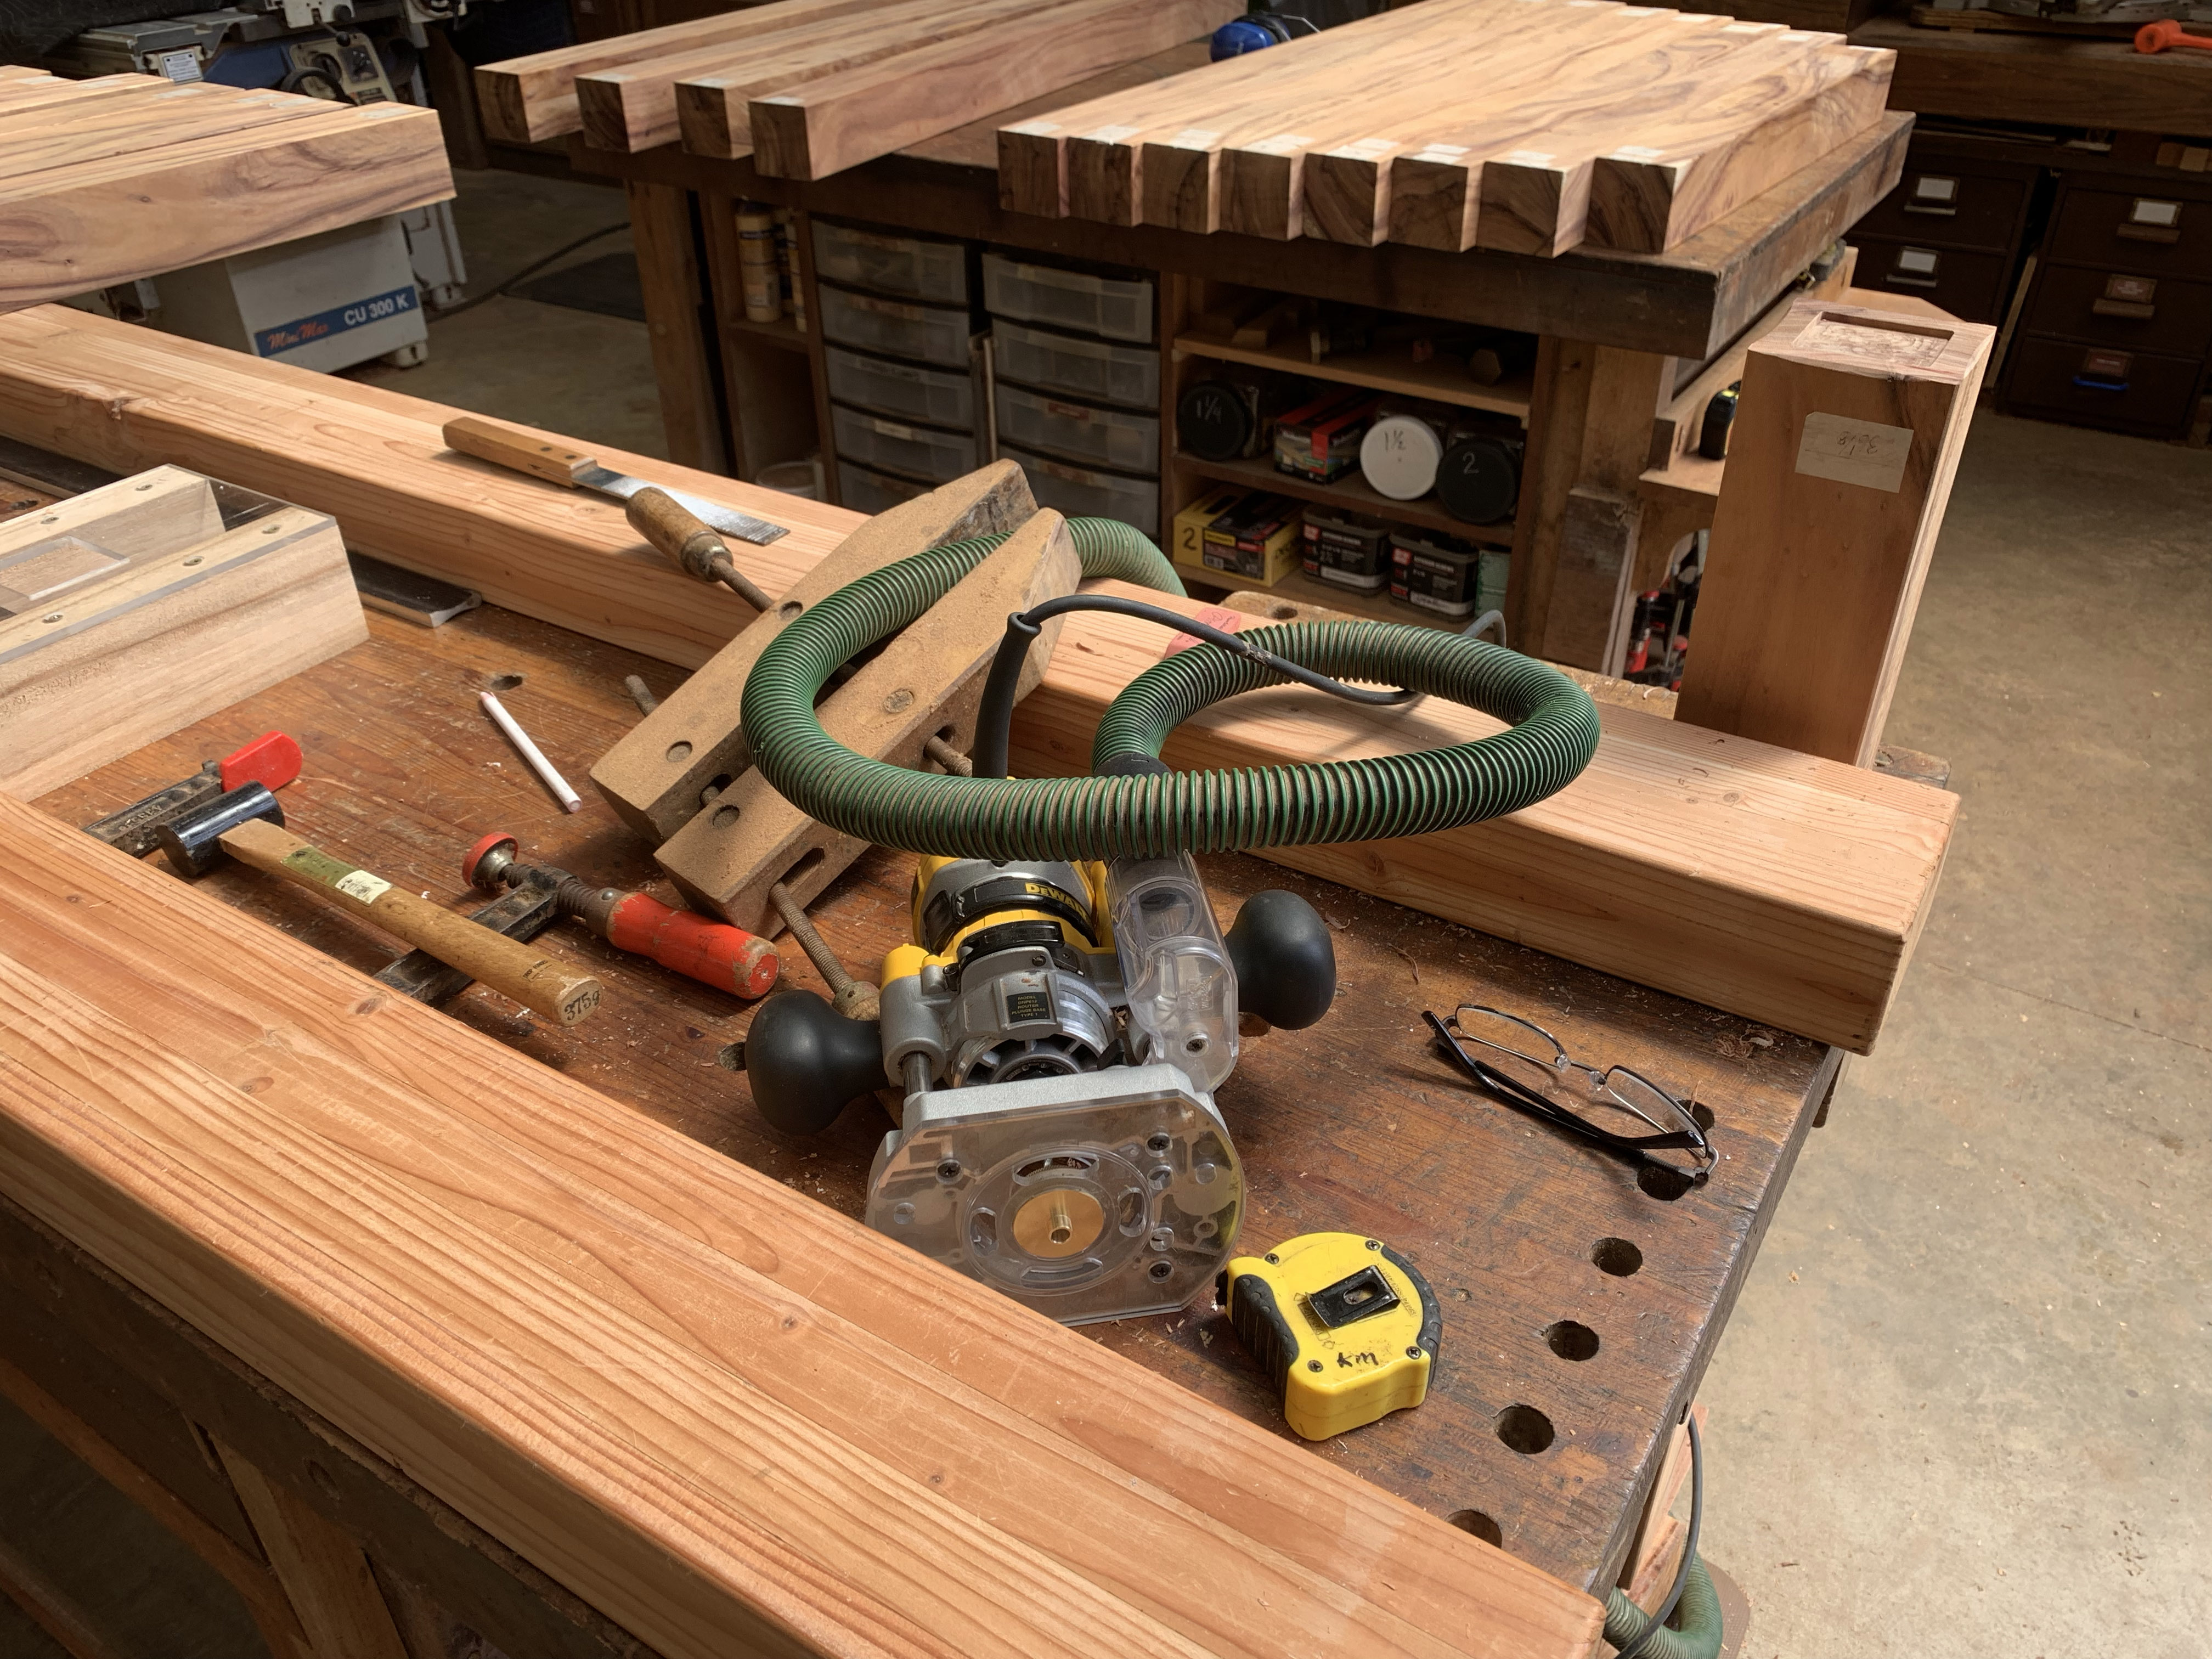
The workstation where 54 recesses were cut over a period of three days. We had to be vigilant lest we slip and nick the acrylic template guide and be required to make a new guide.
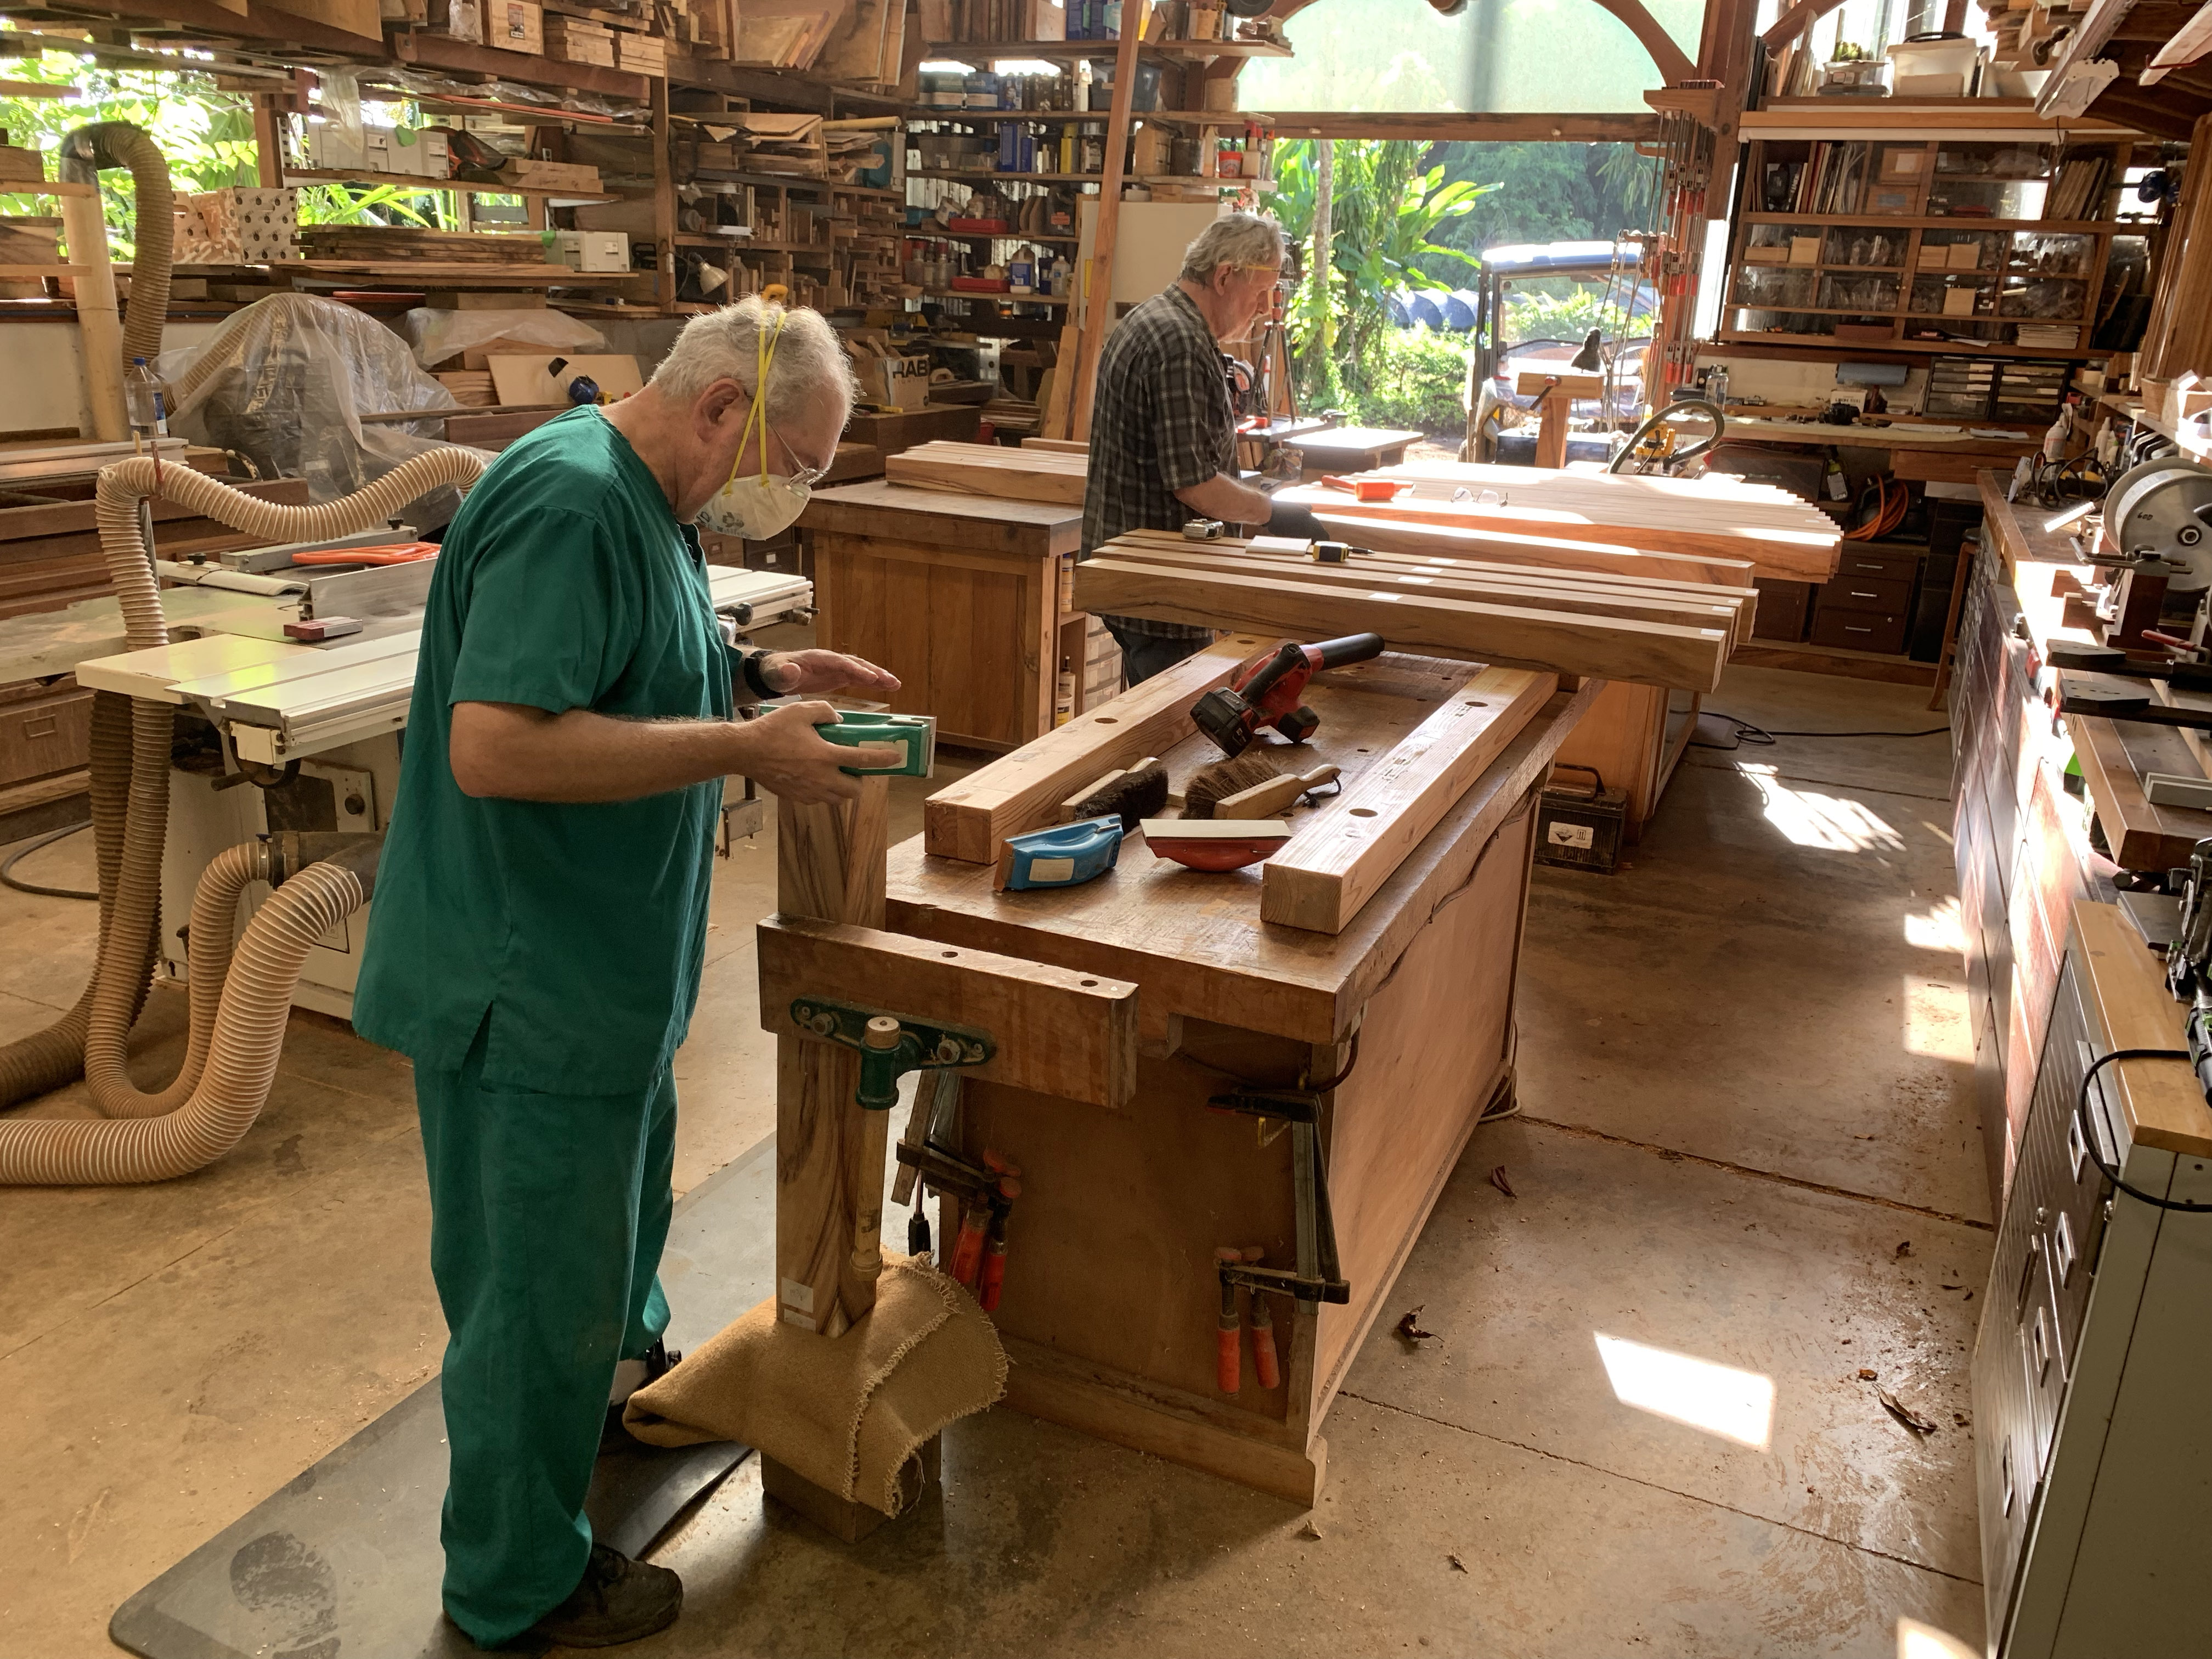
We set up a finishing line to refine the surfaces, especially the timber ends, polishing the hard wood to 400 grit.
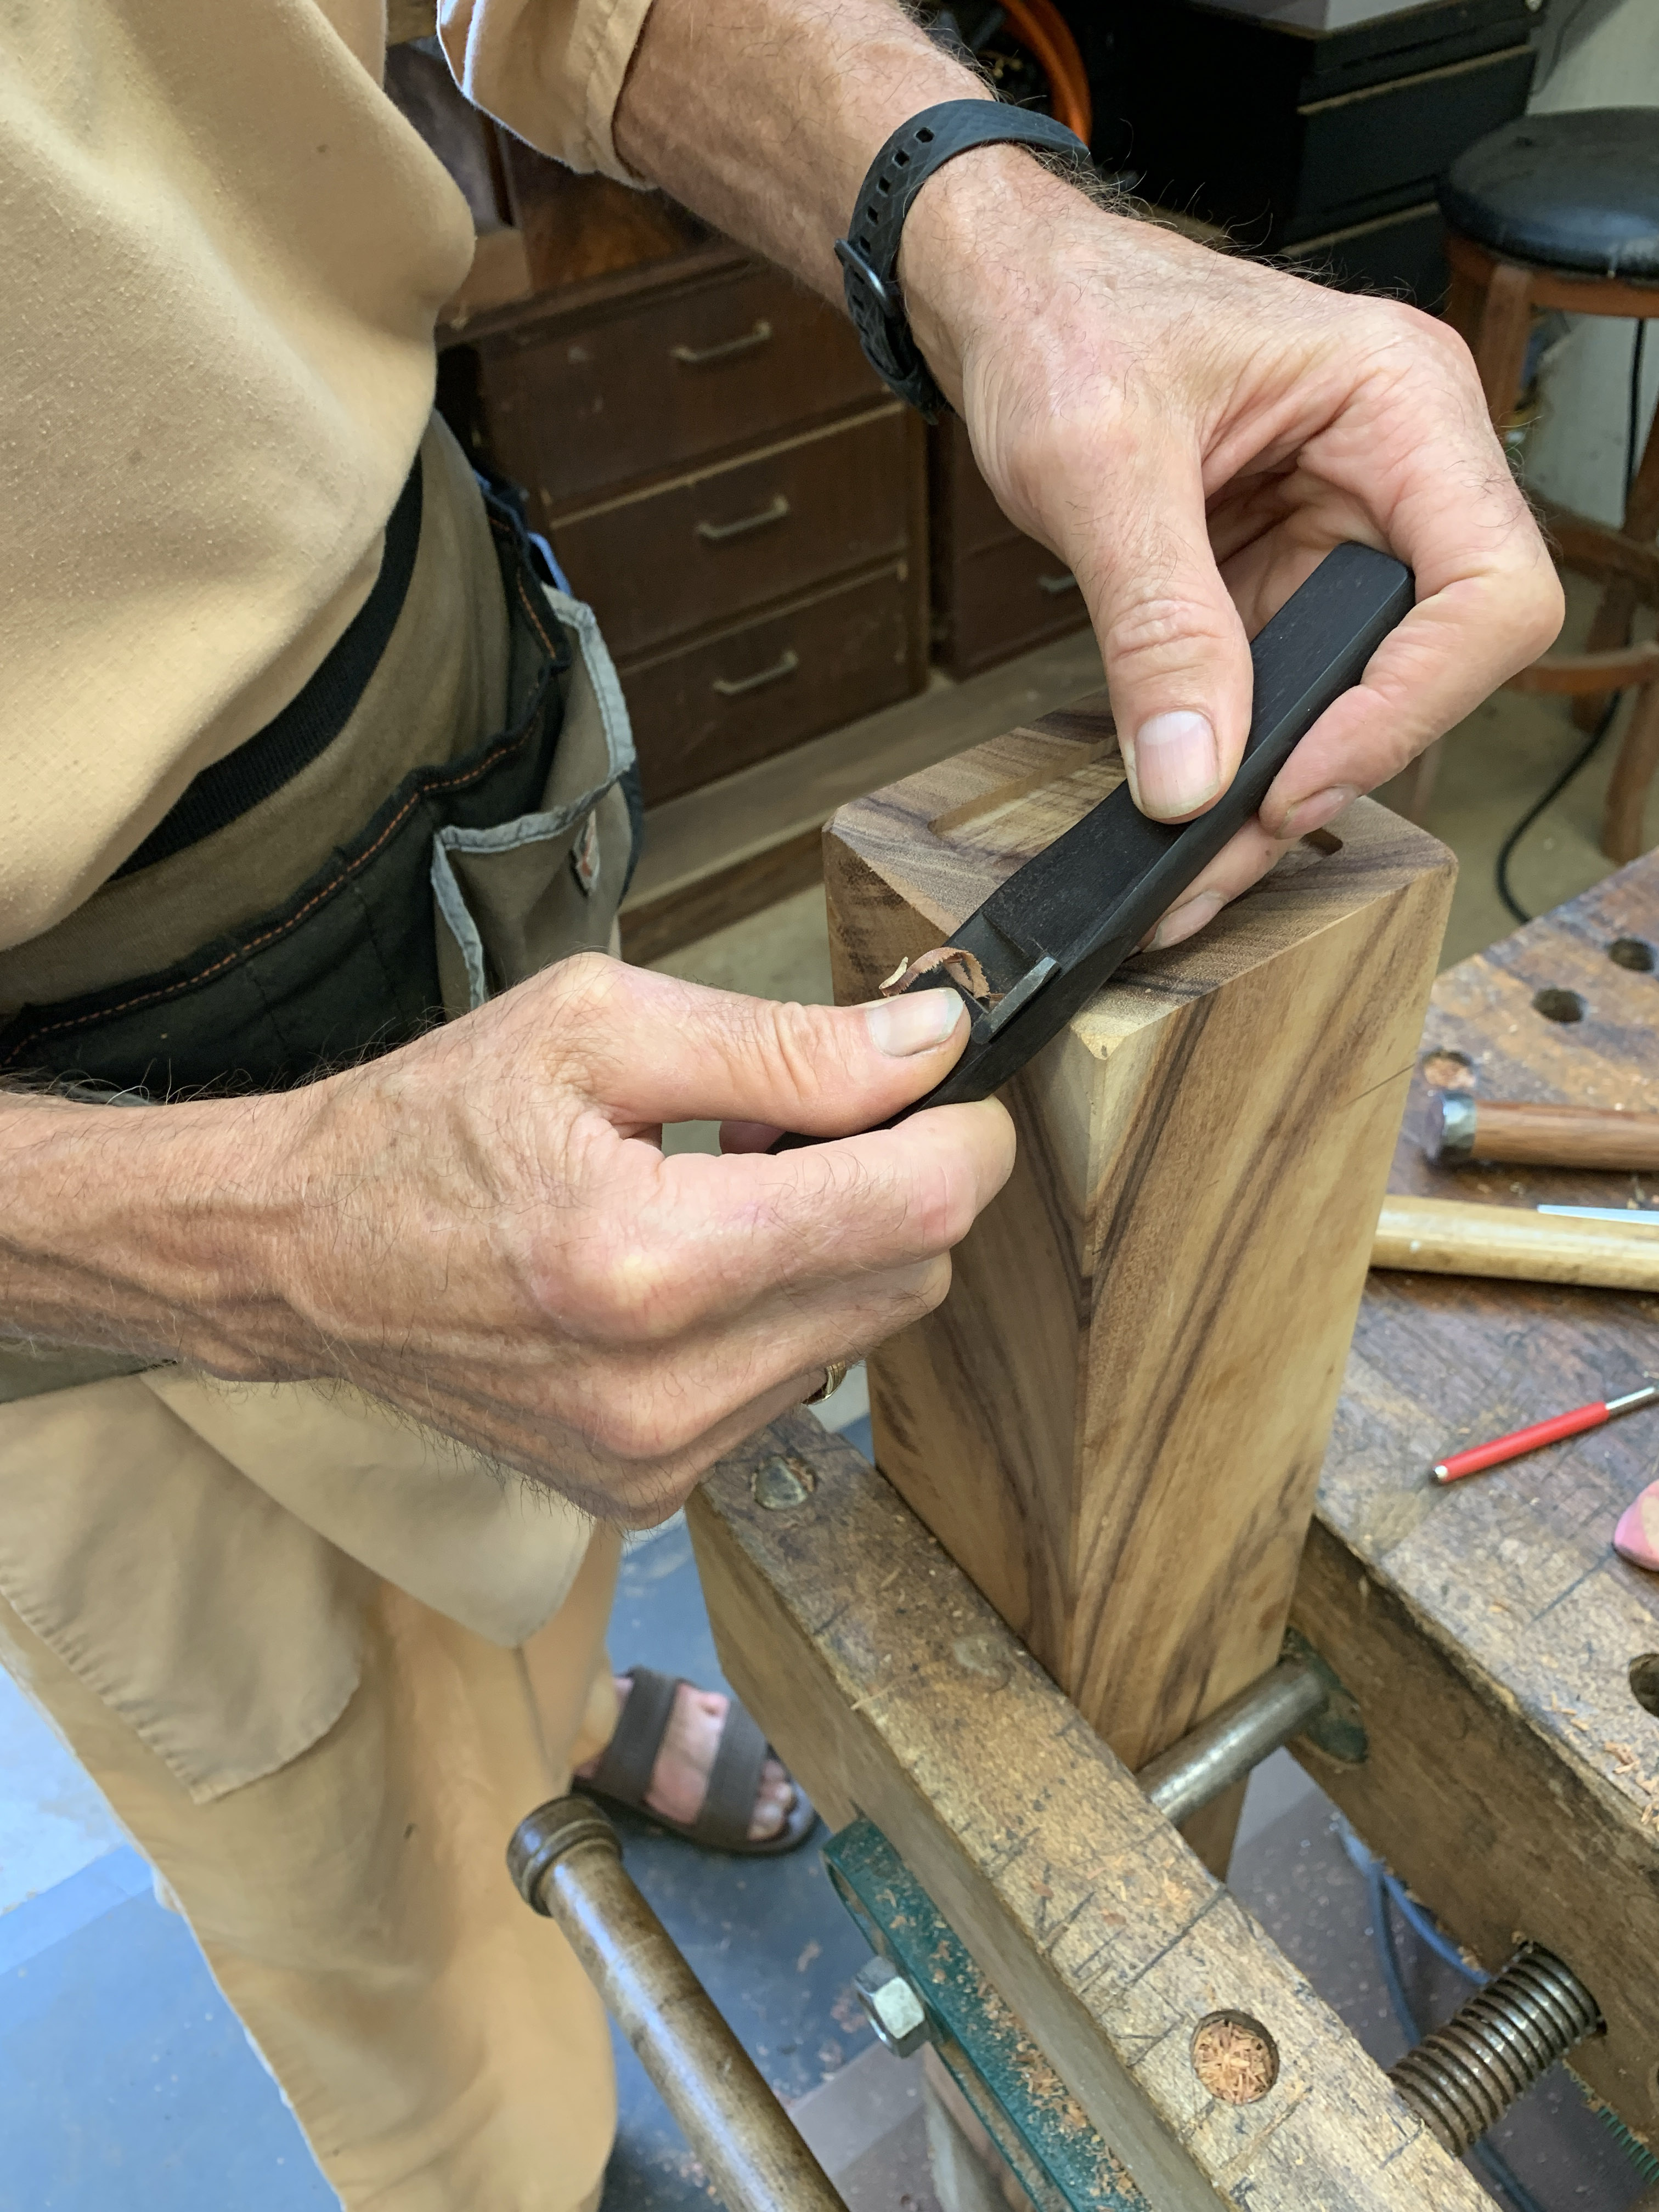
A scallop in the making, using an ebony bodied blue-steel spokeshave from Japan. Thus endeth part one of the story
}
];