Our Cedar Room Table, Part Two: On the Home Stretch
May 20, 2020This is the second of two posts about the creation of the conference table for the Media Studio. It is a table made of Formosan Koa in an unusual style. Here is a look, over many months, into the building of the table base, the completion of the top, and the adding of the copper end plates to the top cross members. Enjoy.
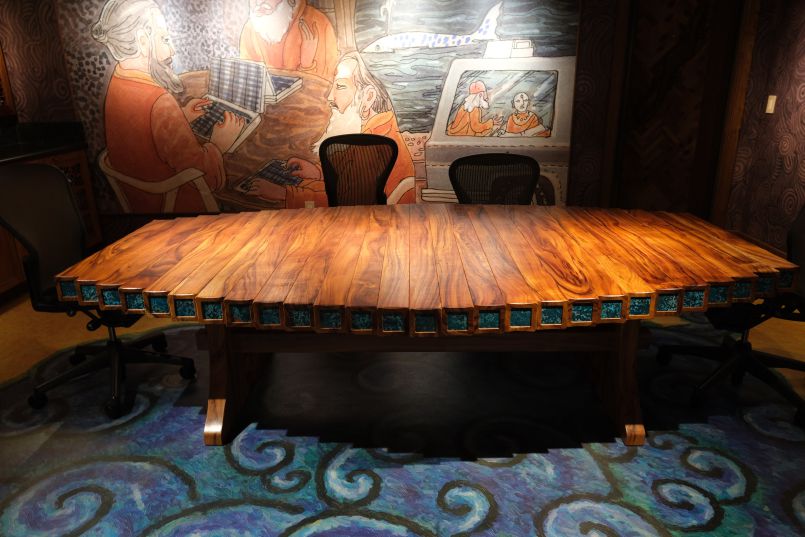
Here is the finished product in its home setting. It hardly looks \"created\" at all, more like it just grew there.
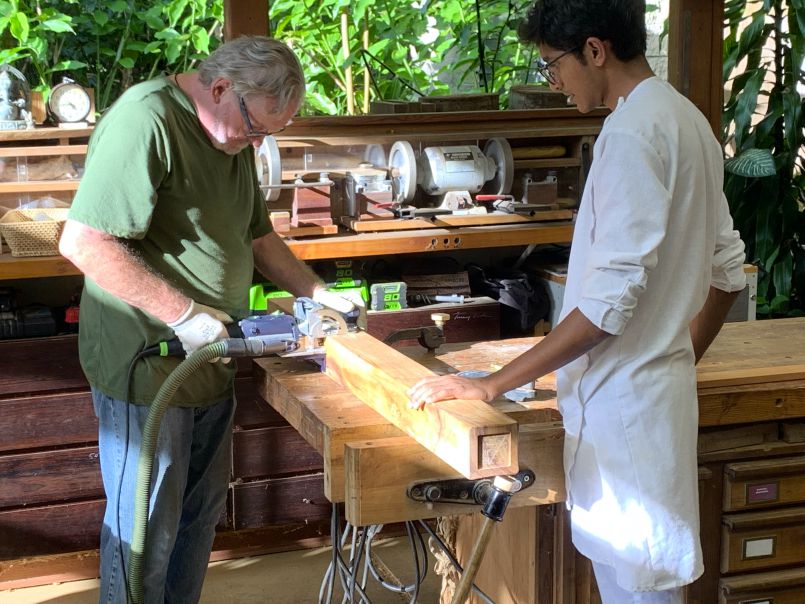
Here, Aditya and Arinien drill holes in the top beams to accommodate \"floating\" tenons.
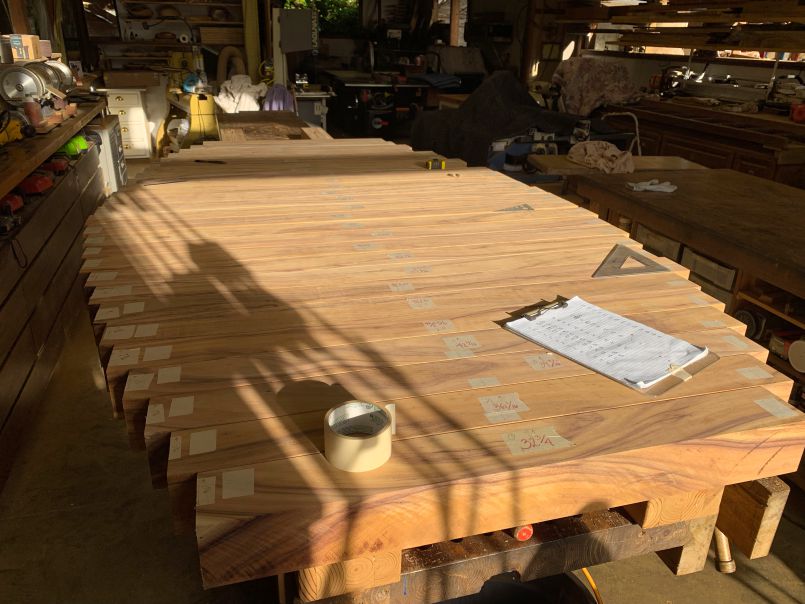
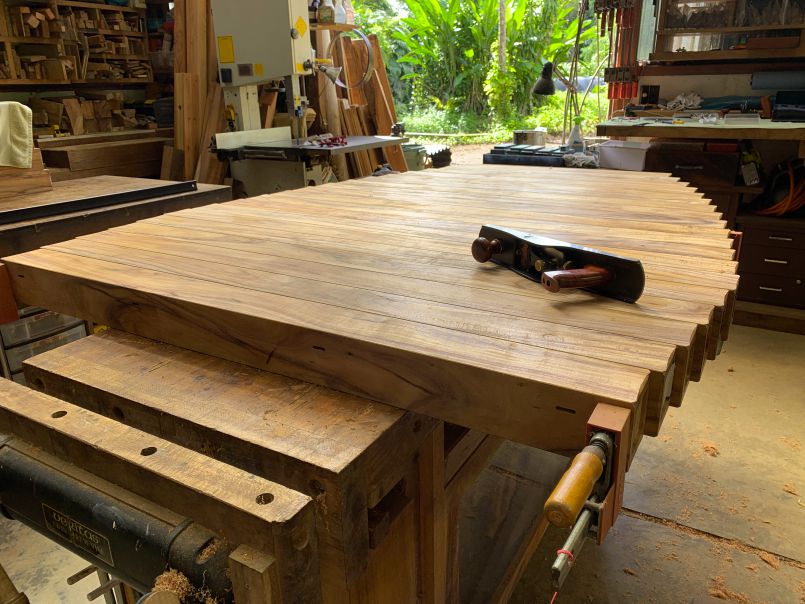
The top pieces all laid out but not all glued together yet. Lot\
s more work to be done.'
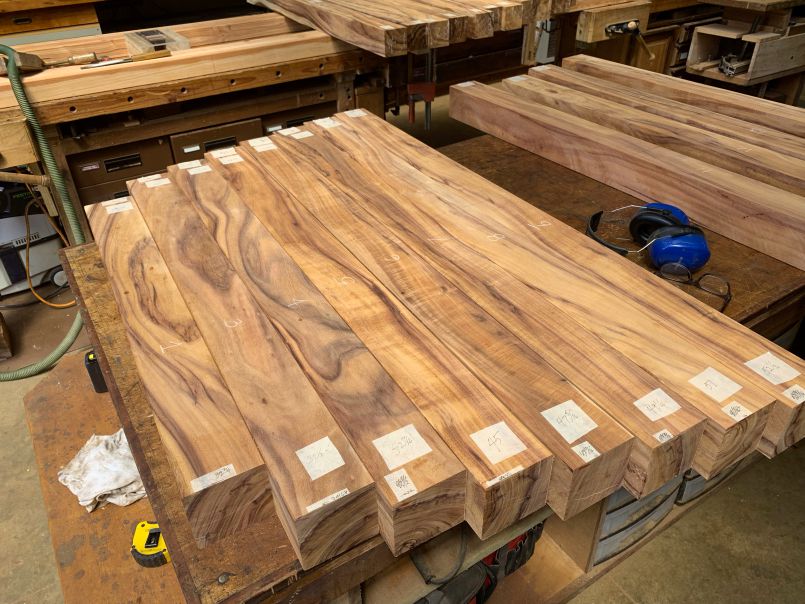
This group of beams, squared up and flattened for lamination, is being marked for tenons.
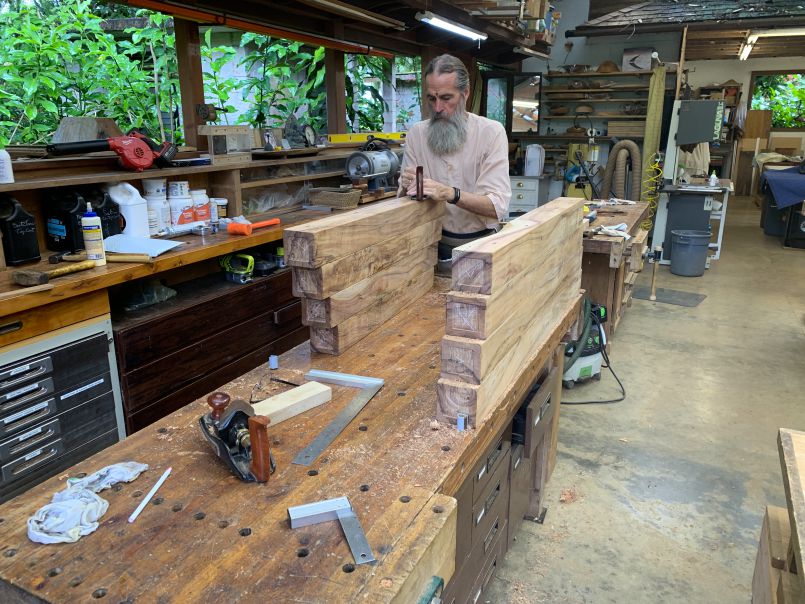
Fine tuning the faces to make them coplanar to their mates. These to 4-piece stacks are glued together. Acharya is working to make them a stack of eight.
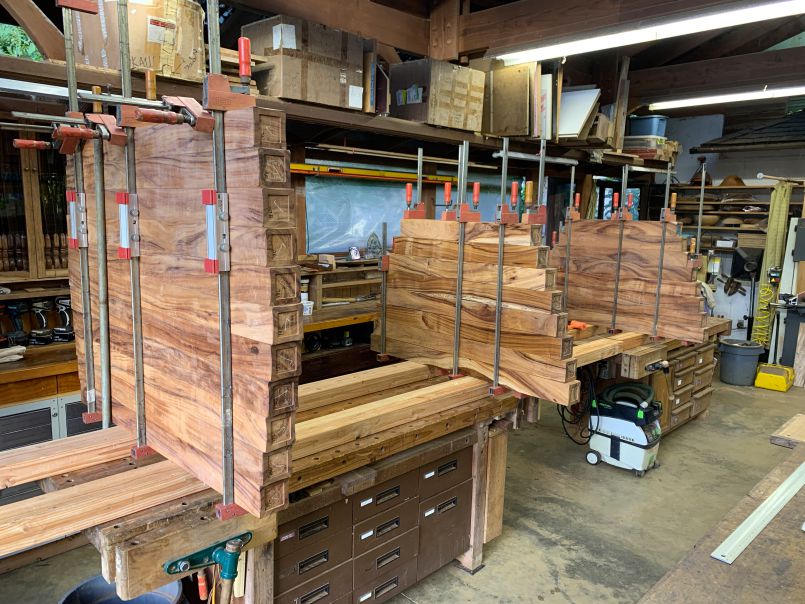
The lamination process, just prior to adding the clamps.
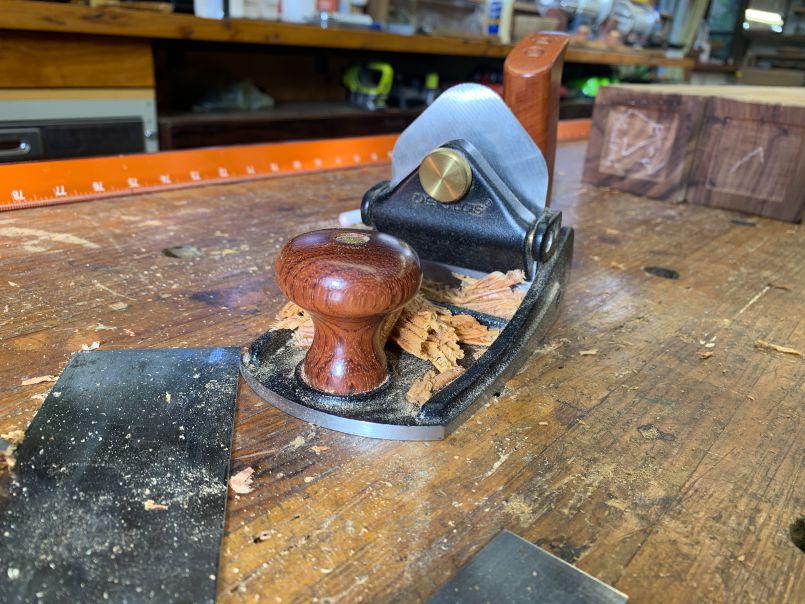
A scraper plane for removing material without tearing out the grain on this gnarly wood.
Clamping.

More clamping. Here Arinien works with pairs.
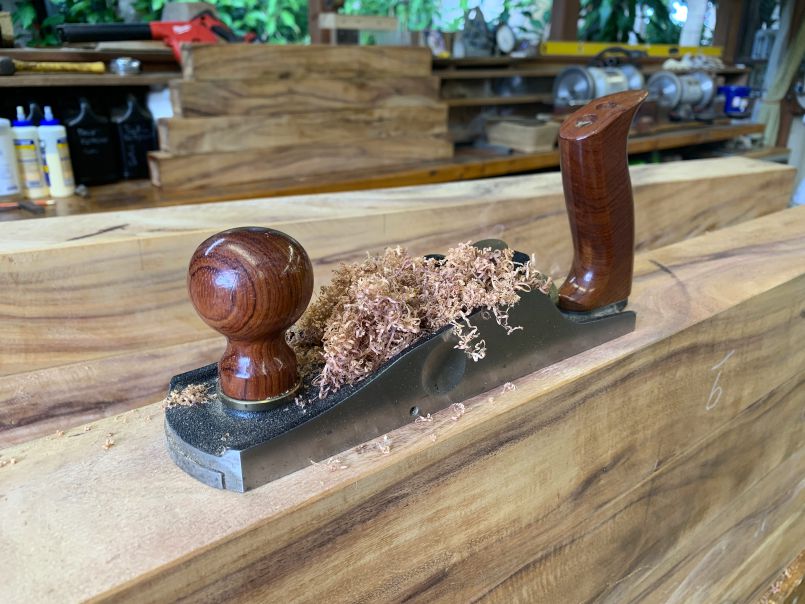
A low-angle plane with a \"toothing\" blade The cutting edge has square notches, 1\/8\" apart. It is designed to remove stock without tearing out the wood.
Here\
s a closeup of the plane\'s base and blade.'
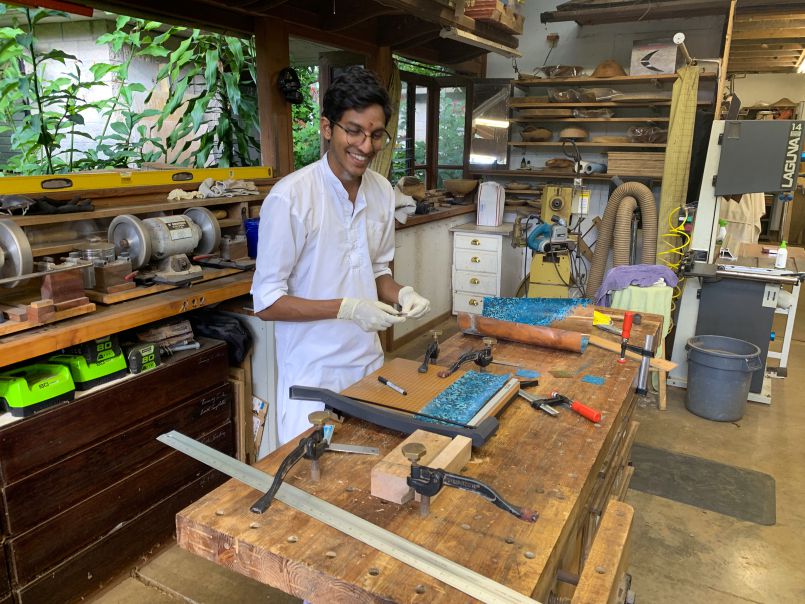
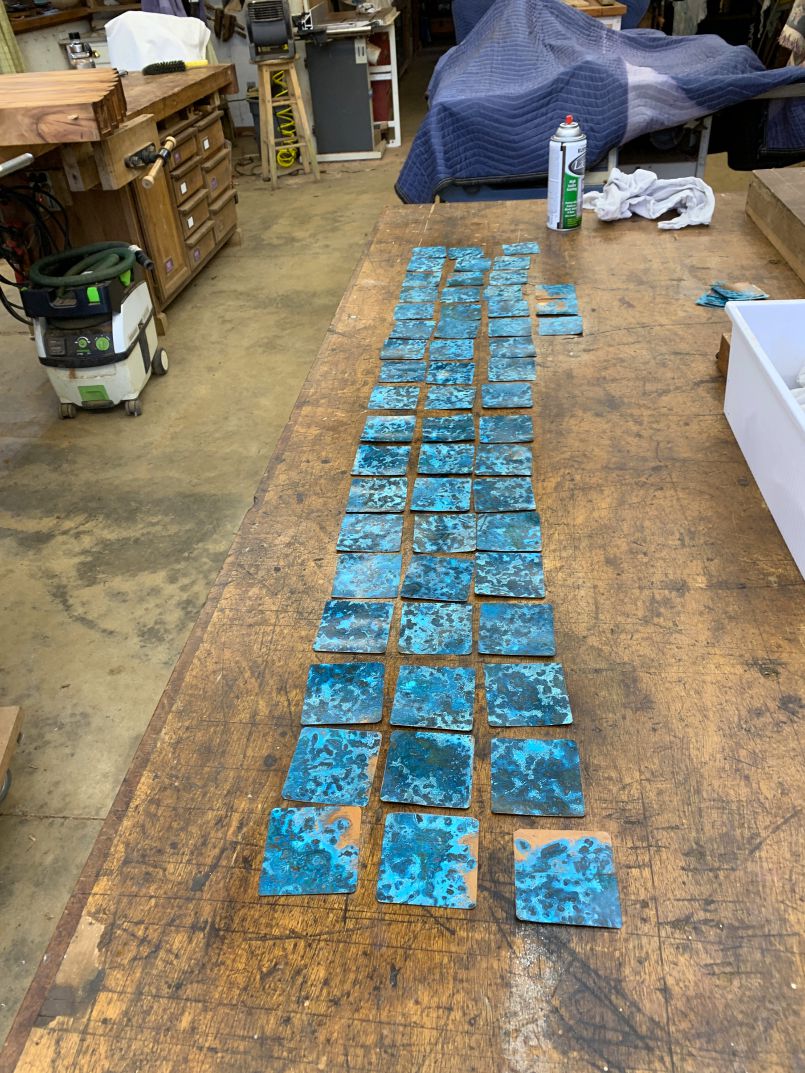
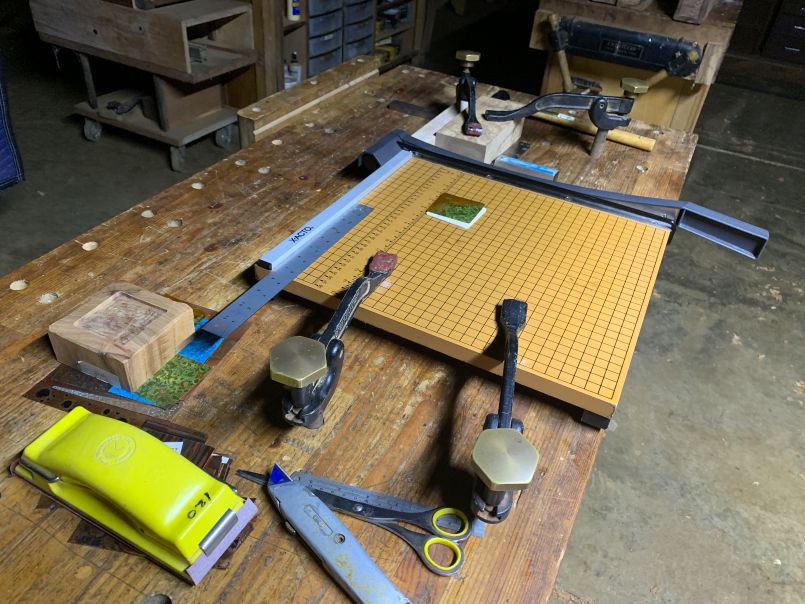
Arinien had fun working out a system to cut the 54 pieces of copper to perfect fill the insets in the end of each cross member.
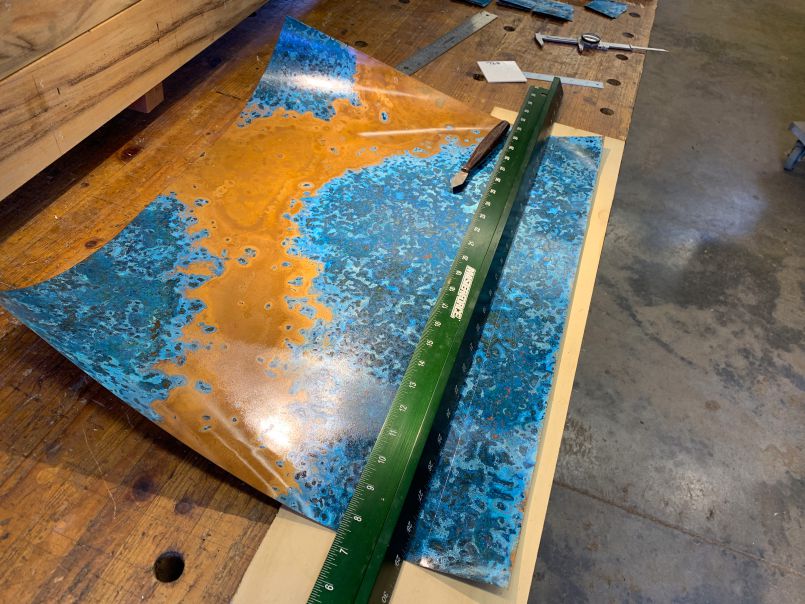
This turned out to be the best technique. Starting with the factory edge, and scribing with a marking knife and then cutting along that crisp line with sharp scissors.
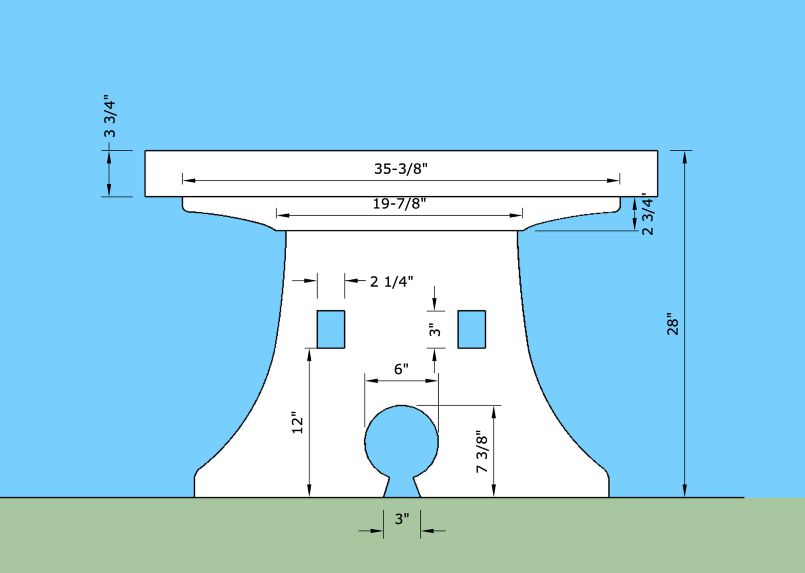
We set aside the final assembly of the top and moved over to creating the base so that we could put this finished element in the cedar room and have a place to put the top when it was fully assembled, knowing that it would weigh 700-800 pounds, and we would only want to move it once. This is a view of the end in Sketchup\/Layout.
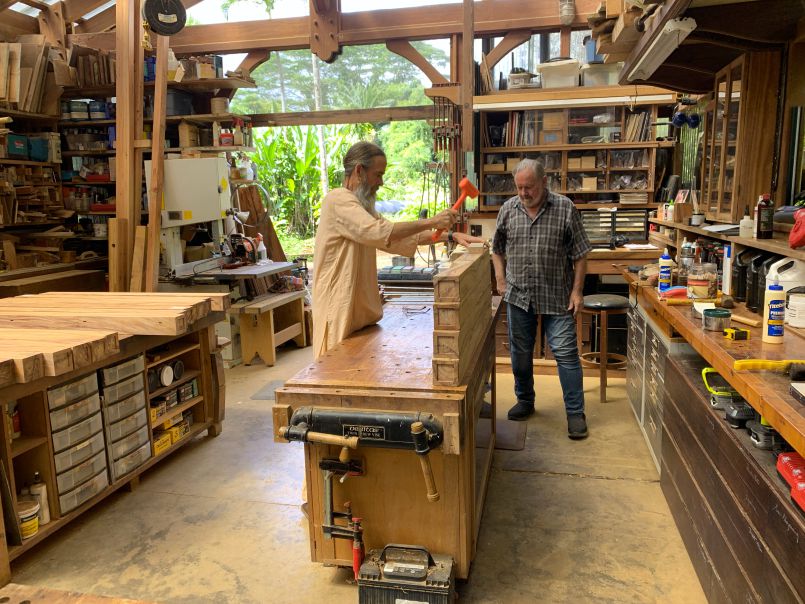
Kanda Alahan\
s arrival to help was a boon for this project. He is a cabinet maker and cabinet shop owner who has had lots of experience with band-sawing from early work with making wooden toys for kids. '
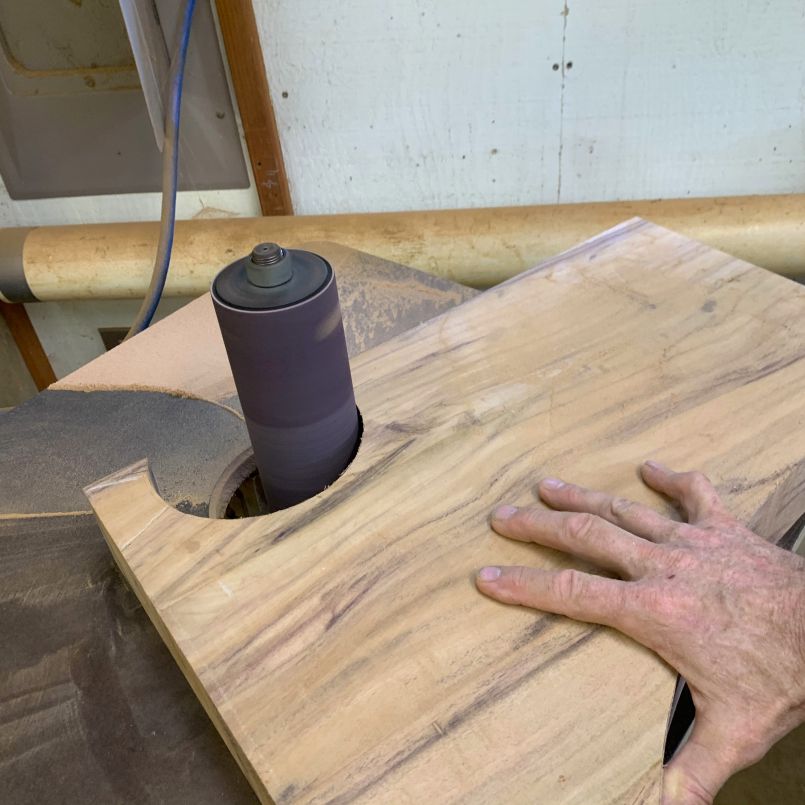
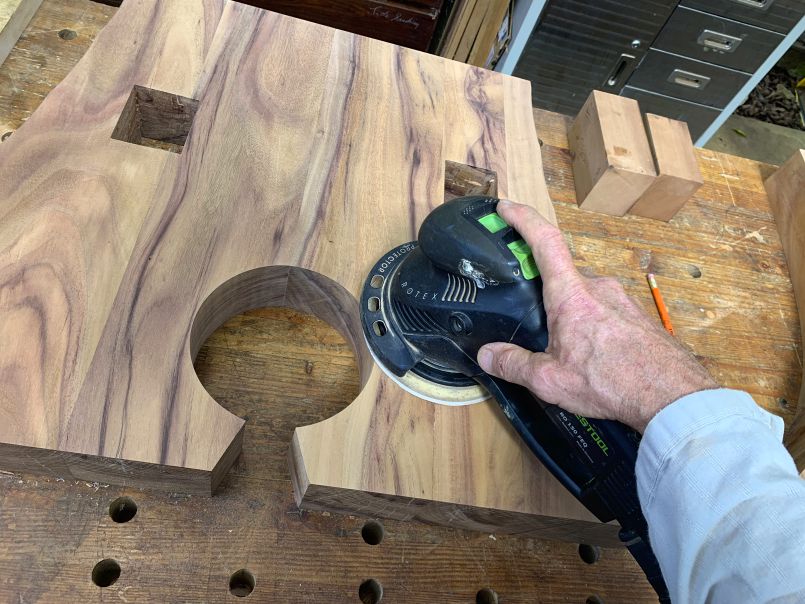
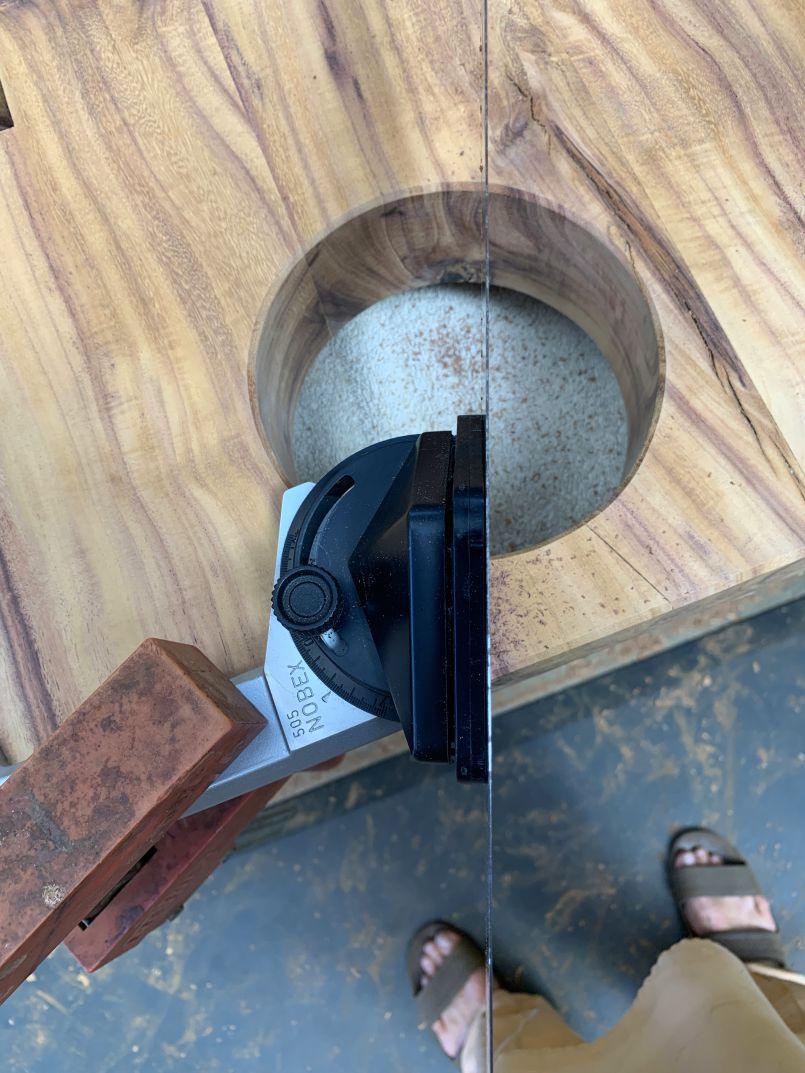
Here he is sanding the hole in one of the trestle bases on the spindle sander.
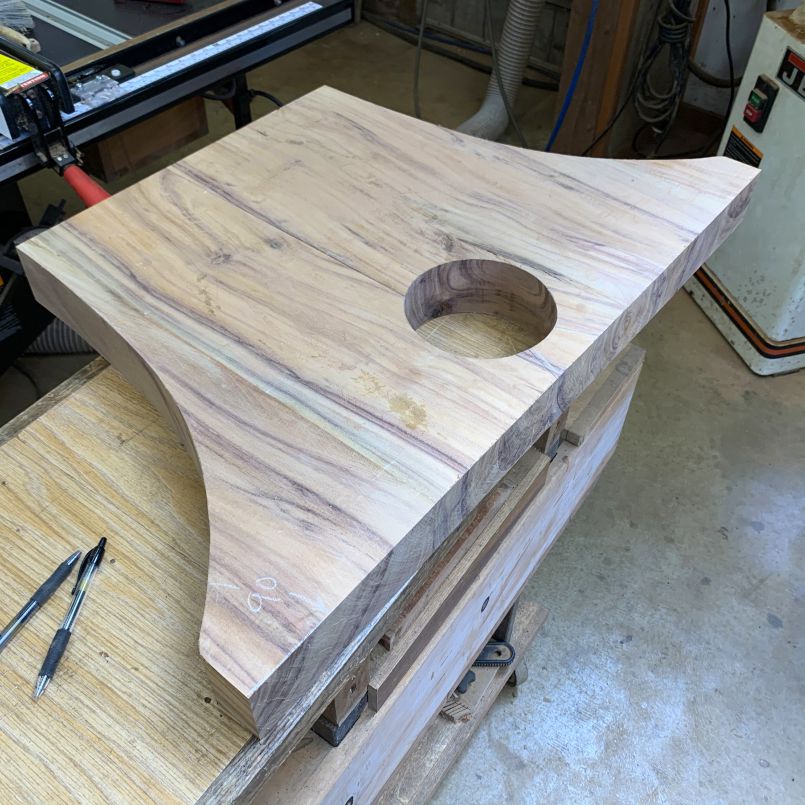
After a whole lot of hard work, this is looking good!
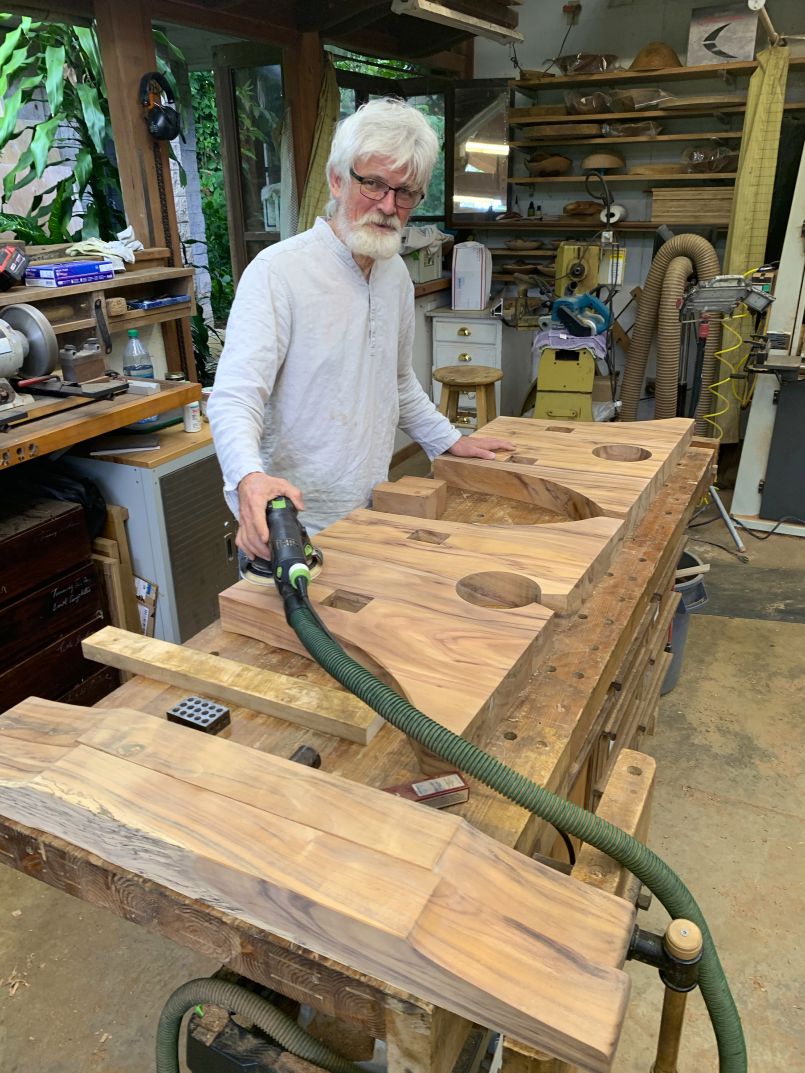
Drum sanding the four sections.
Readying for final glue-up.
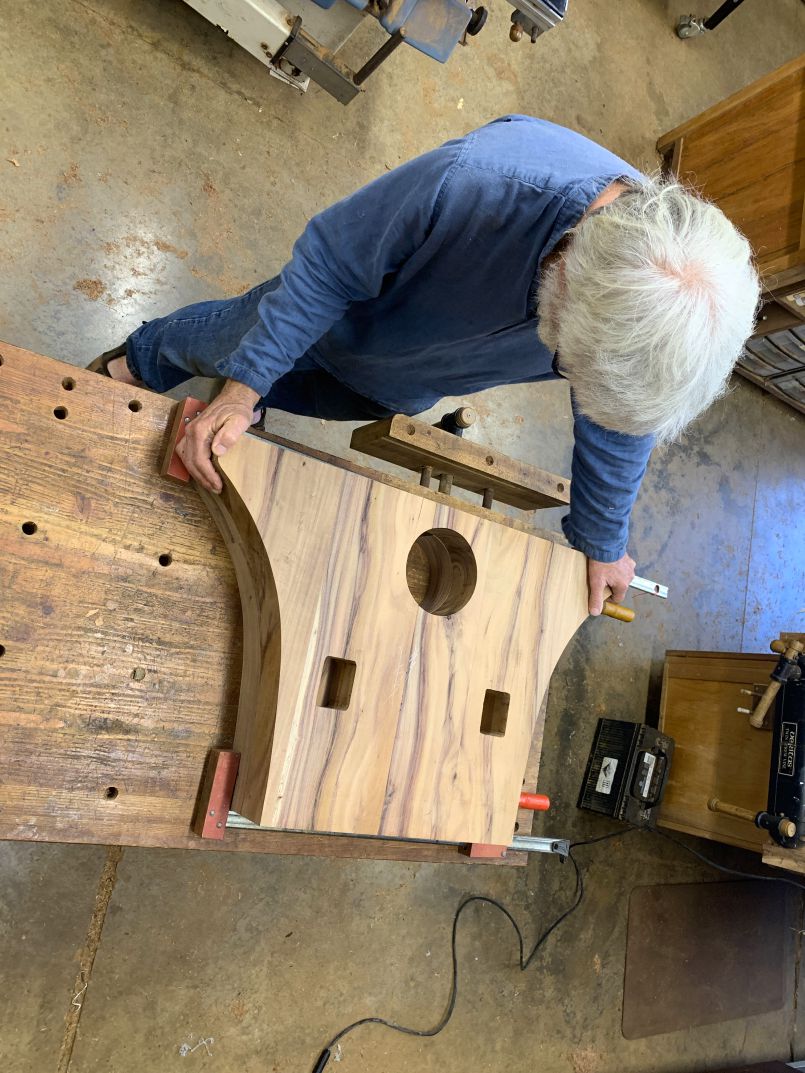
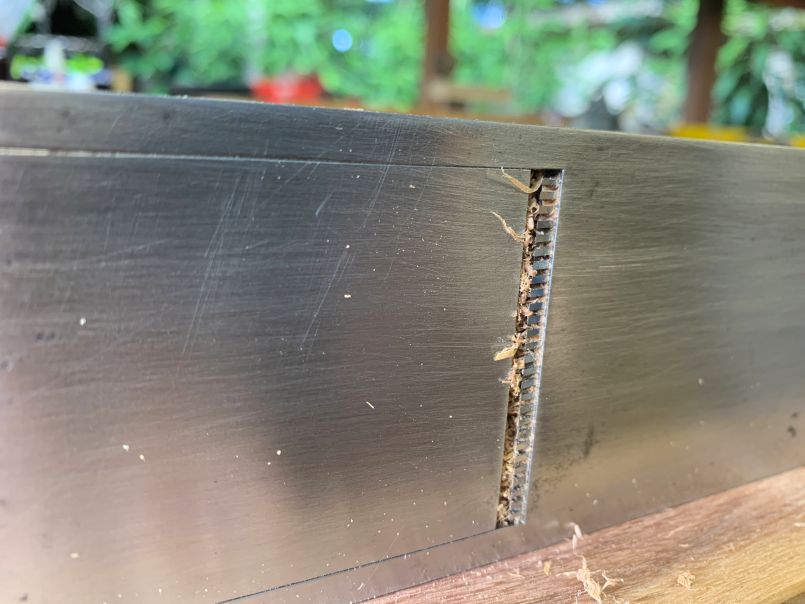
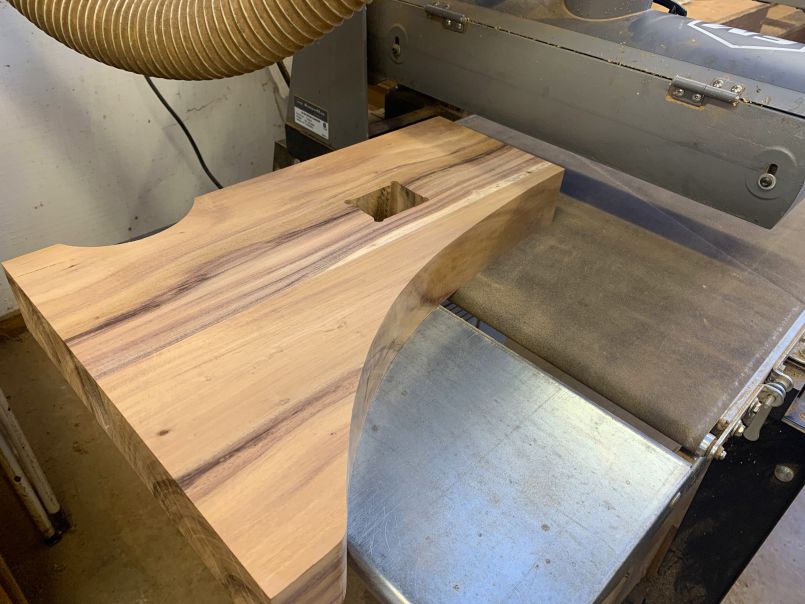
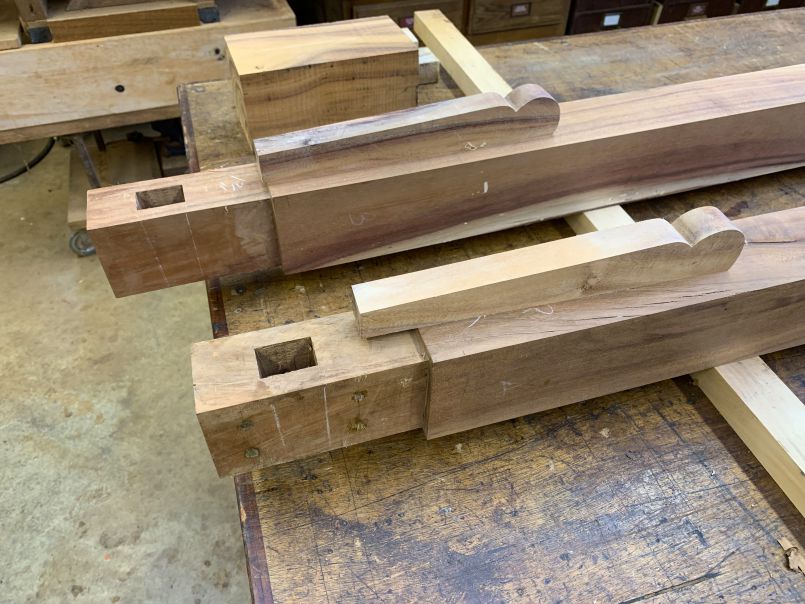
Note the addition of the rectangular holes (no easy feat that was). They accommodate the stretchers, as you will see.
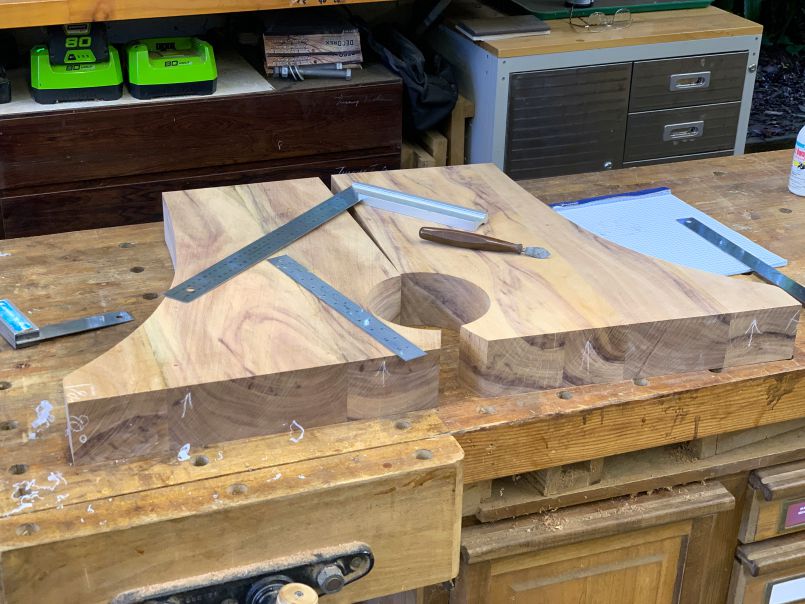
Now the tops of the two trestles.
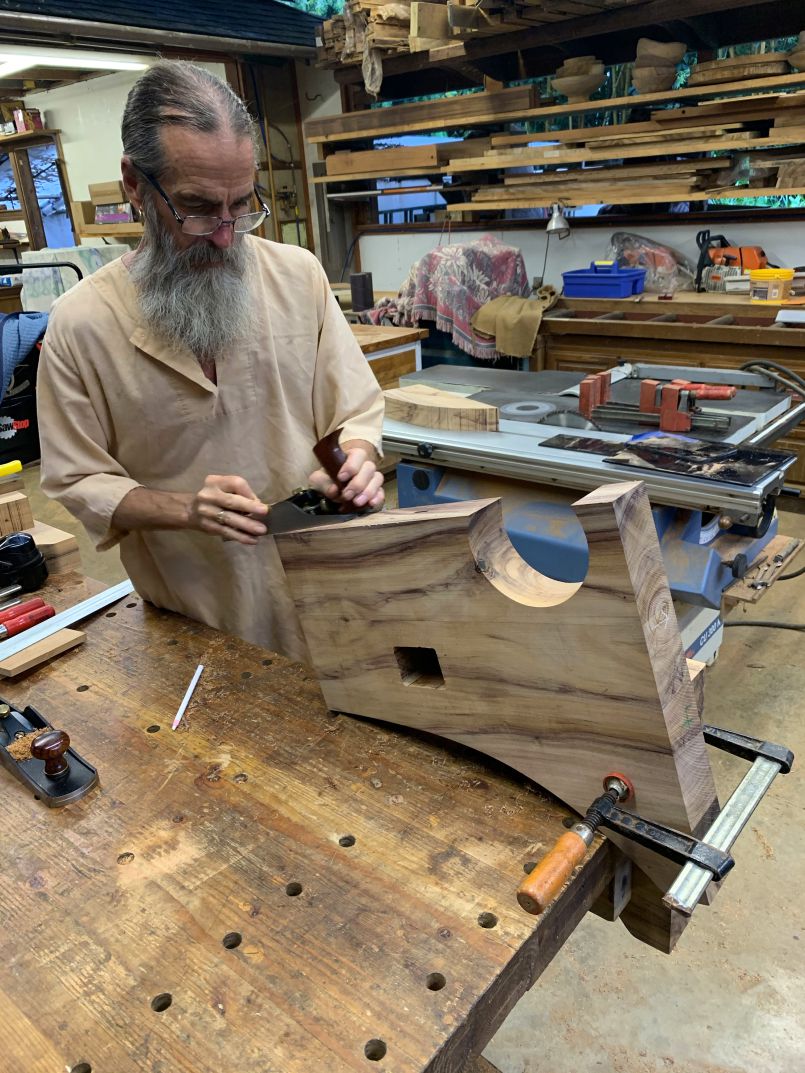
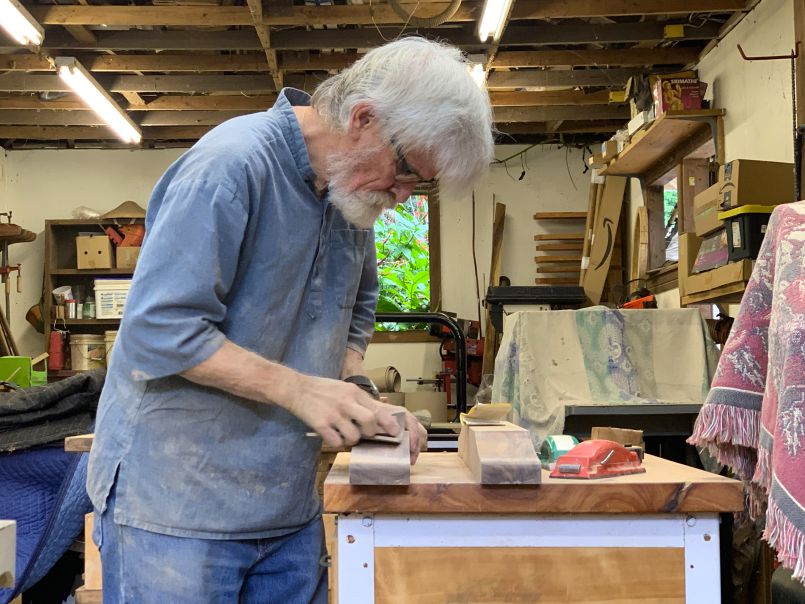
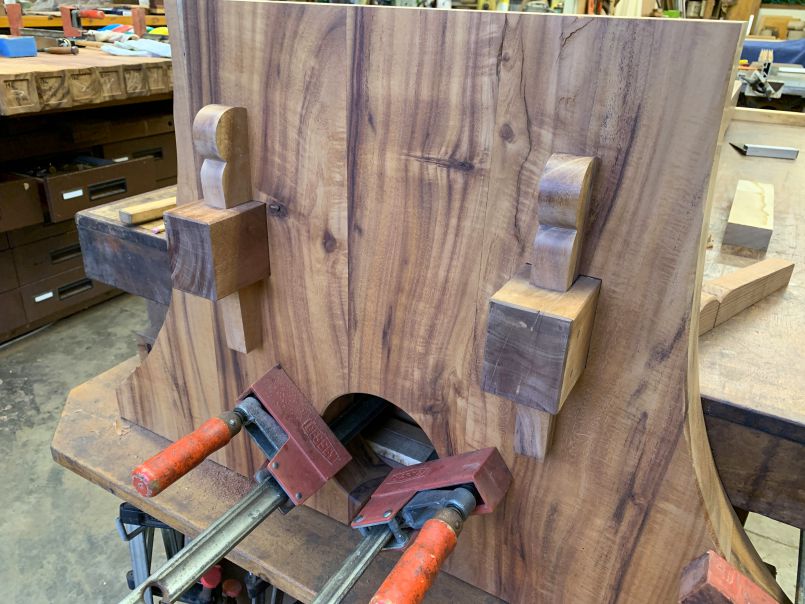
Applying scallops to the curved corners using a spokeshave.
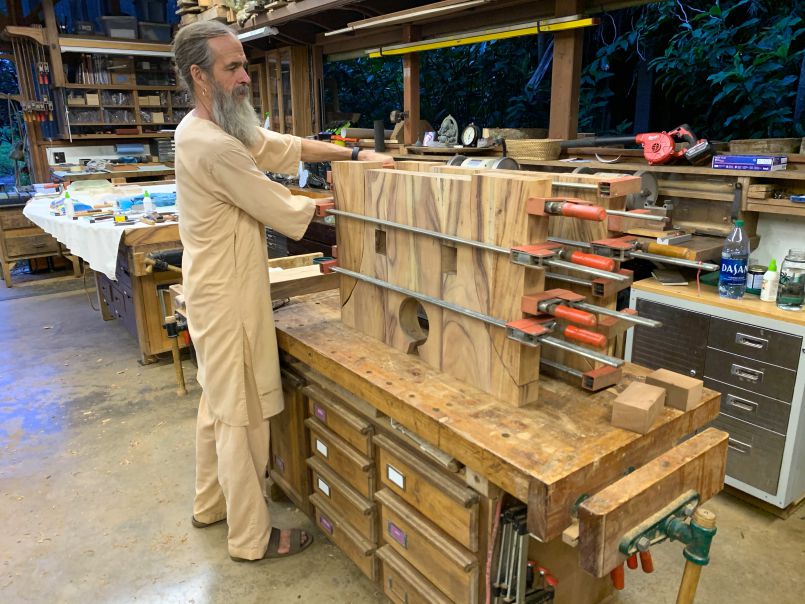
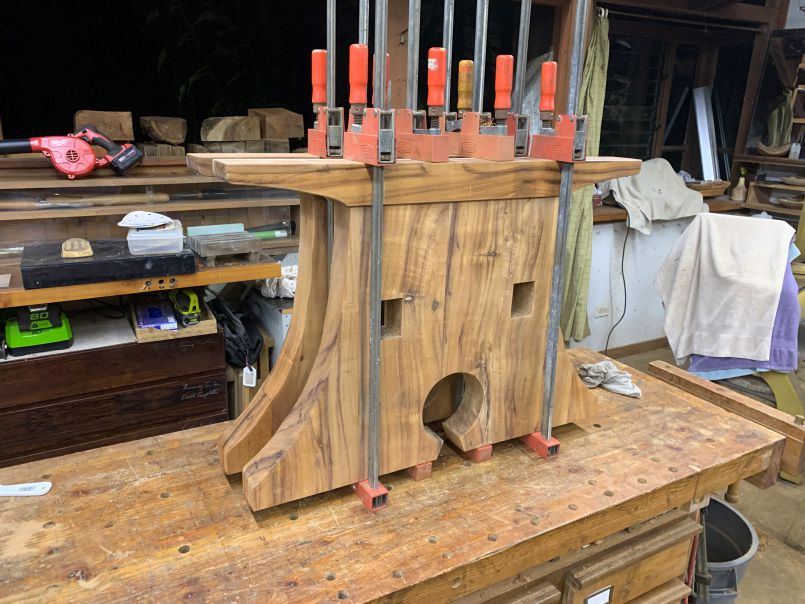
We saved the cut-offs from the band-sawing for this anticipated moment, putting them back into place to serve as cauls for the glue-up.
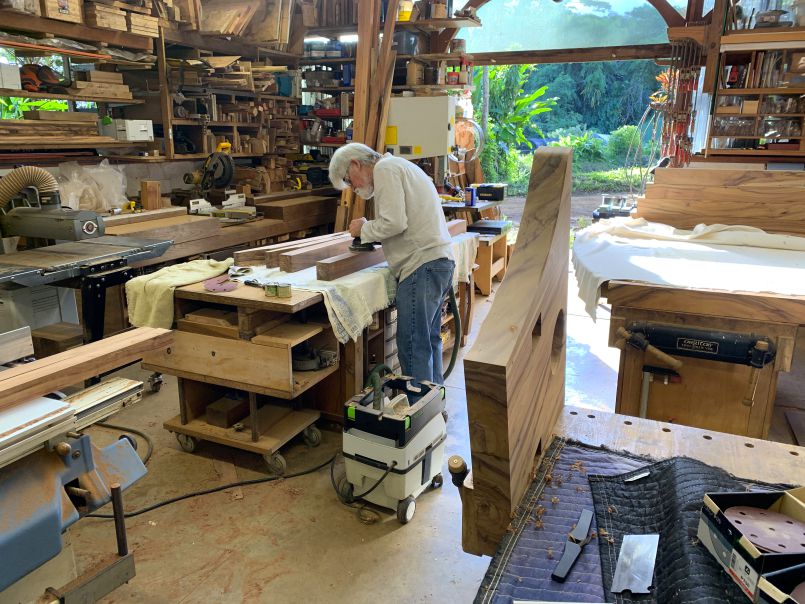
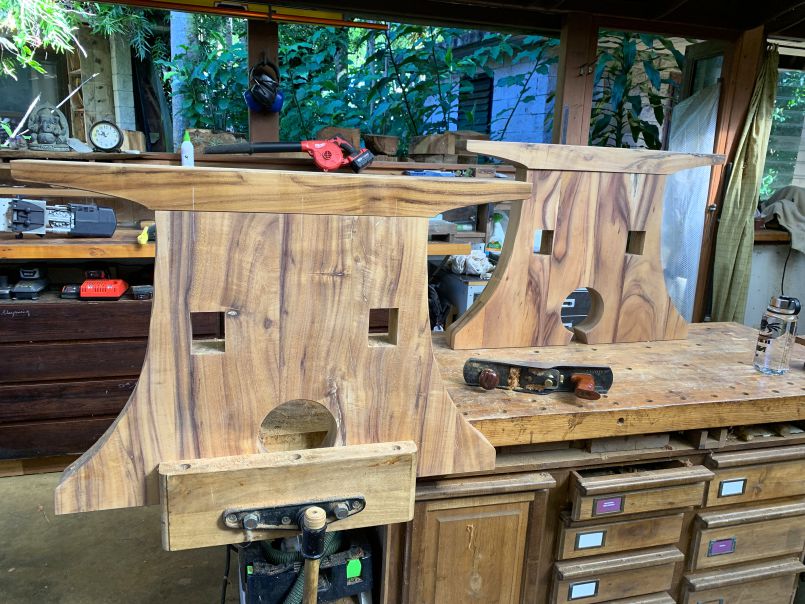
The grain is starting to come clear with fine sanding.
Quite an accomplishment. Four complex pieces of wood.

Paramacharya drops by to enjoy and admire the tabletop.
Now the pieces that join the trestles together.
Acharya cuts out the specified section using a handsaw aide by a magnetic guide to help maintain the angles.
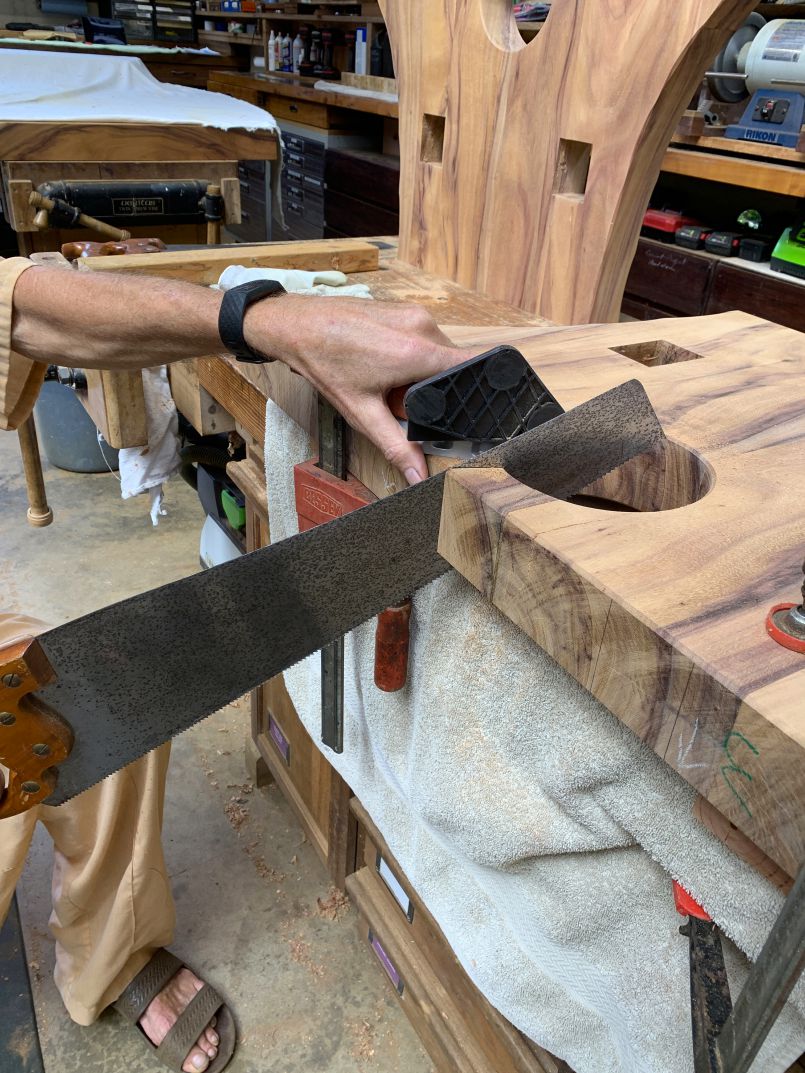
That\
s a vintage 9 point Atkins saw, from the 1940s or so, part of a family of Atkins saws restored and sharpened in this very shop. '
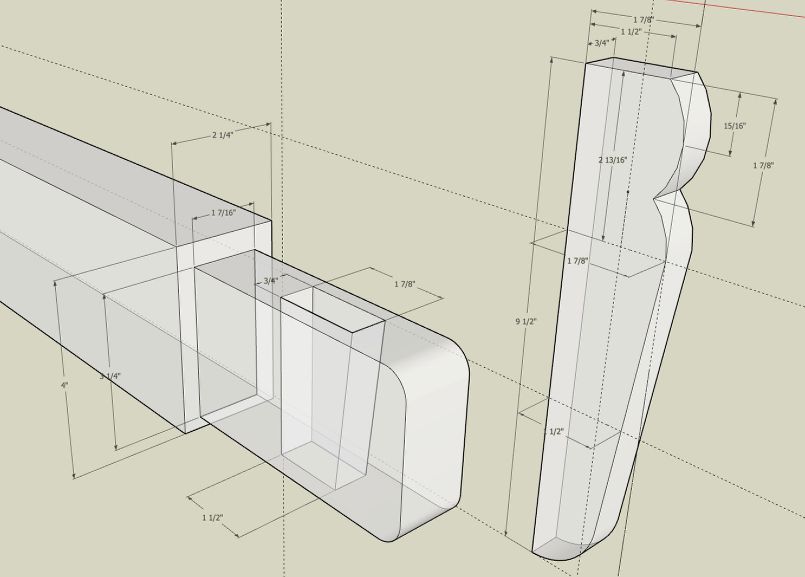
This Sketchup drawing, with X ray view turned on, shows the \"tusk\" tenons and the stretchers that pass through those rectangular holes in the trestles.
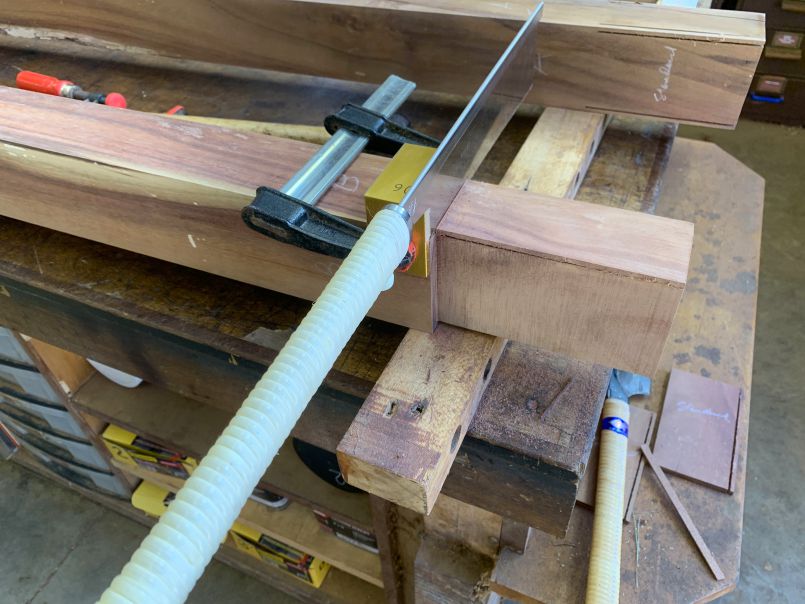
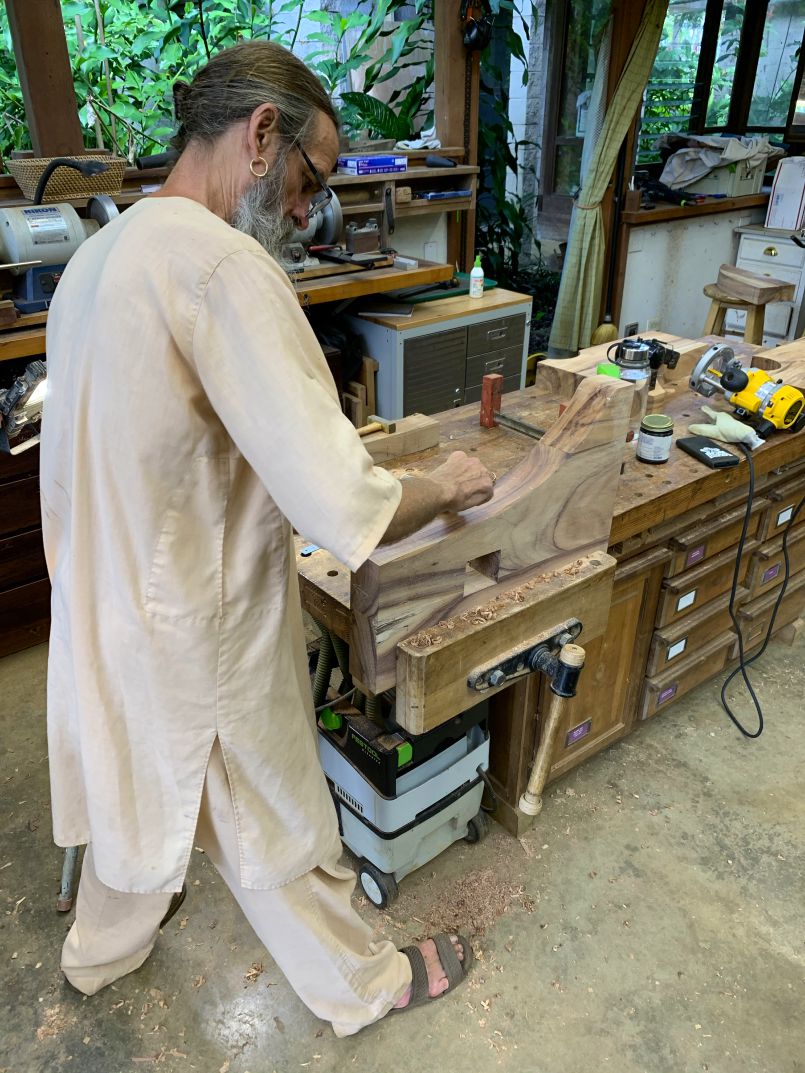
Cutting the tenon cheeks with a handsaw, after cutting the faces on the bandsaw.
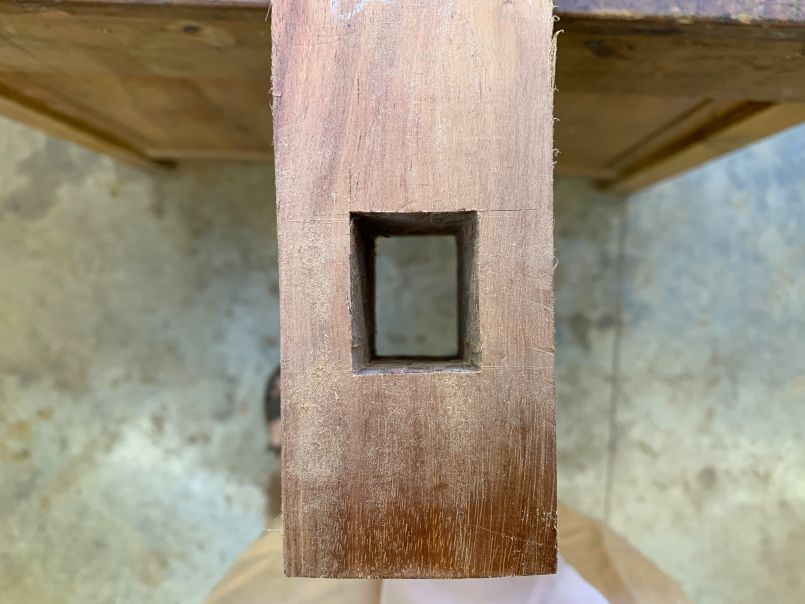
The wedge-shaped hole ready for the tusk tenon.
Roughed out and ready for fine tuning.
Assembled. This is one of the earliest forms of \"knock-down\" furniture. The wedged tenons can be removed if needed. Hammered in place, the base proved to be rock solid.
Adding the top to the trestles.
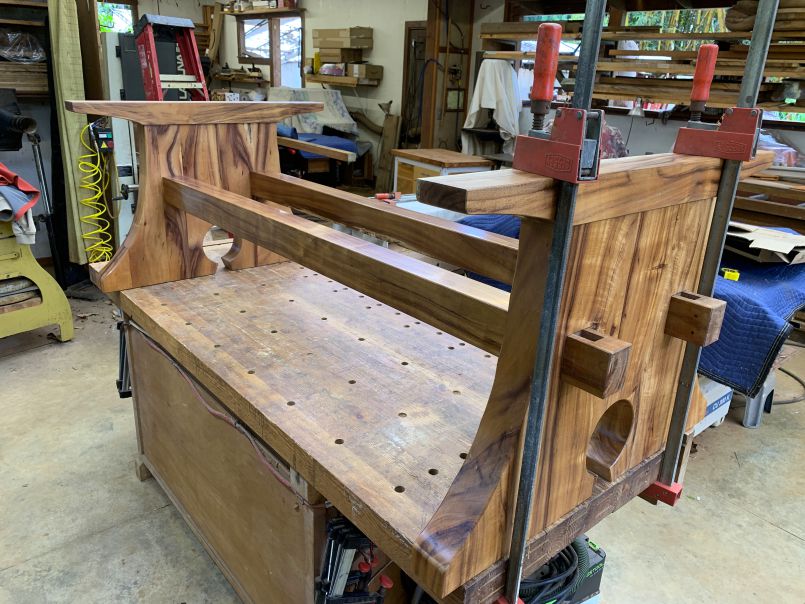
Almost there. Ready for the waterborne finish.
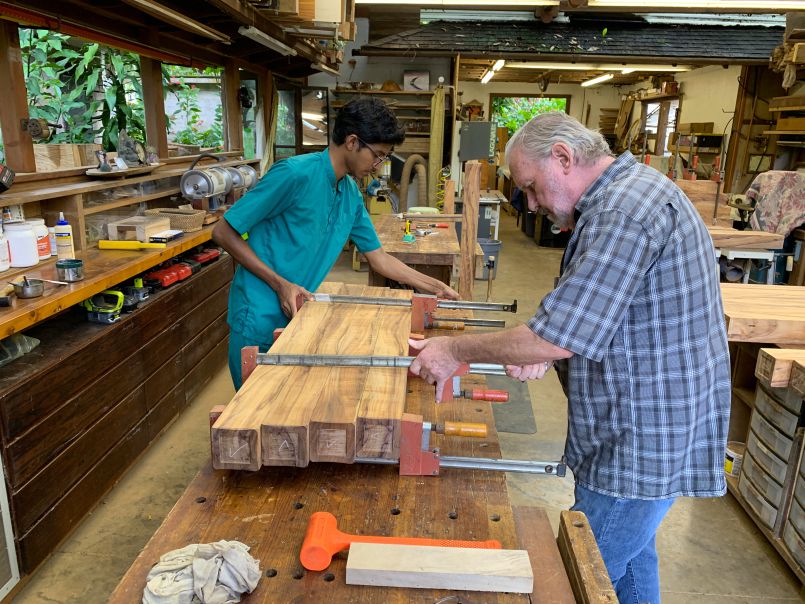
The the base complete, we turned back to assembling the six large sections of the top.
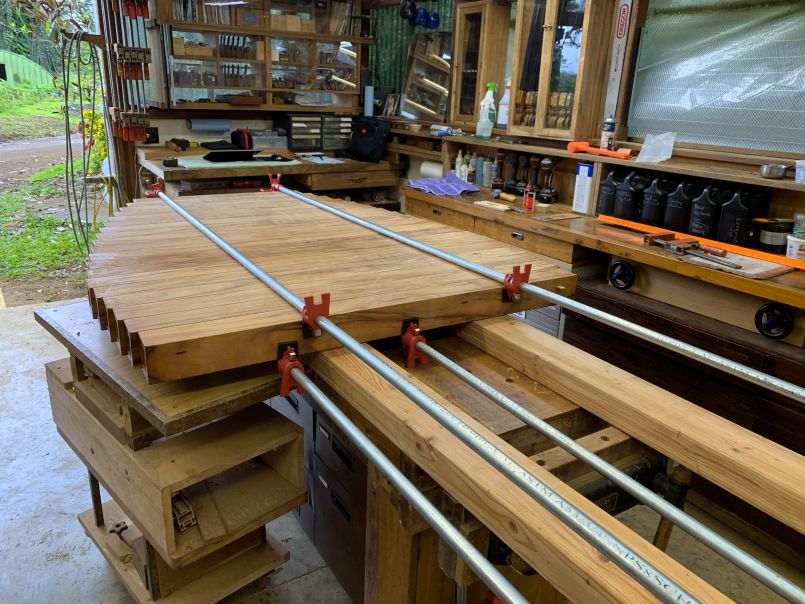
We purchased 10-foot lengths of galvanized pipe to create clamps long enough for the last three glue-ups.

Yajatadeva joined us for the cutting of the copper inserts and other details.

Yogi Jayanatha assisted with the top assembly. Here, the 27 pieces are finally one.
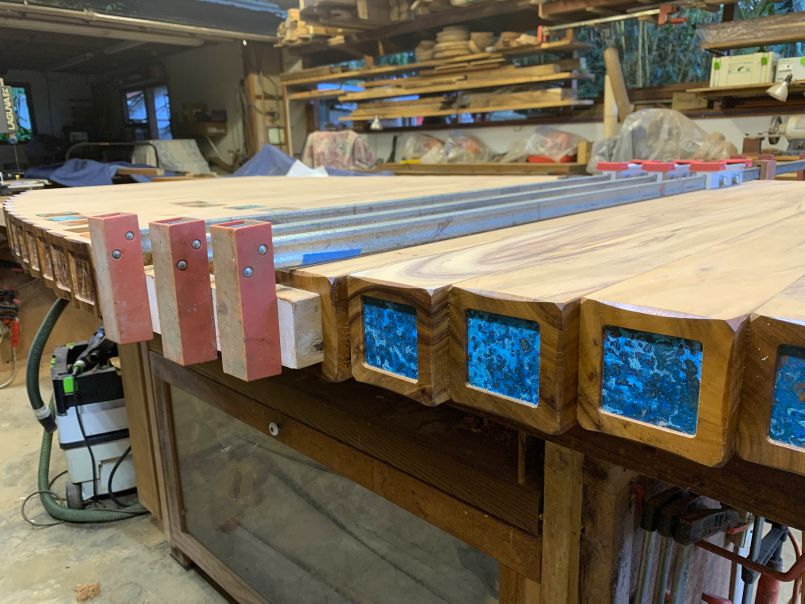
Setting the copper plates in place. We used JB Weld clear two part epoxy, applied with a flux brush, ensuring full adhesion with long clamps.
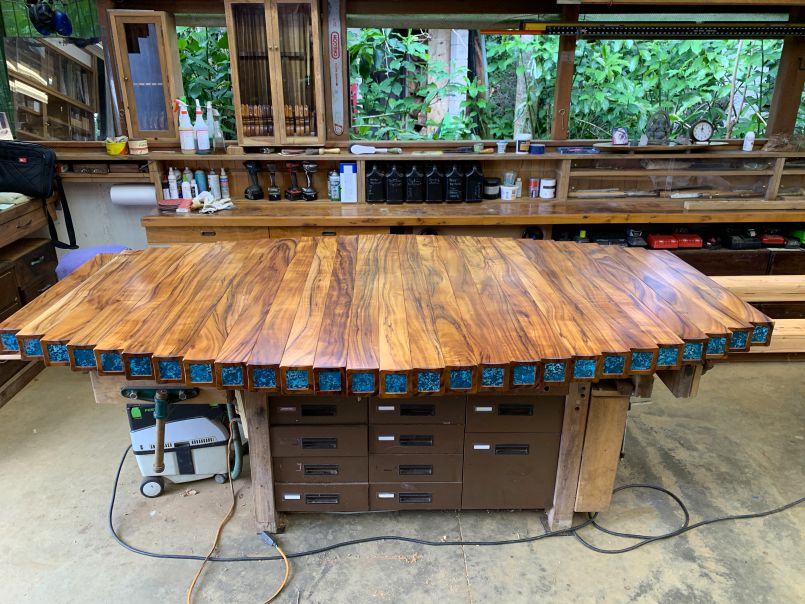
Tada! For the top, we used \"Half and Half\" tung oil finish from the MilkWhitePaint company.
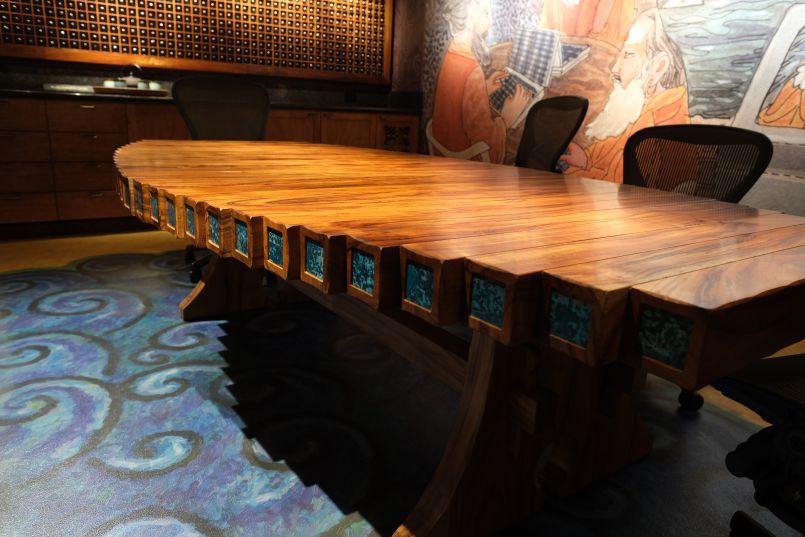
In the Cedar Room. Jai Gurudeva!
}
];