Iraivan Pillar Casting
October 7, 2015Aum Namah Sivaya Everyone!
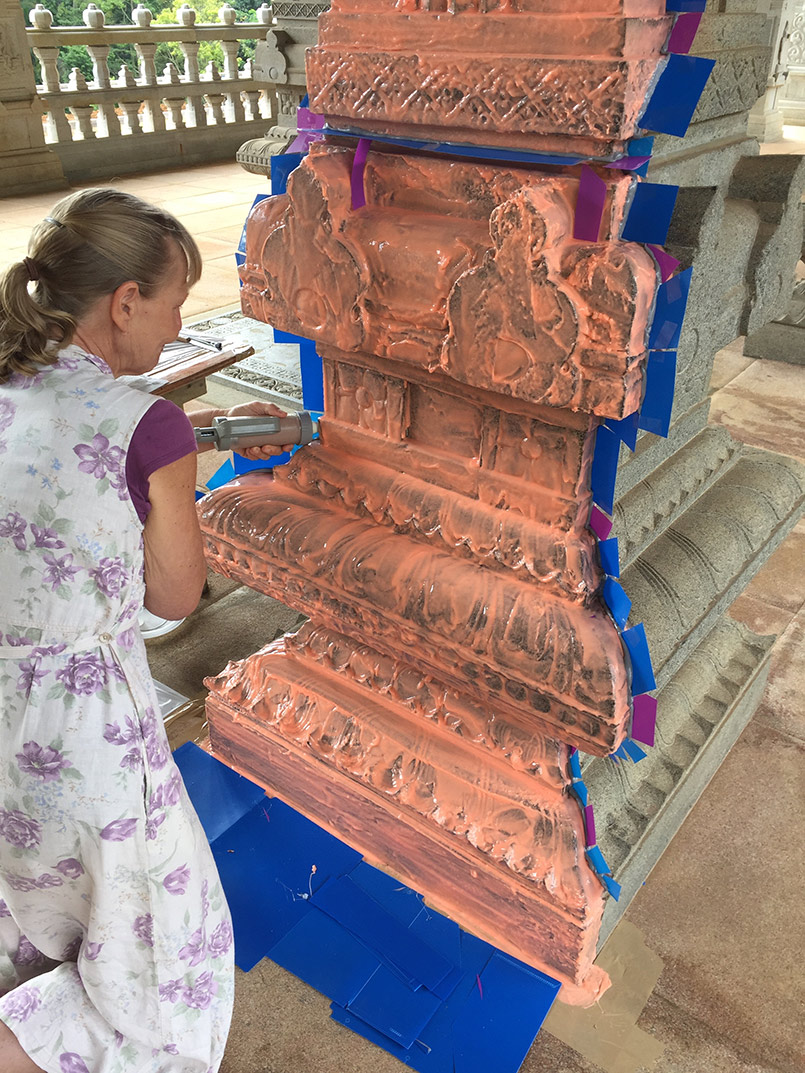
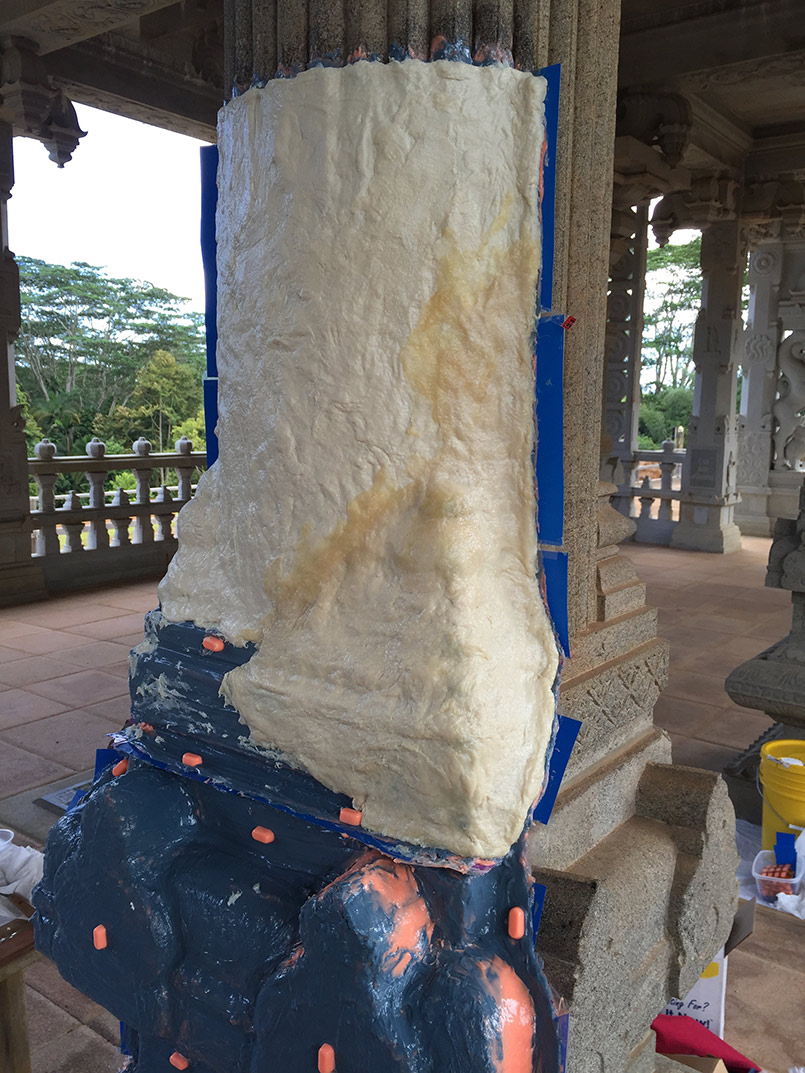
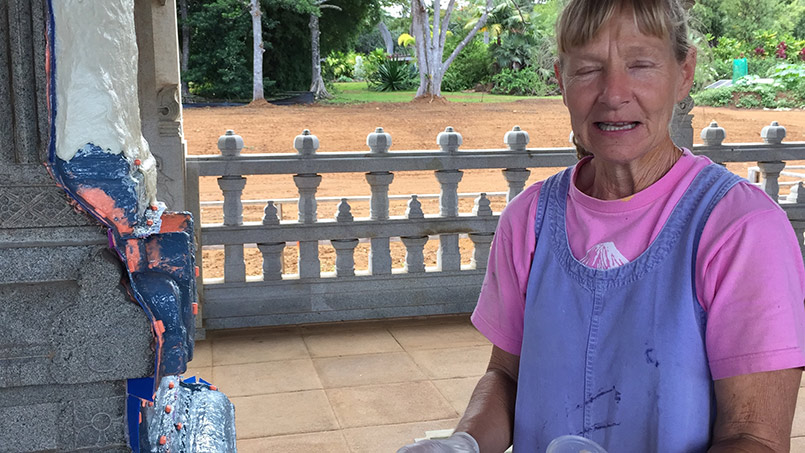
Holly Young flew to Kauai from her studio on the Big Island a few days back to do some technical molding for the next (the 7th one) bronze sculpture of the Temple Builders' Memorial to ultimately be installed near Iraivan Temple. In this sculpture, two silpis are working on the Tara pillar, one marking and the other carving. Two sides of the pillar will be just like this stone pillar, completed, while the other two sides will have both rough/unfinished areas and completed areas. This is all the pre-metal work, everything Holly needs before metal comes into the picture. We hope you enjoy the slideshow, please comment and tell us what you think.
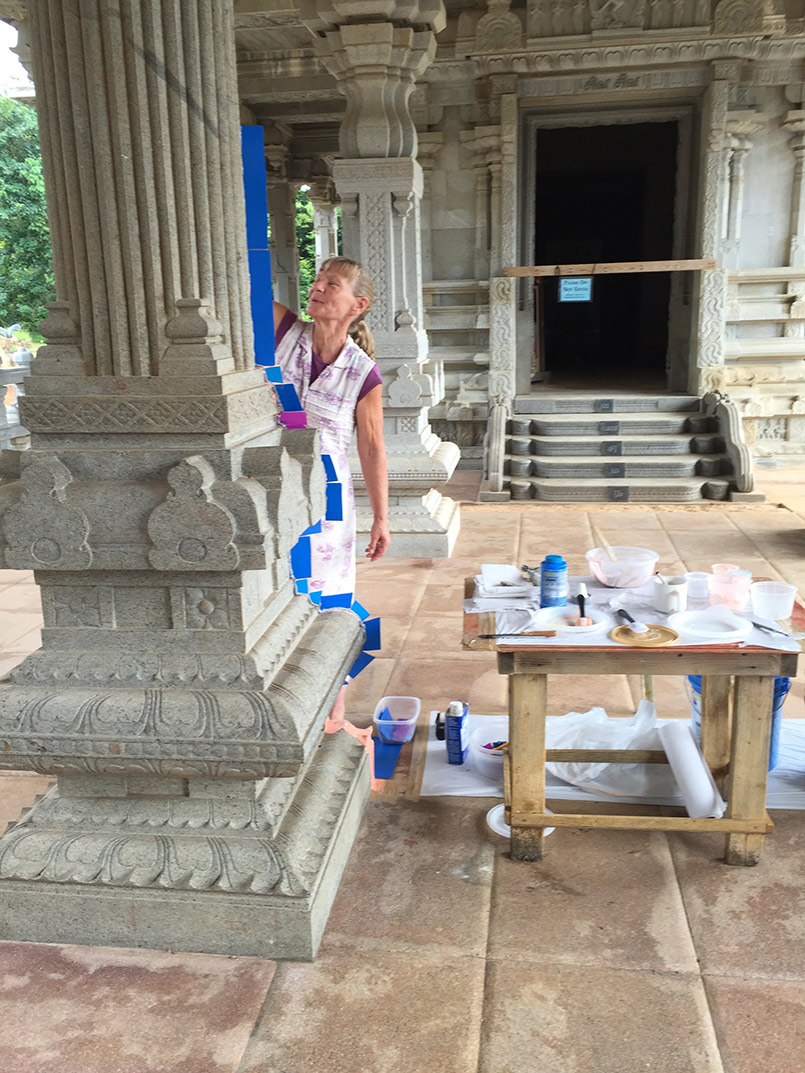
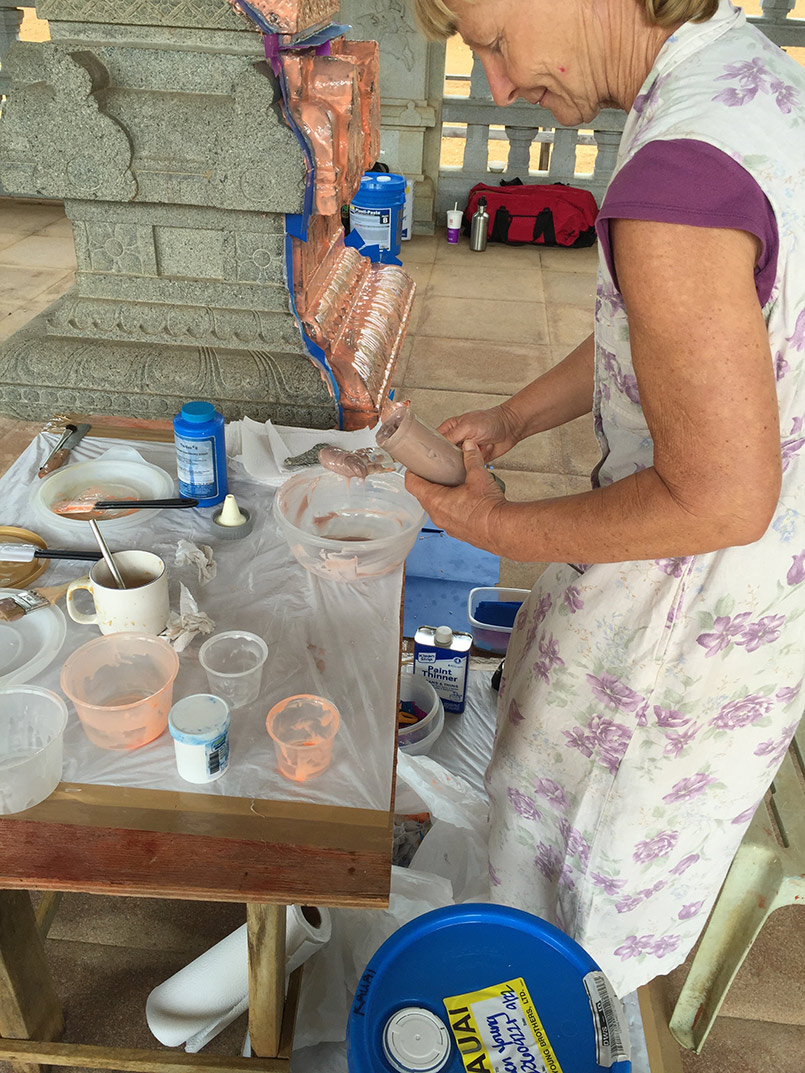
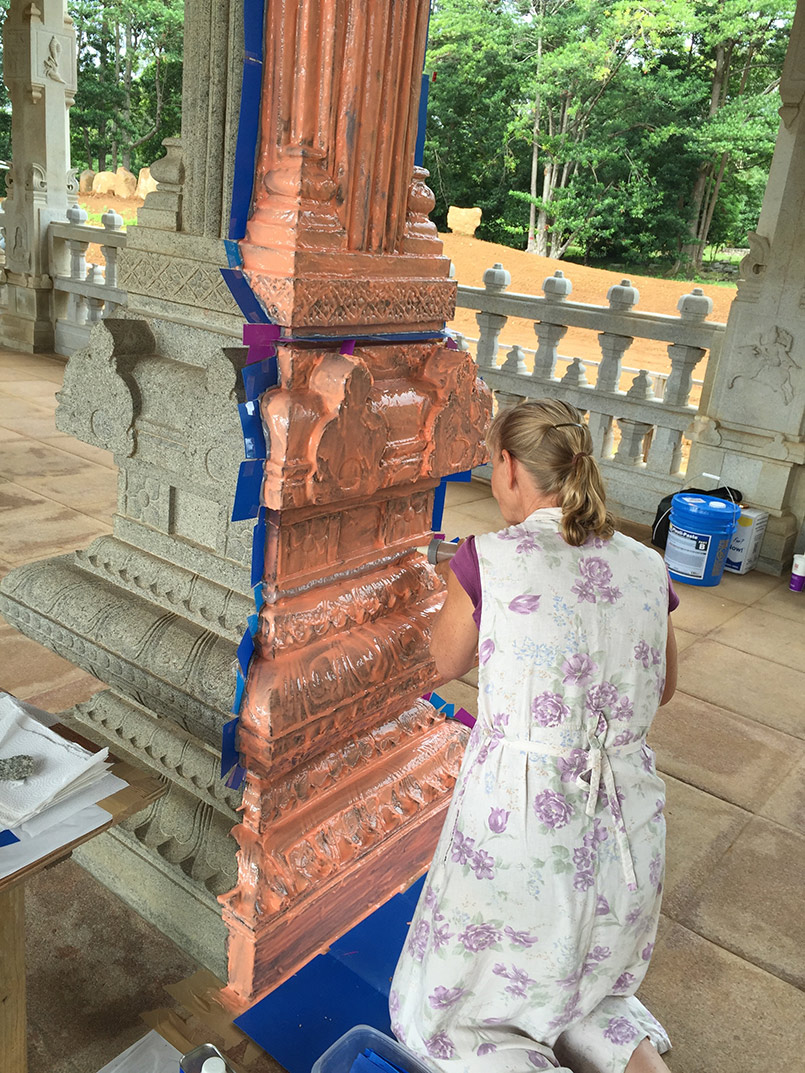
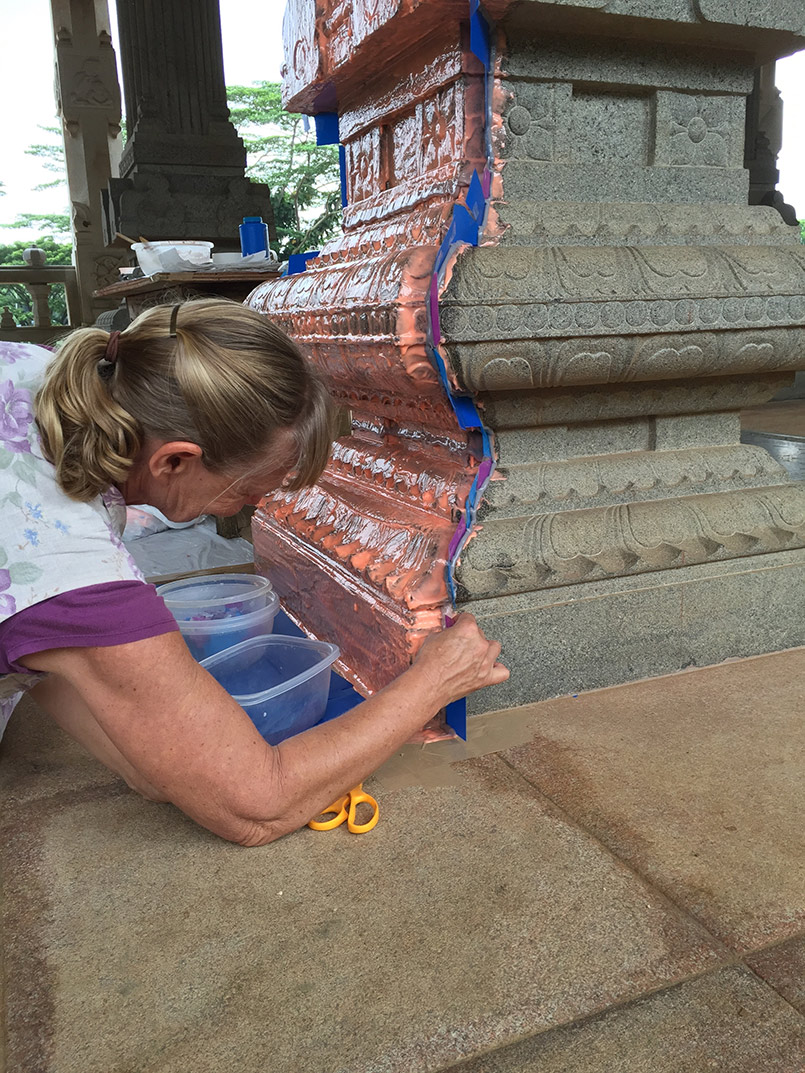
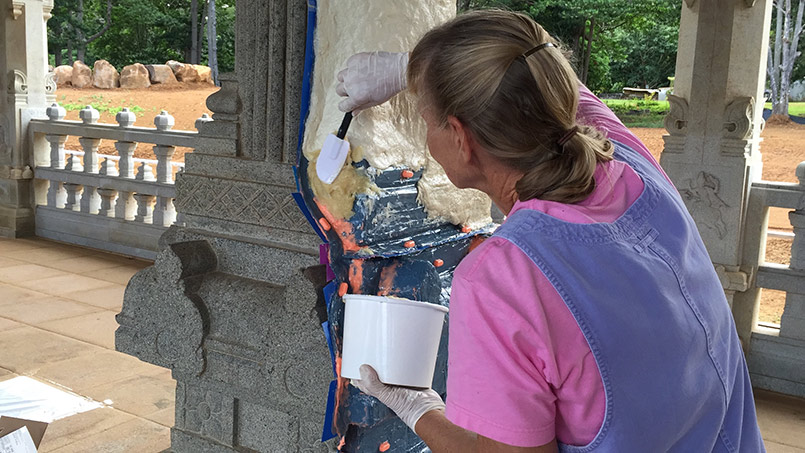
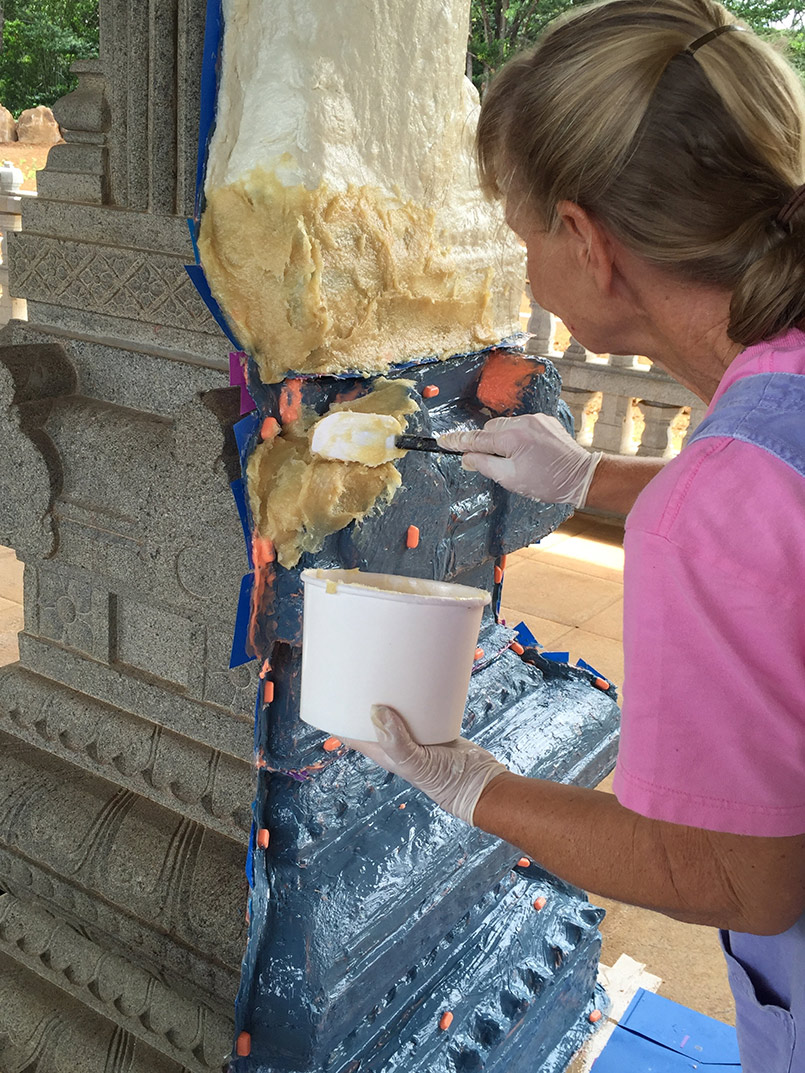
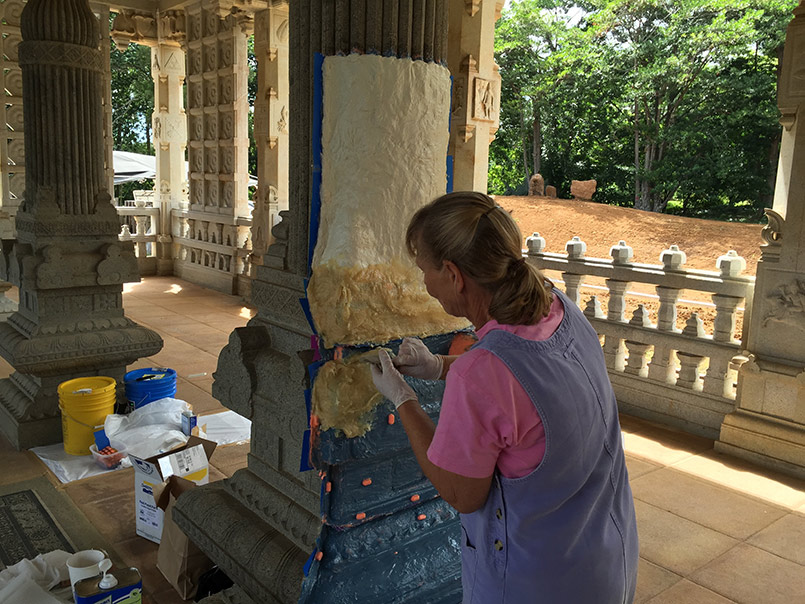
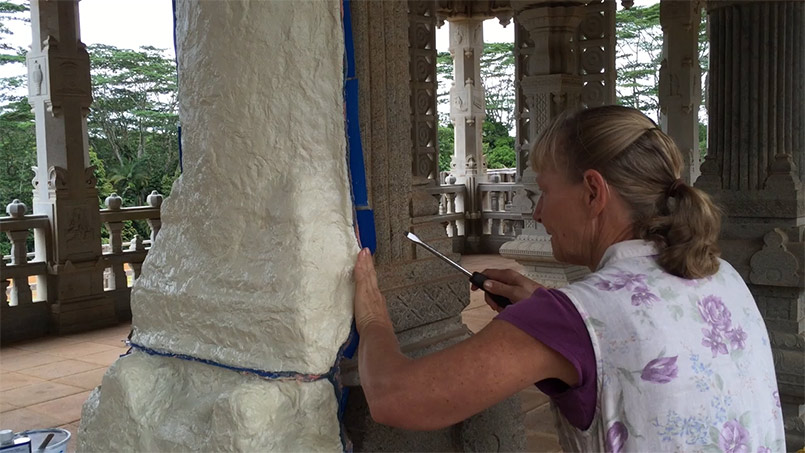
Hi Holly! In this photo Holly is in the beginning stages of painting the granite pillar with a thin layer of wax. You can see she has quite a collection of chemistry and tools for this. From Holly: \" I used \"Sonite Wax\" from Reynolds\
s Advances Materials which is a wax with solvents designed to brush on easily and then harden quickly.\"'
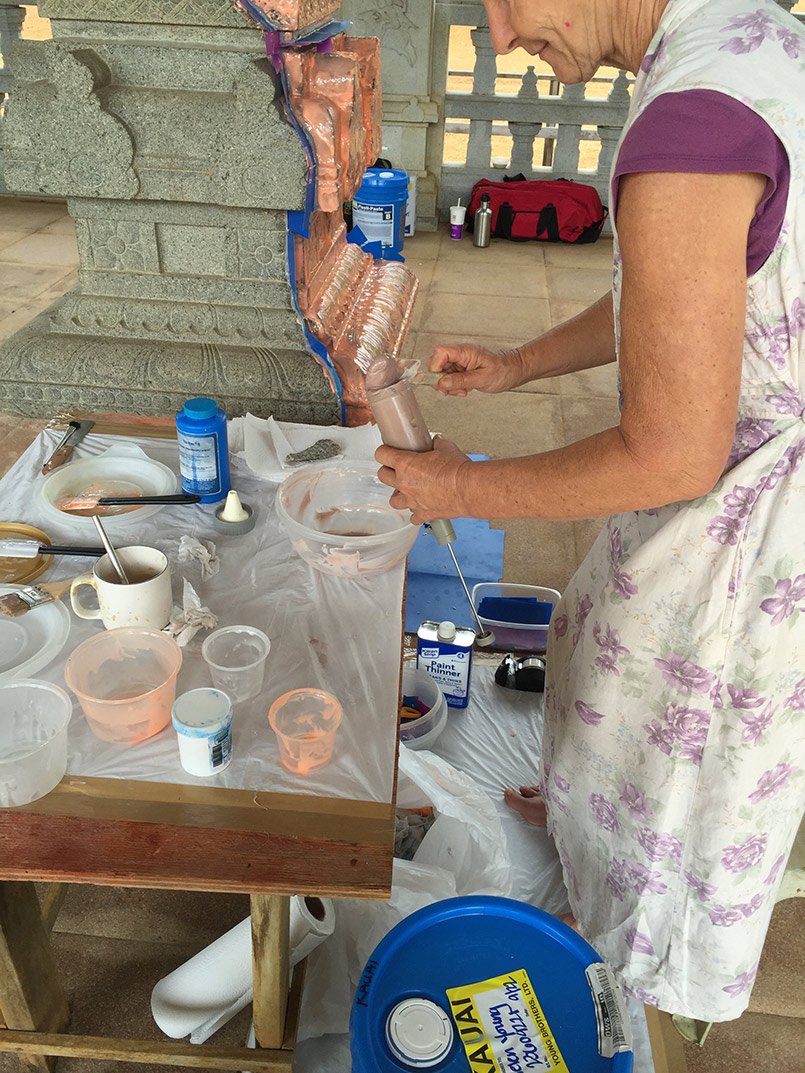
The wax is going to help keep all the other layers of molding from sticking to the granite. Now Holly moves on to the first coat of rubber: \" I Mix molding rubber according to the manufacturer\
s instructions and paint one even layer onto the stone. The easiest and best quality rubber is silicone. The rubber is archival (doesn\'t get gummy after a few years) and hardly sticks to anything unlike Urethanes. It can be mixed by volume which eliminates the time of weighing. It is also the most expensive. I generally use Rebound 20 (Reynold\'s Advanced Materials).\" Holly works fast and stays focused. She will be speaking throughout the slideshow. '
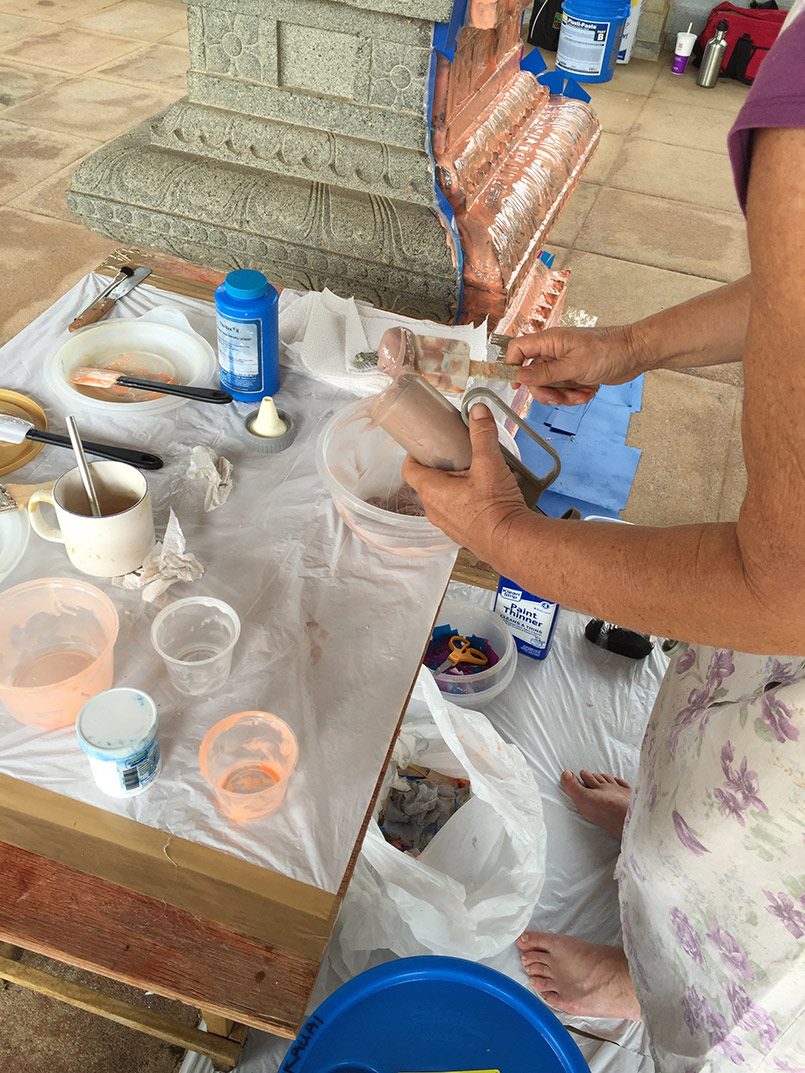
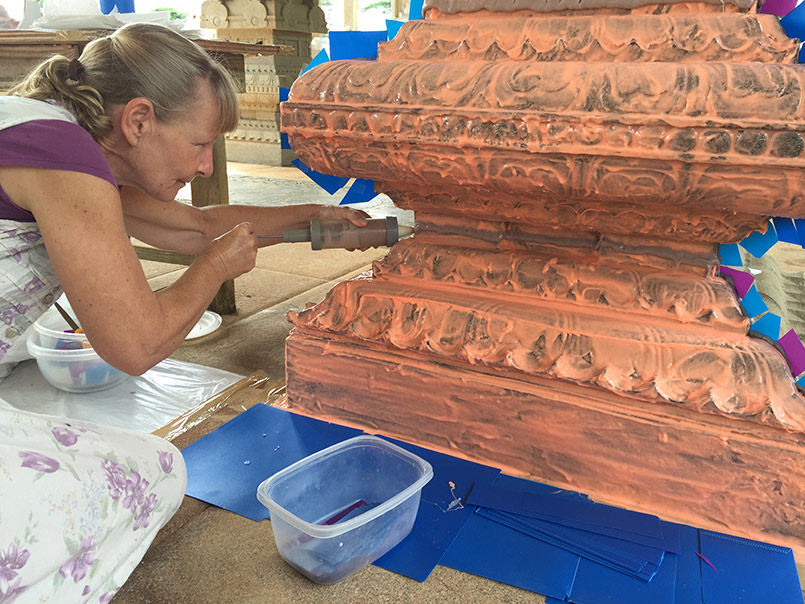
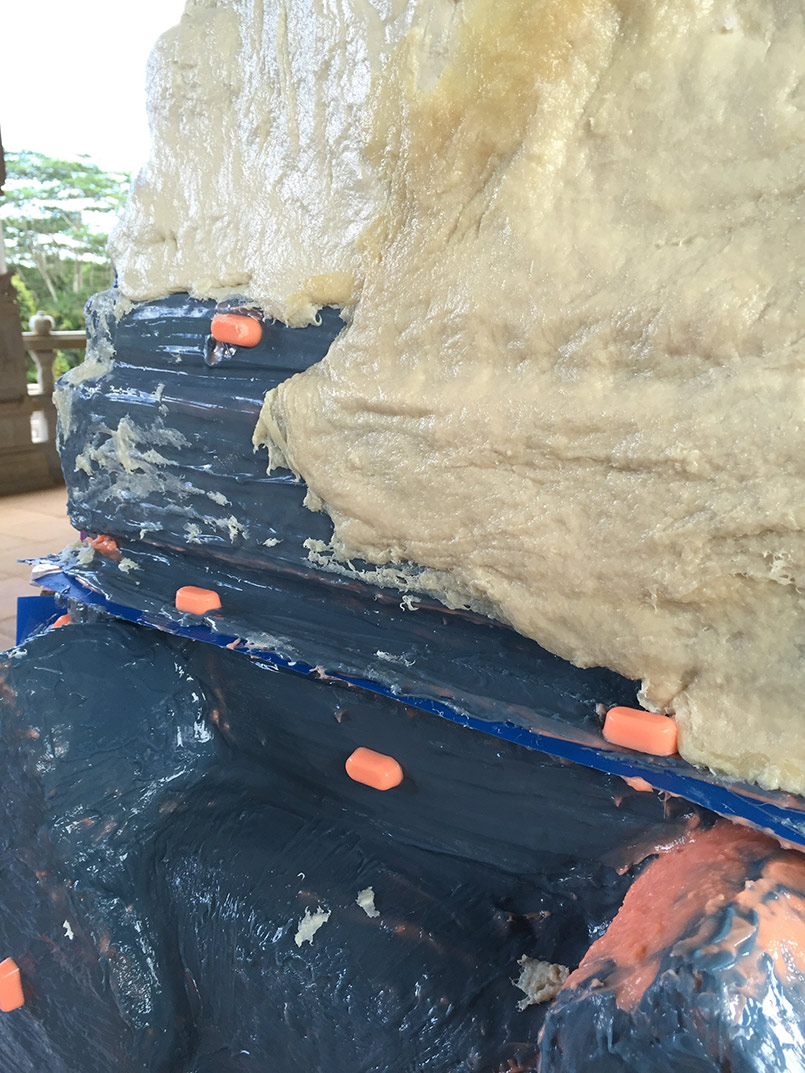
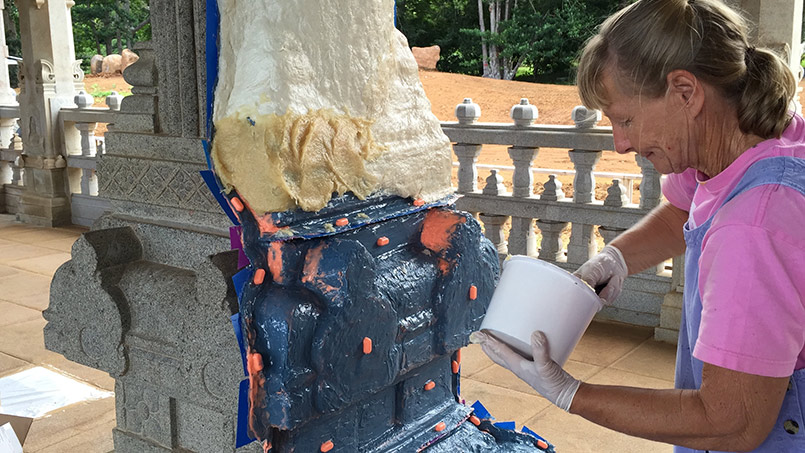
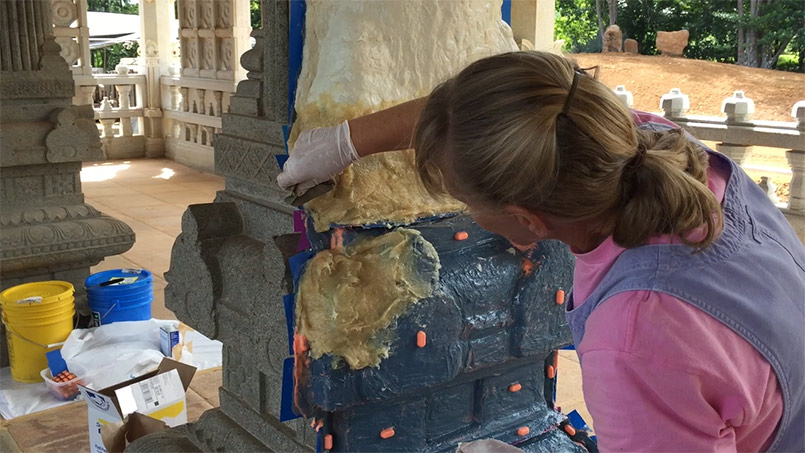
\"I precut pieces of thin plastic approximately 1.5 inches by 1.5 - 4 inches. I like to use the colorful plastic from inexpensive no-ring paper binders. Using a cake decorating tube, squeeze a thick bead of rubber onto the first layer of rubber, in a predetermined pattern where the shims will be placed to separate the mold into pieces once the mold is finished. Stick the shim pieces on edge into the thick bead of rubber in a line, dividing the molded area into sections. How to divide a mold into sections that allow the pieces to be removed once the mold is finished, with the least disruption to the artwork in the casting process, takes careful thought and experience.\"
It requires discipline to not make a mess.
Getting the cake decorating tool in place.
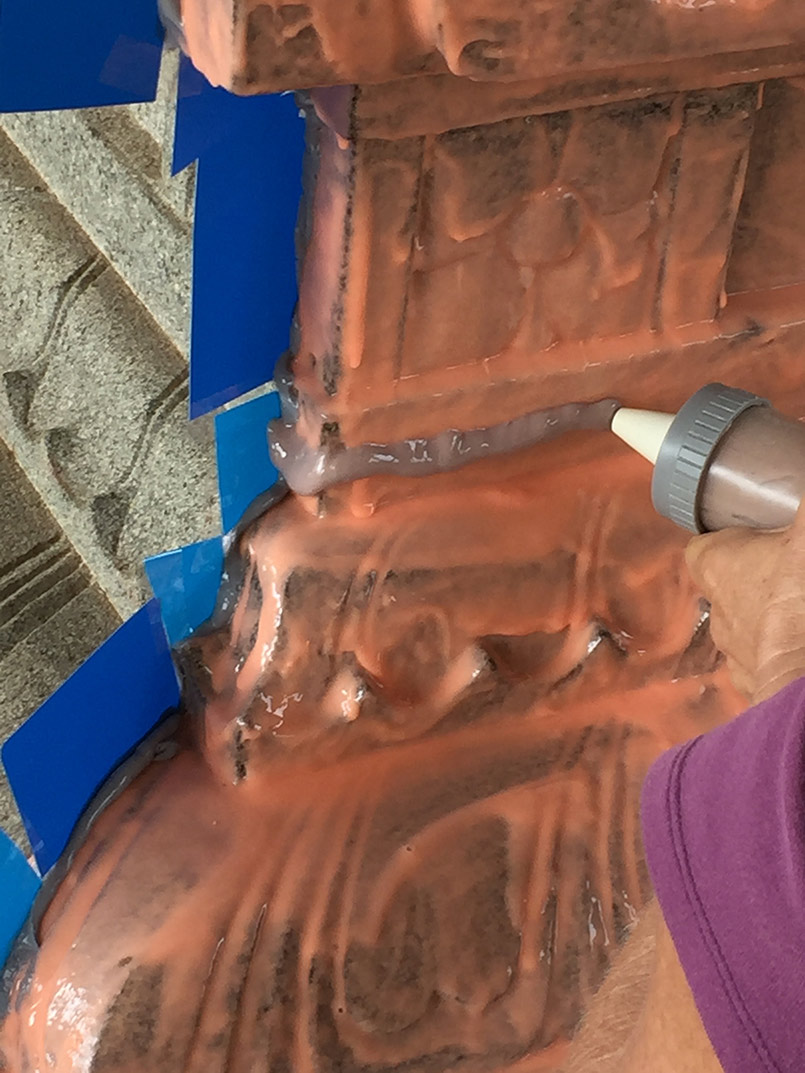
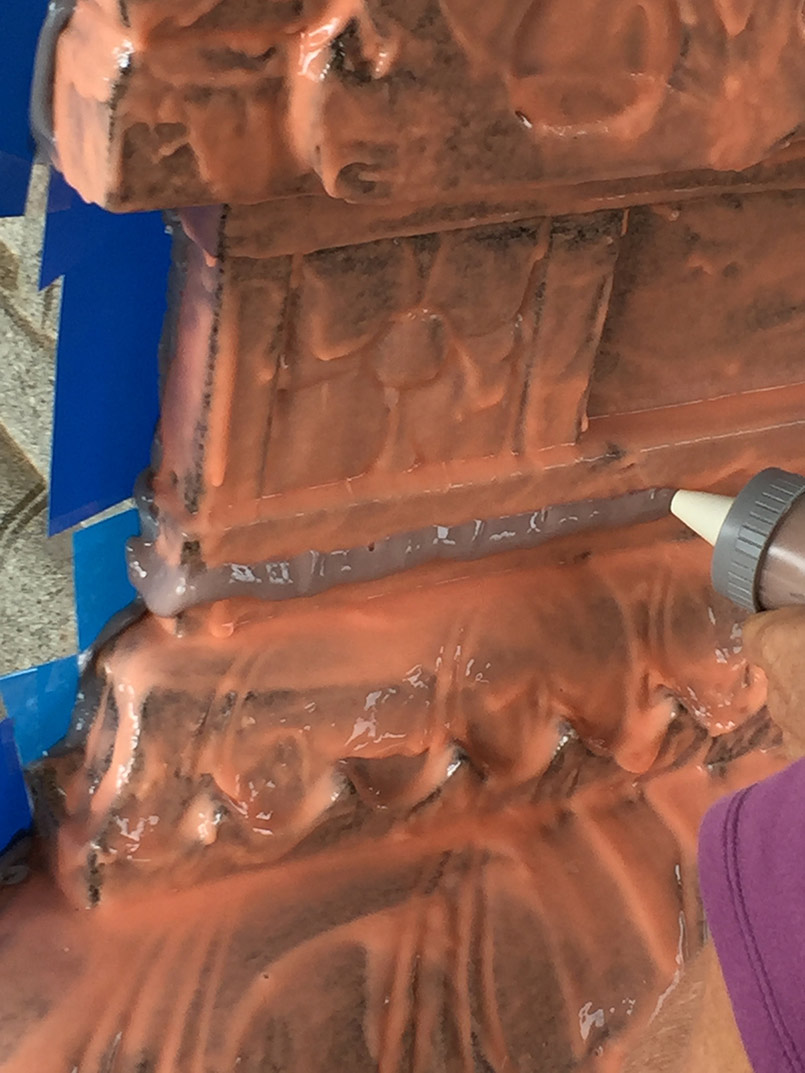
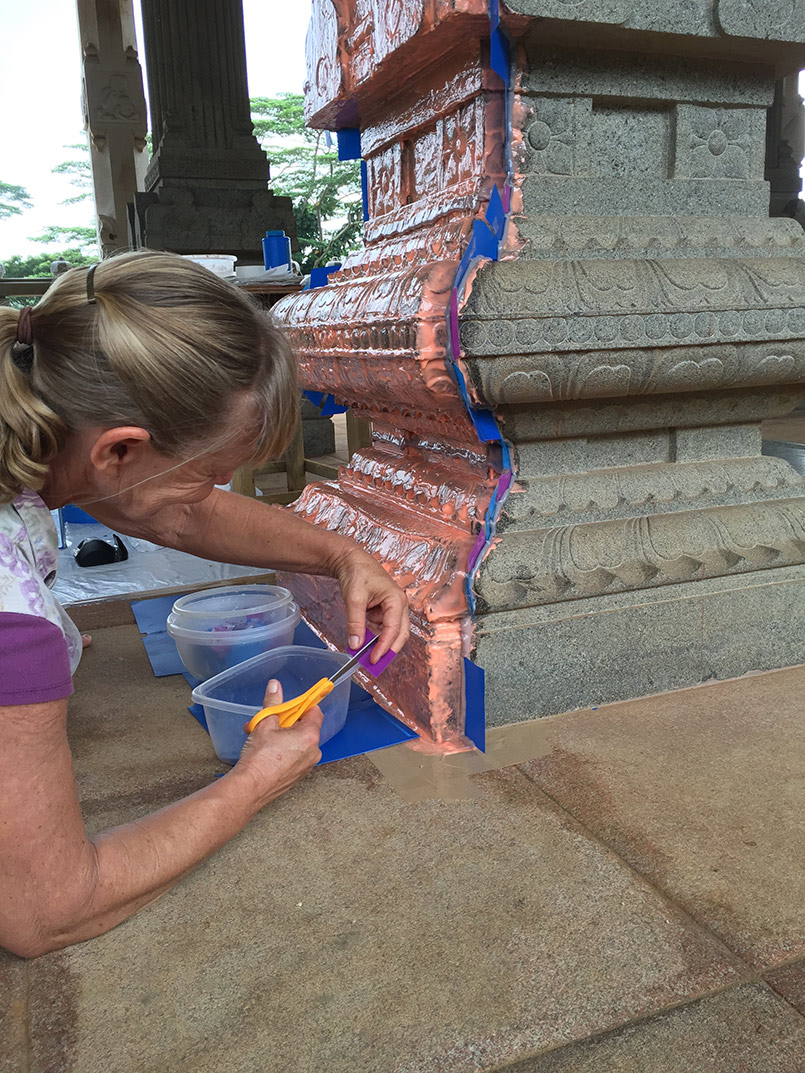
Using small pieces of plastic to provide a barrier, an edge of the mold-to-be.
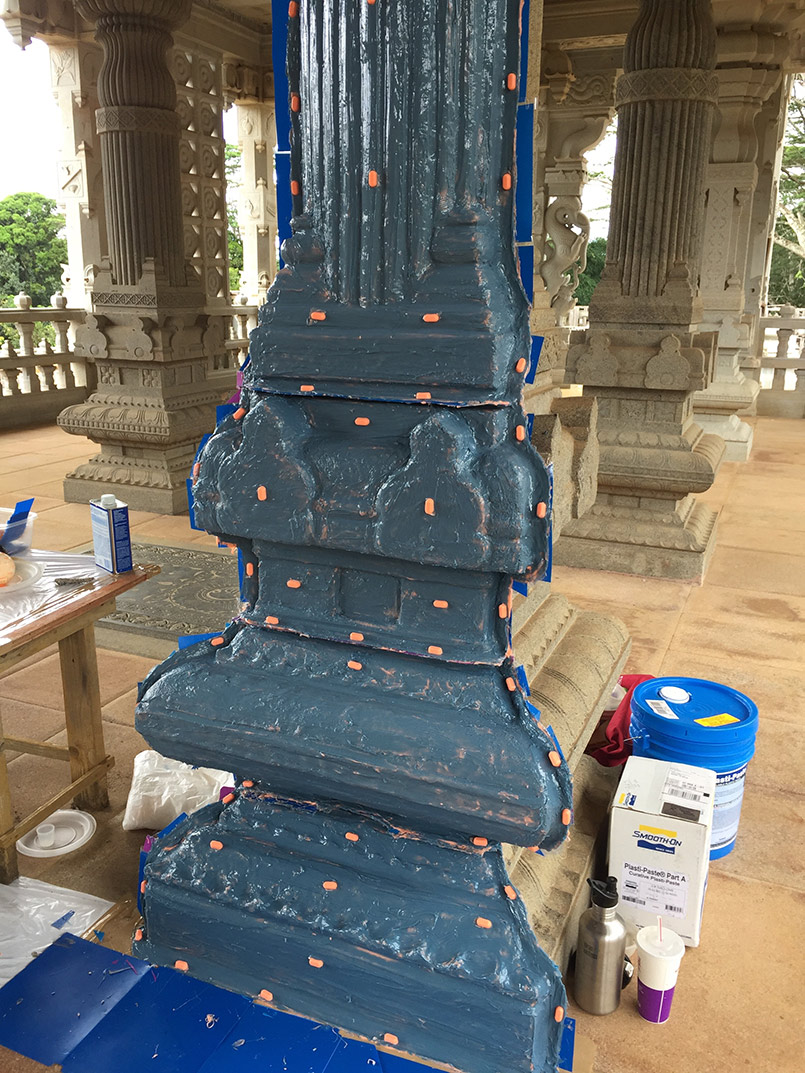
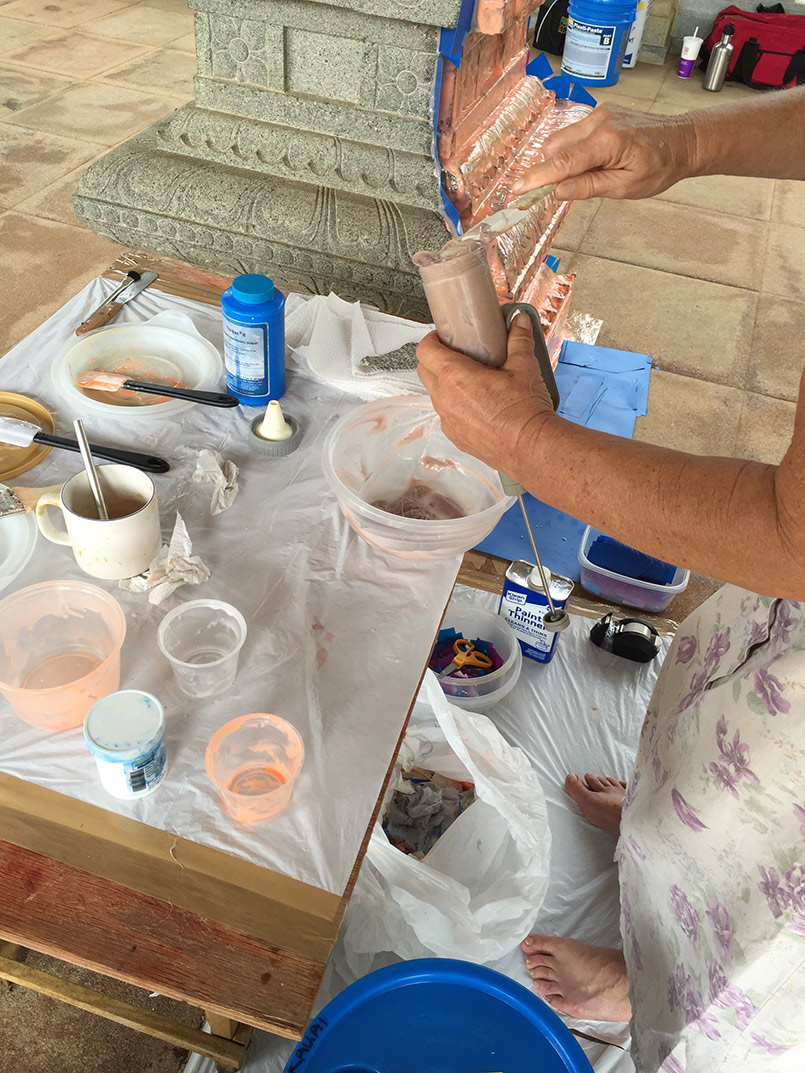
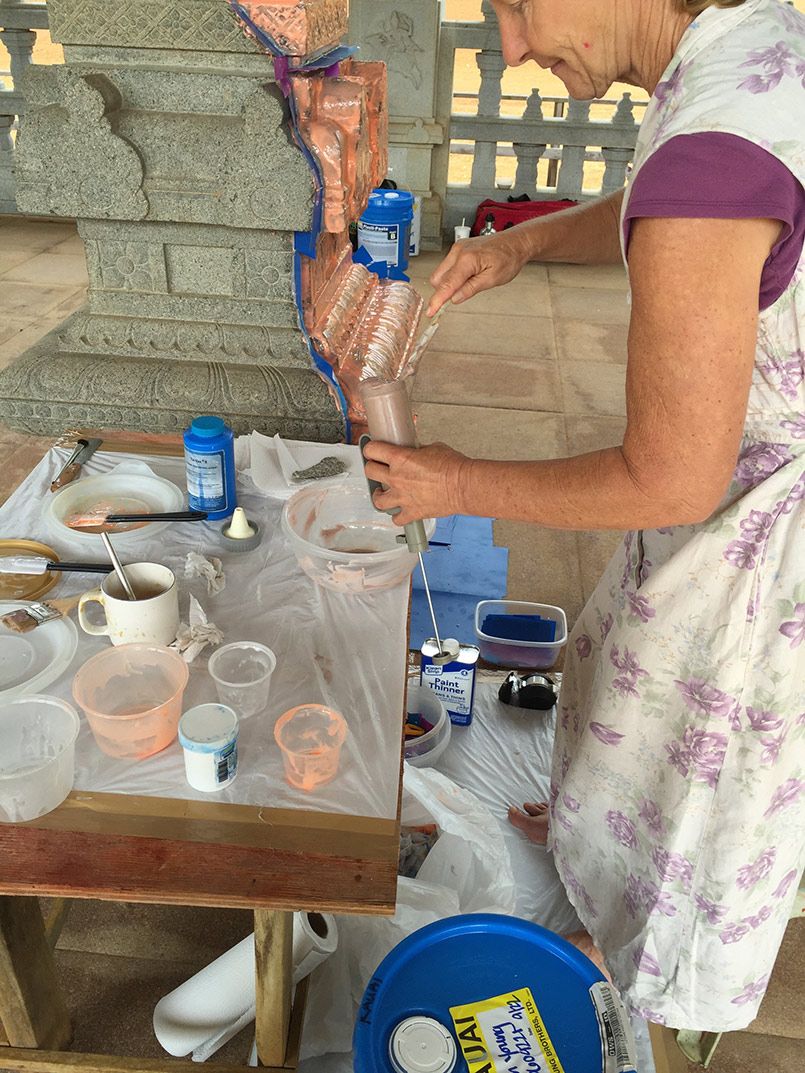
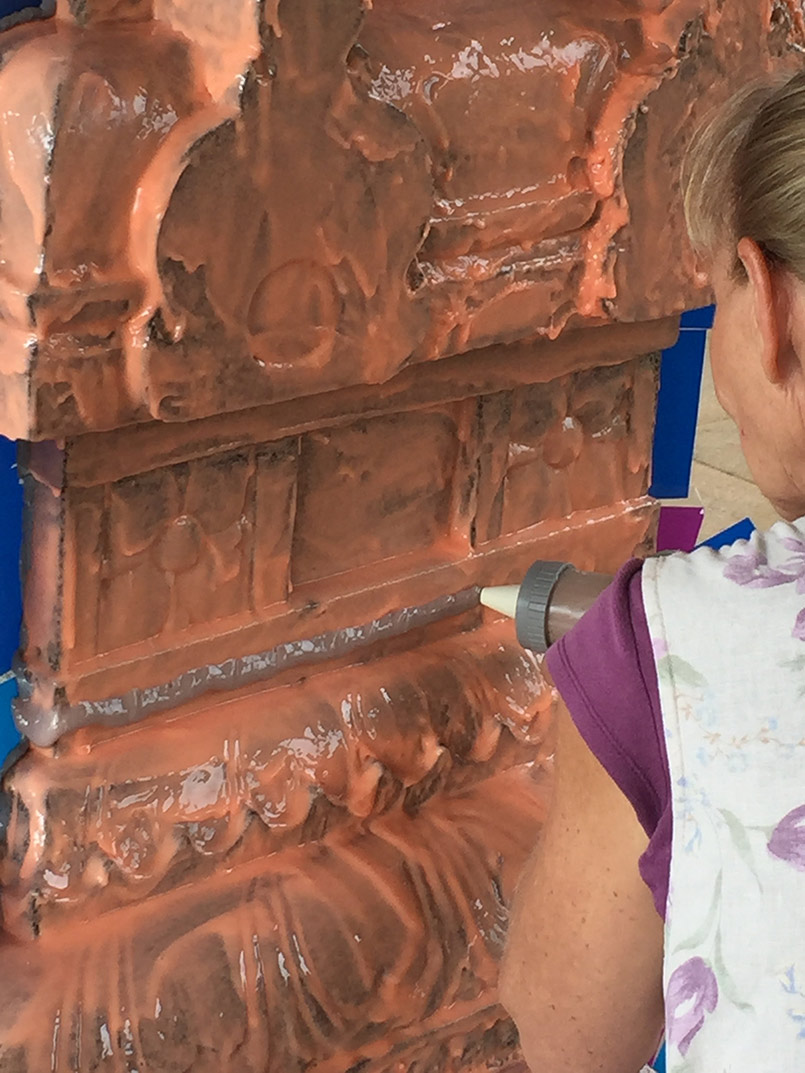
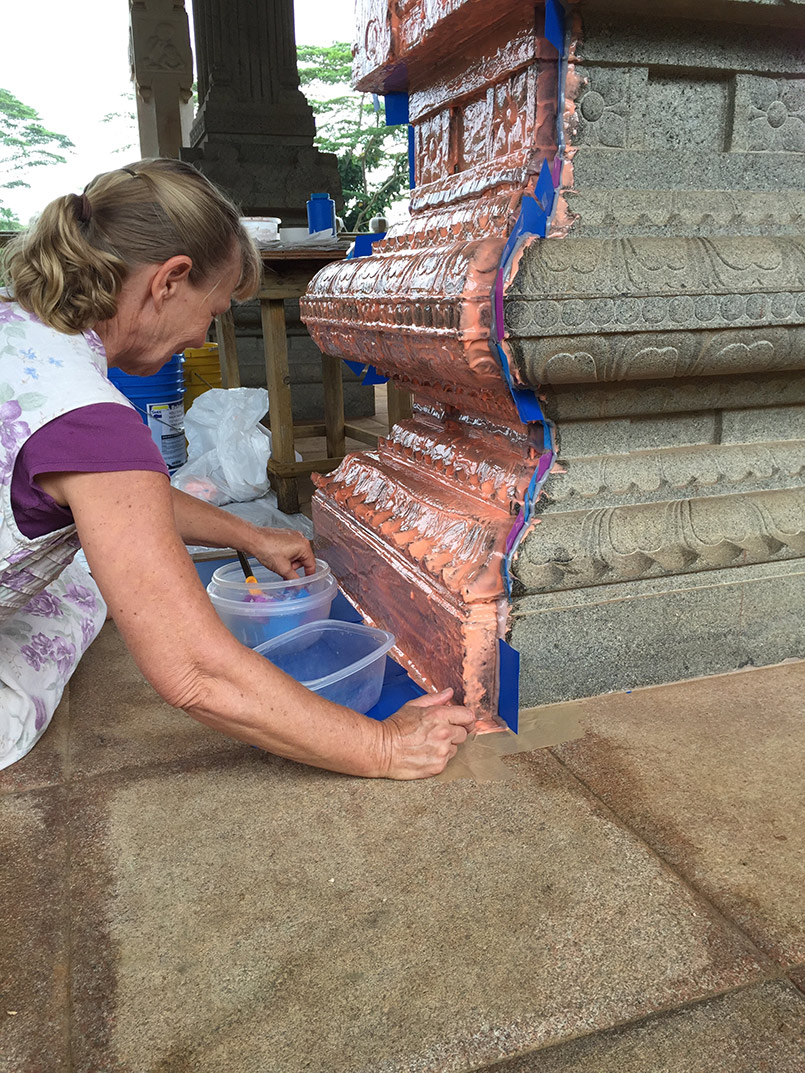
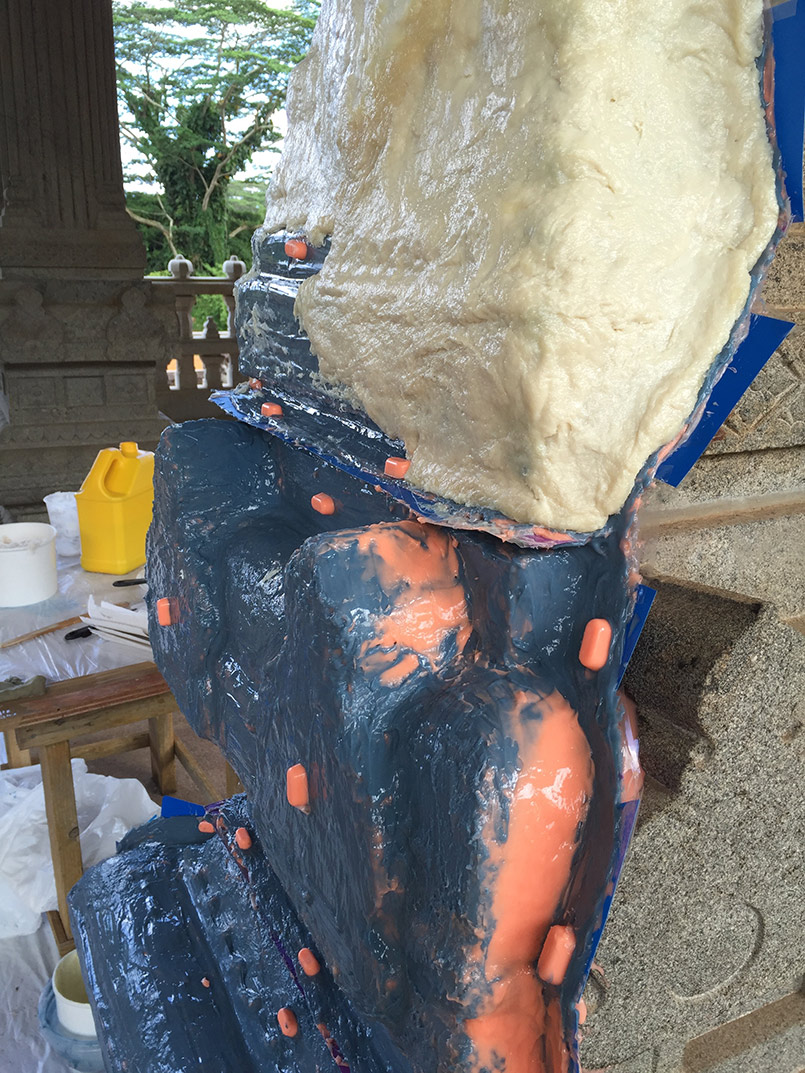
\"I continue mixing rubber and painting it onto the mold, including the shims, until there are four even layers. Each layer must set before the next is applied.\" We saw pink rubber first, now there is a dark blue-ish grey. Each layer is colored so Holly knows exactly where she is in the layering process. That\
s smart. '

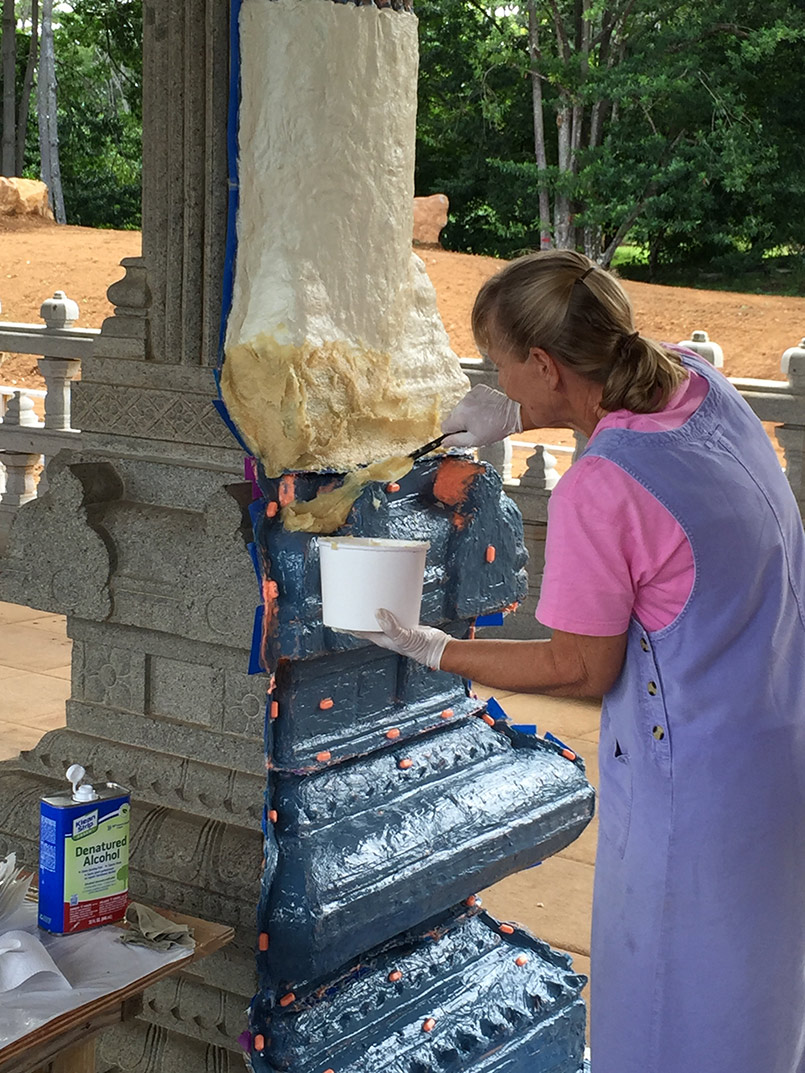
Holly didnt explain this part because she is such a humble person, but she actually developed this system of rubberized pellets for applying to the last layer of the silicone. Holly said this will show up as an insert, inside the last, heaviest layer of mold casting. All the rubber layers will fit into the casting like Legos because of the pieces fitting into their respective slots.
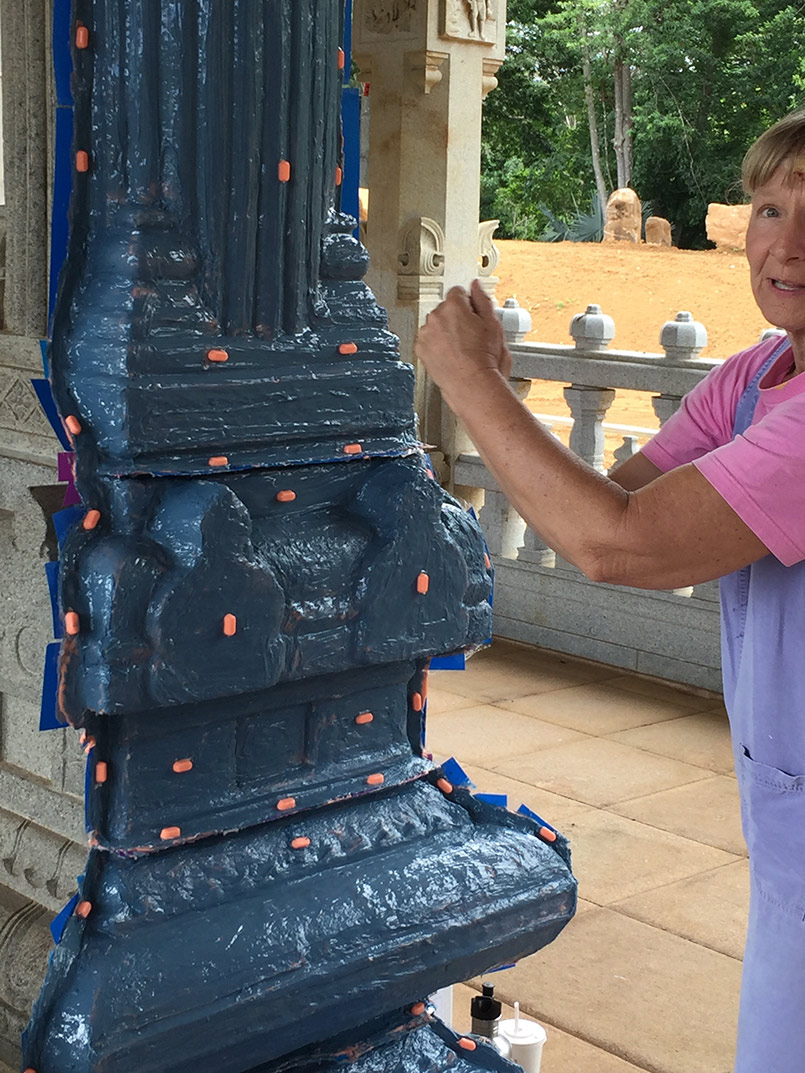
Holly is obviously passionate about her work. She is always wearing a smile and loves to explain in-depth about each step.
Also, never once did she use big words that a layperson to the process wouldn\
t understand. Thanks for keeping it simple, Holly! We know there is a deep technical underpinning of this work.'

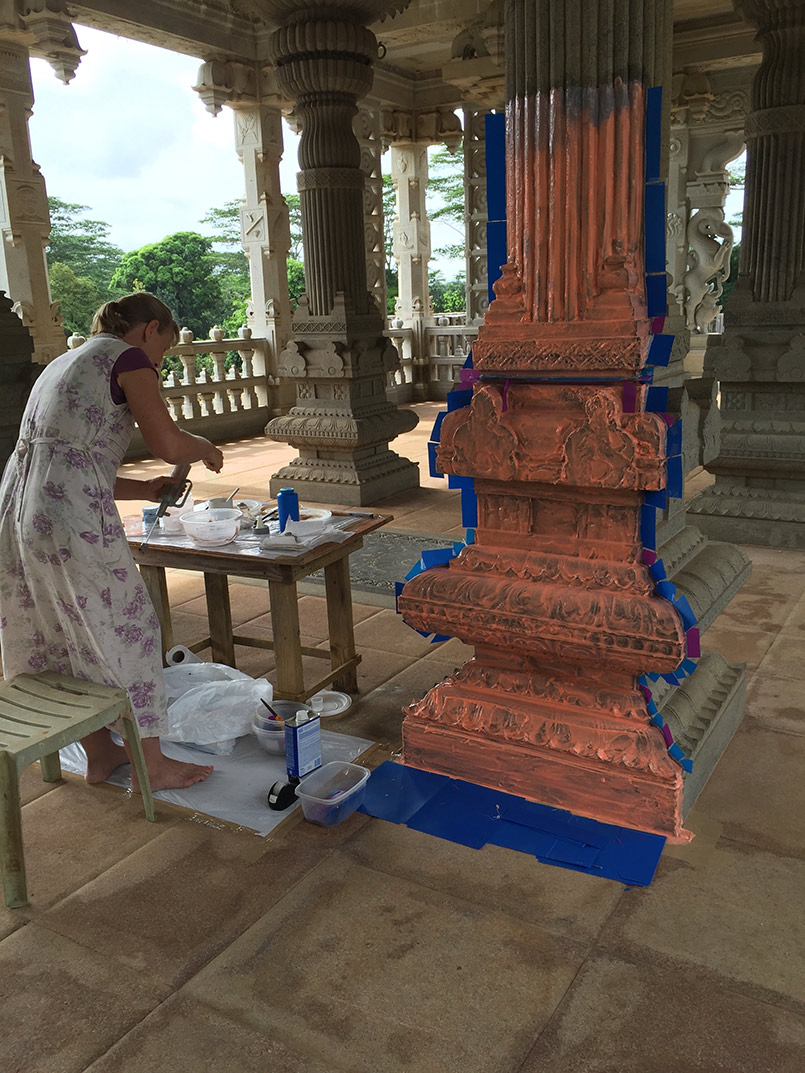
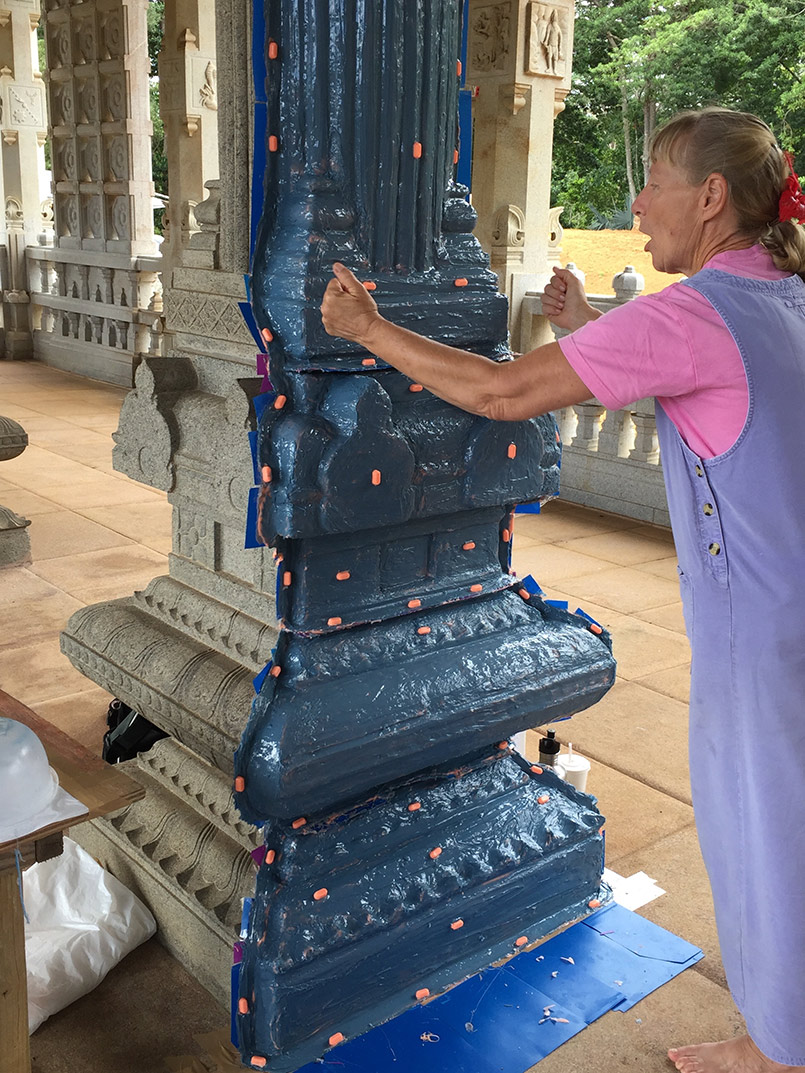
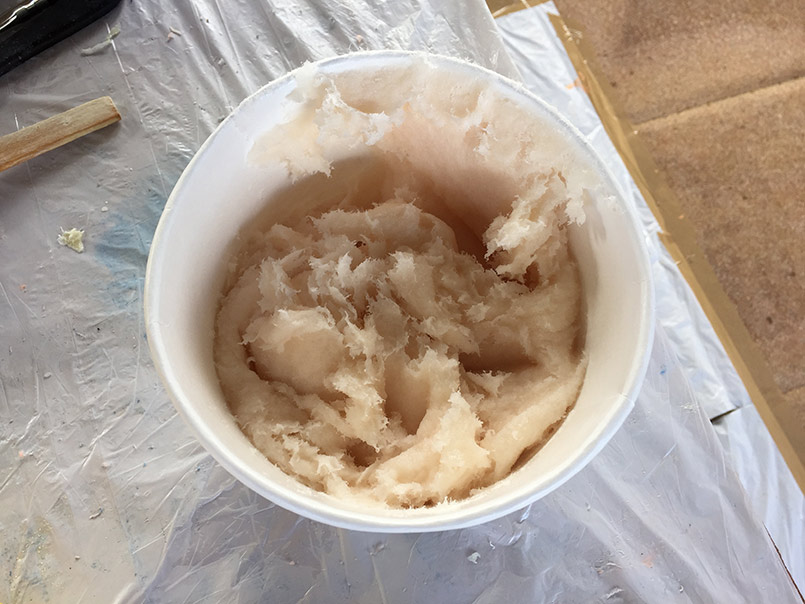
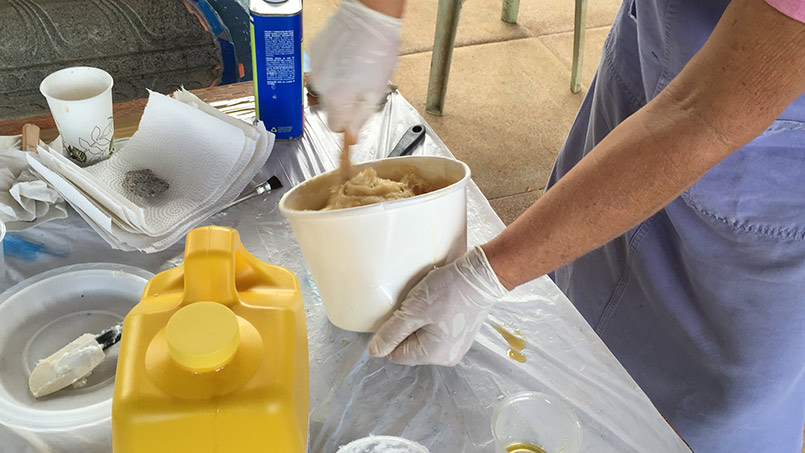
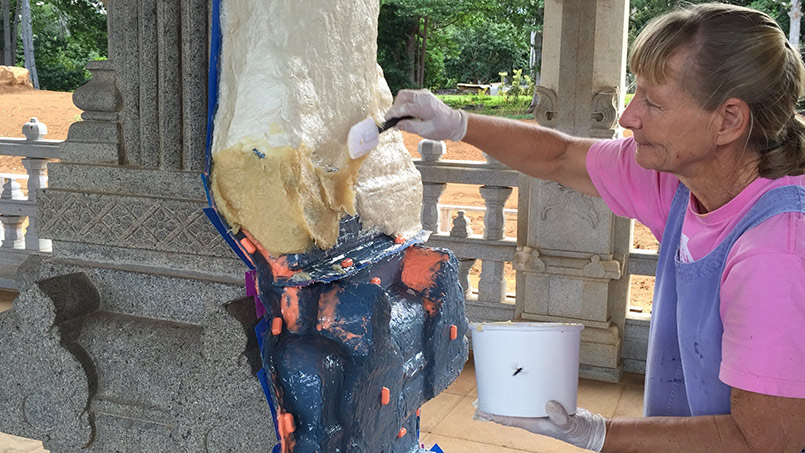
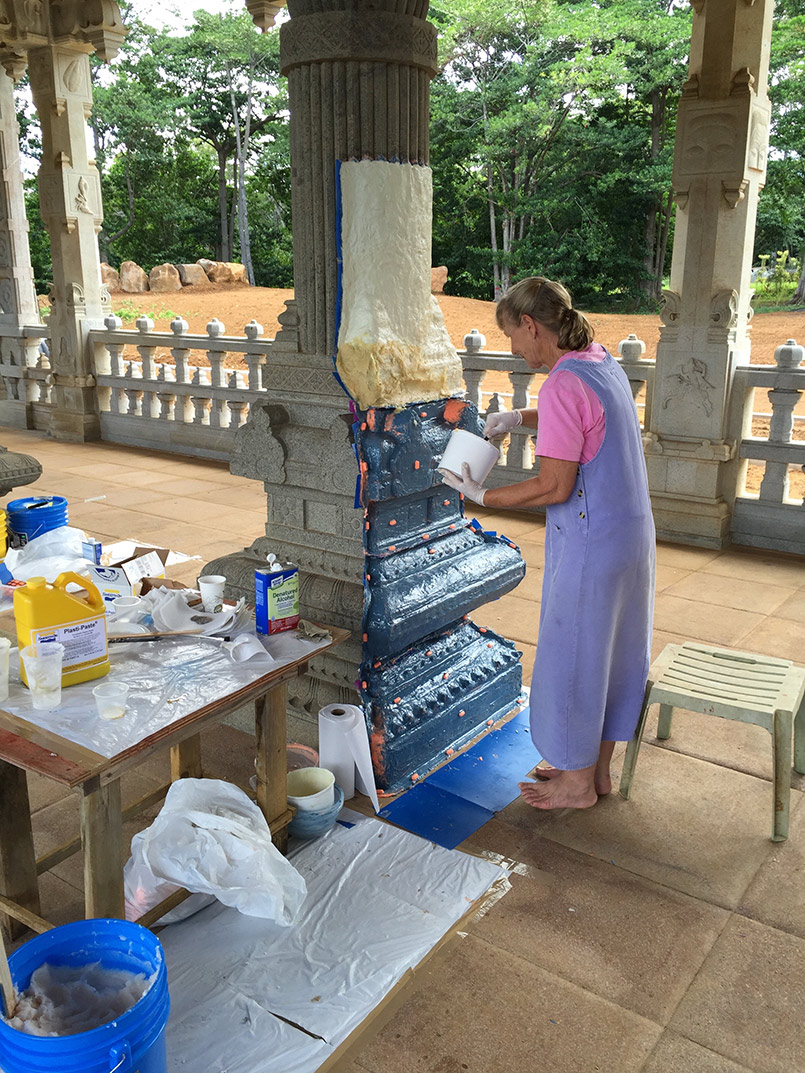
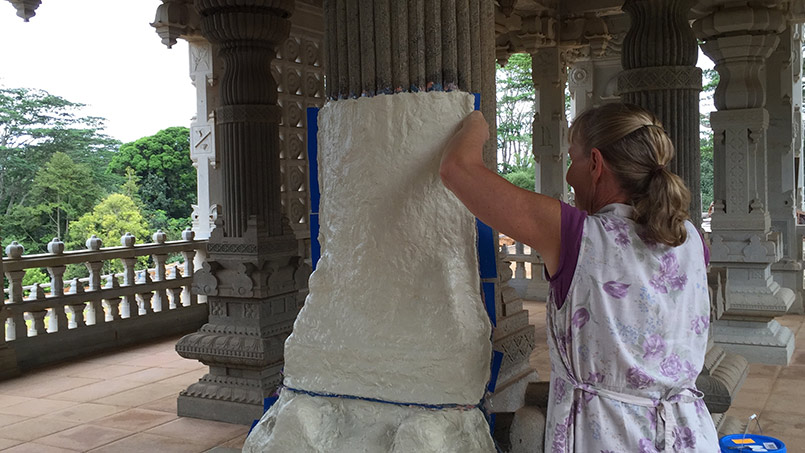
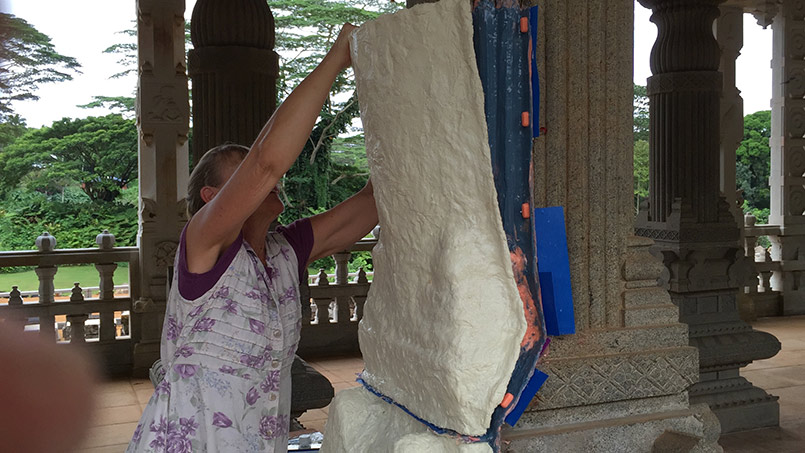
OK, Mother Mold time. \"I then prepare mother mold material and apply it to the rubber making sure the tips of the plastic shims are not covered. For this project I used Plasti-Paste (Reynolds Advanced Materials) which mixes by volume and creates a hard shell within an hour. Other mother mold materials that are less expensive are HydroCal (plaster of paris) which is strong but heavy and fiberglass which works wonderfully but is very toxic and time consuming.\" The Mother Mold Holly is applying is the last layer of this casting job. It will cover everything and also pull everything off with it.
She has to work fast! This stuff hardens in minutes.
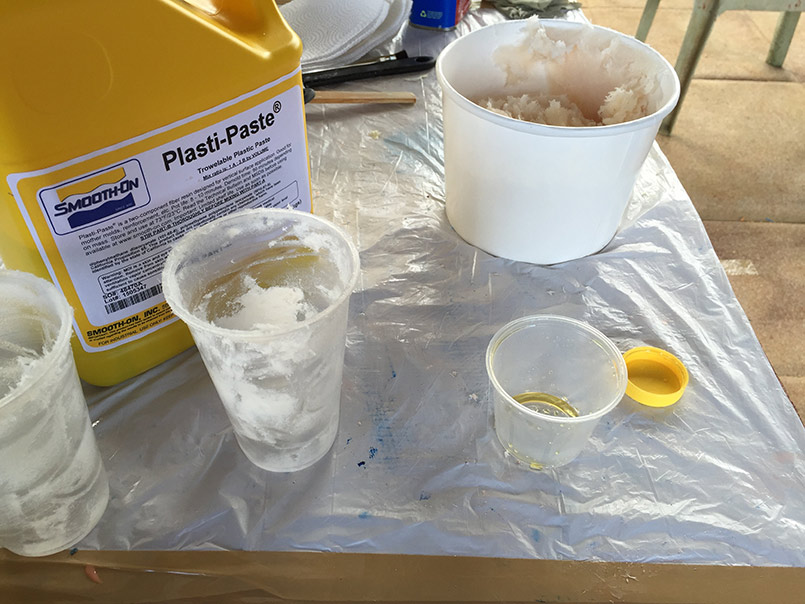
The mother mold mixing materials. I love that sentence!
She makes it look so easy.
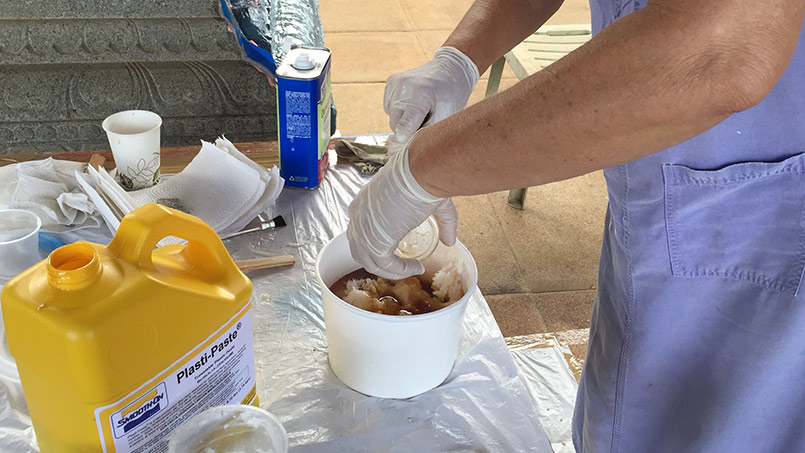
Holly was once a chemistry major!
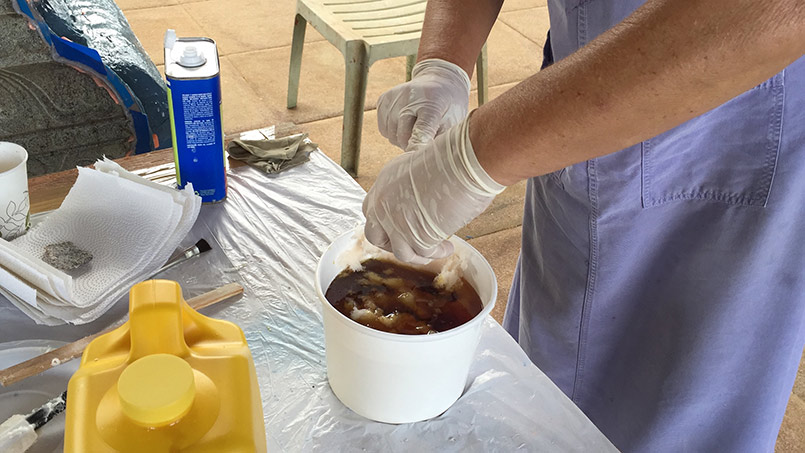
Applying the Mother Mold
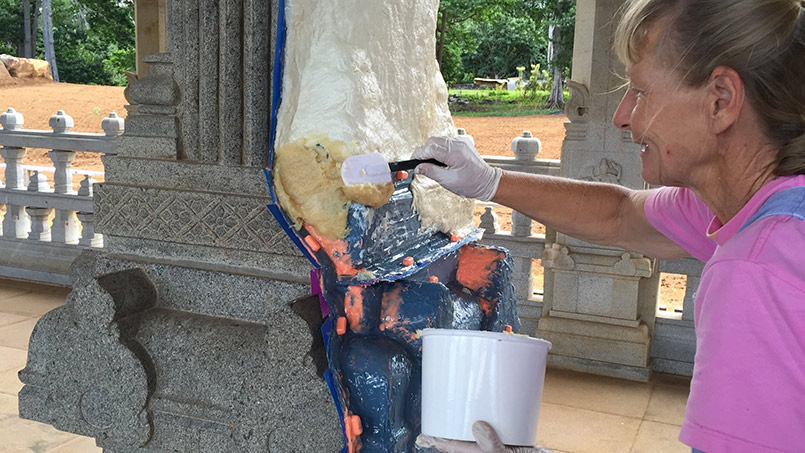
Like icing on a cake.

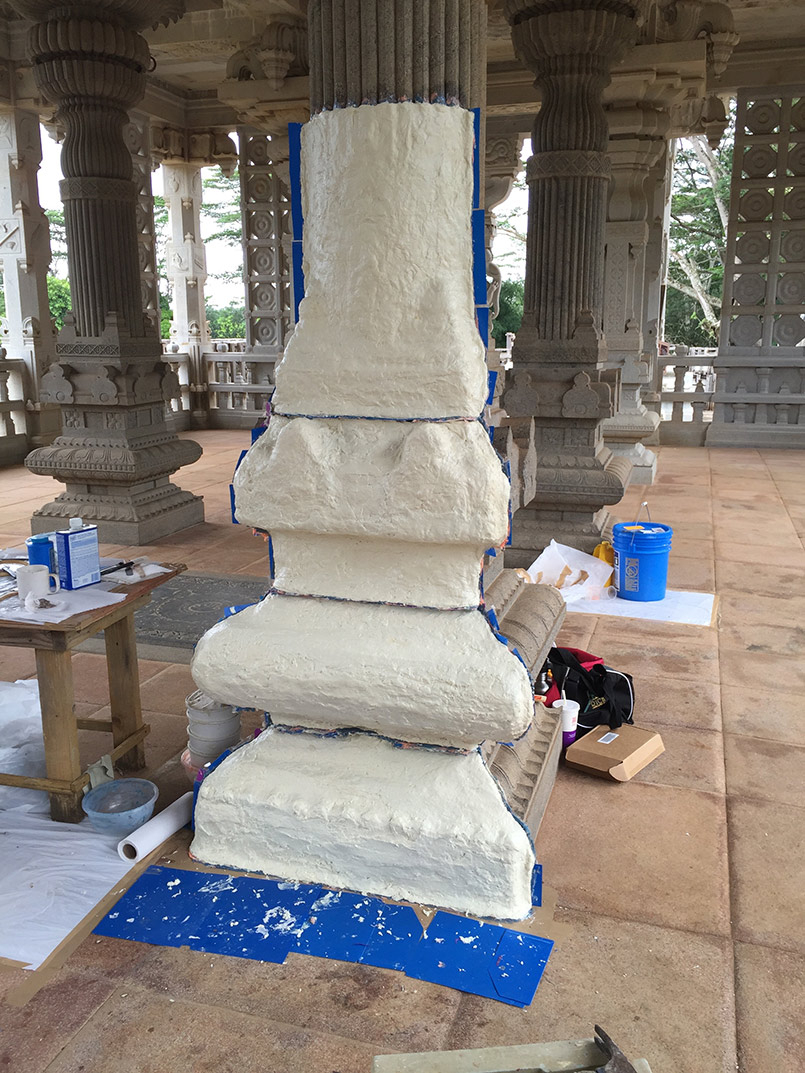
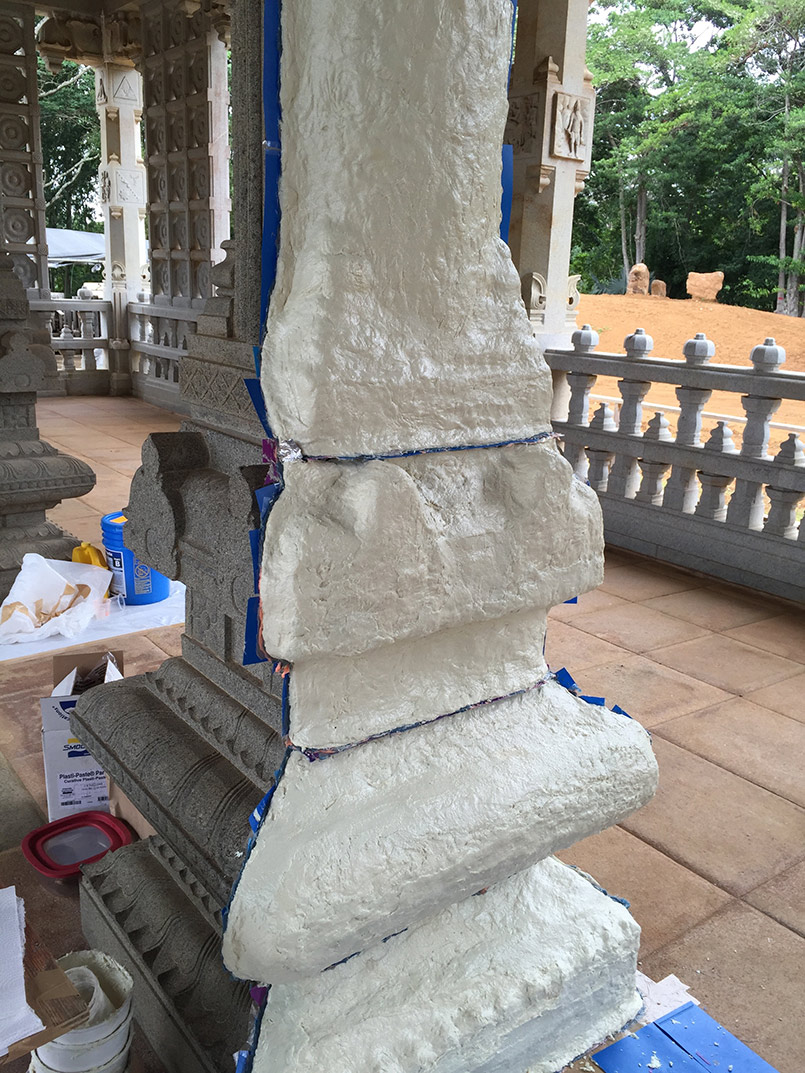
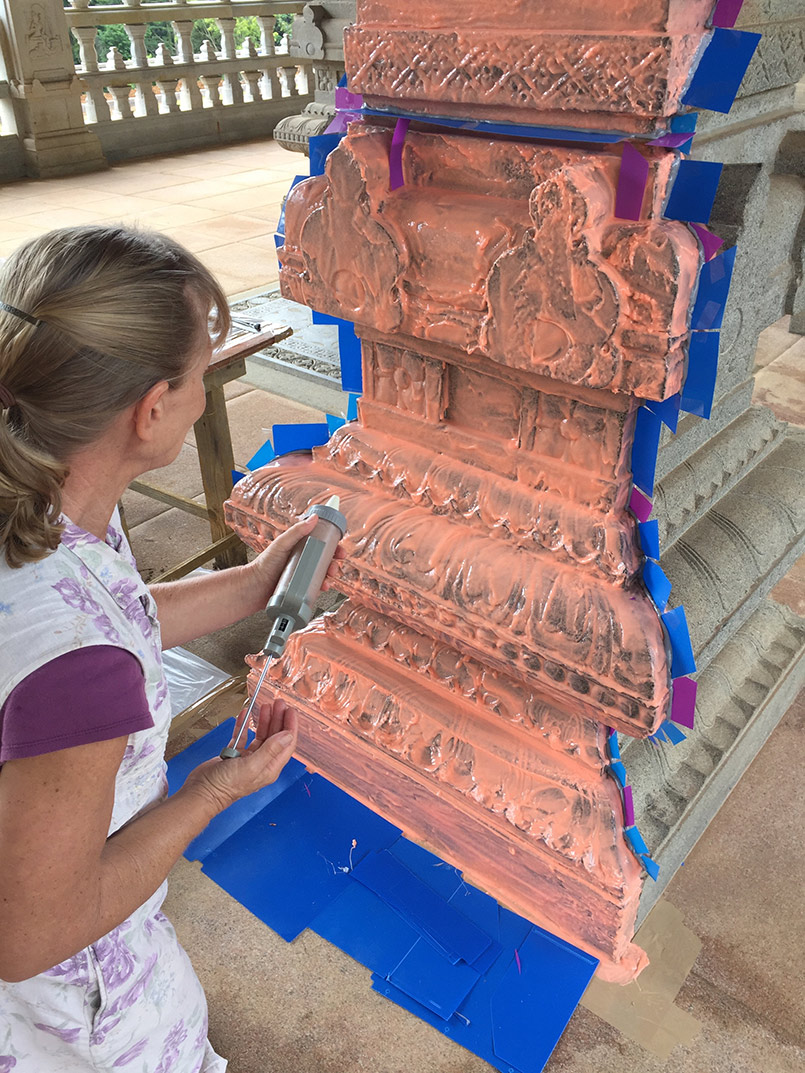
The mold is DONE! This is a full day\
s work. You can see the seams where she will break the mold into four or five smaller parts for easy of work and transport. And also for the metal work at the forge.'
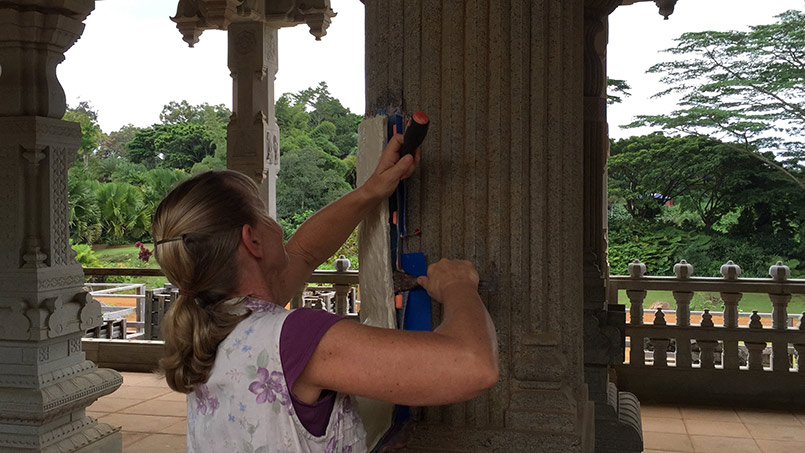
De-molding time. \"Once the mold is completely set, using crow bars and large flat head screwdrivers inserted at the shims, \"pop\" the mother mold off the rubber a section at a time. If you have not designed the mold well, you may have to break pieces to remove it.\" Editors Note: Holly made a perfect mold and it came off in one piece.

Off it comes!
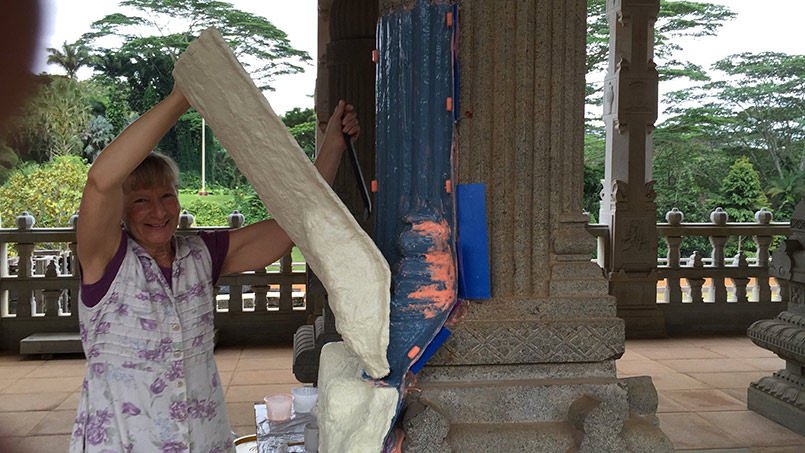
Voila! The moment of truth.


As mentioned earlier, the rubberized inserts (Holly\
s invention) have done their work and created a puzzle piece effect to which the other mold can fit exactly in place. '
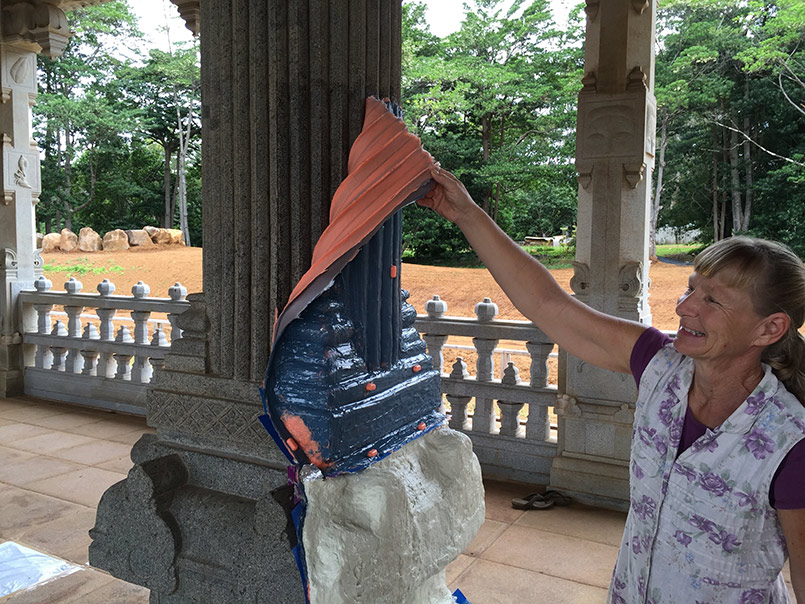
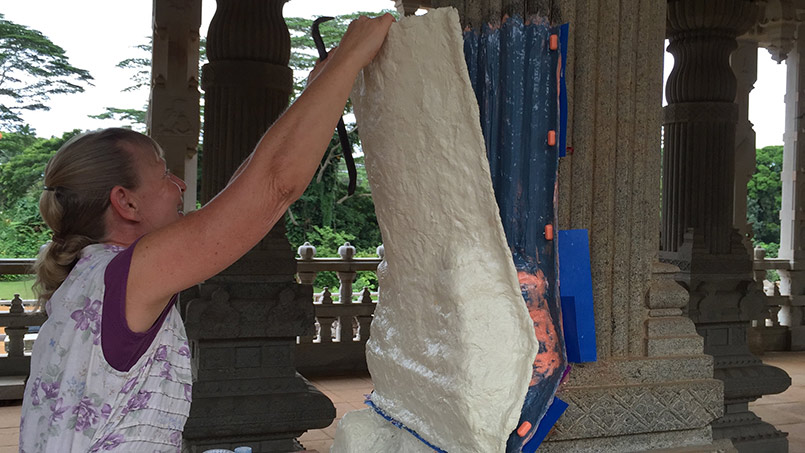
And another fun moment for us. The rubber doesn\
t stick to the granite! Just kidding, Holly performed tests on granite to determine the outcome. \"Having removed the mother mold, peel the rubber off the art, cutting each section free with an exacto knife at the shims. Lay each section into its mother mold.\" She will replicate this one side of the pillar four times to construct a complete pillar in wax. The molds can now ship to Holly\'s studio on the Big Island, AKA Hawaii, and the next part of this intricate process may begin. Safe trip back to your island hermitage, Holly. We will await news of your next steps. All in all, you are creating an extraordinary series of masterpieces that capture the ancient arts of temple building for generations to come. '
}
];
transitionSpeed:150});